skid steer concrete mixer drum field photos
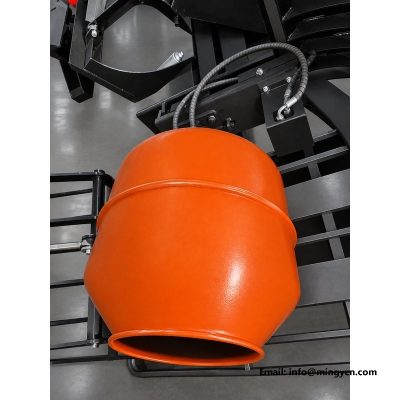
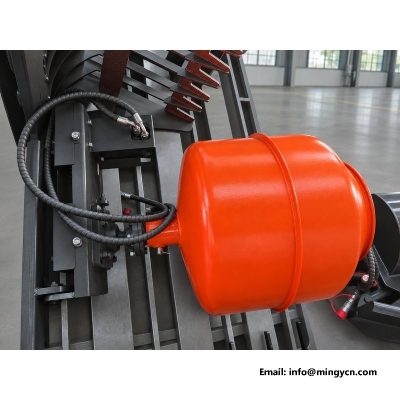
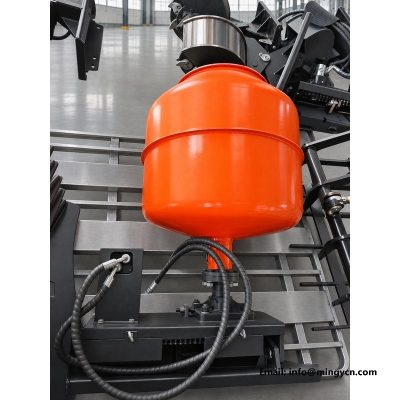
An attachment mixer drum turns a standard skid steer loader into a small concrete batching and transport tool for fenced yards and repair jobs that a full truck mixer cannot reach. The photographs show the drum from several angles: the open mouth, the side profile, the view into the interior, the hydraulic fittings, the bottom saddle and the unit on the ground. Together they let a buyer judge the mounting interface, the shell, the hydraulic path and the discharge behaviour before ordering. The text explains how it attaches to the loader, how forward and reverse rotation is used, how material is charged and discharged, how the interior is cleaned and inspected, and how the attachment differs from a truck mixer.
The drum is a self-contained attachment that hangs on the loader's quick coupler, so no permanent change to the machine is needed. The steel plate at the back of the drum carries the coupler hook and the lower locking pins, and the two hydraulic hoses connect to the auxiliary circuit of the loader. The operator drives up, hooks the top edge, curls the plate back and locks the pins, then plugs in the hoses. The drum is turned by a hydraulic motor at the rear, not by the loader wheels or a PTO. Because the whole unit bolts onto the standard coupler, the same loader can drop it and pick up a bucket or forks in minutes. A buyer should check that the coupler plate is flat and the locking pin slots are machined rather than roughly cut, because this surface carries the entire loaded drum over rough ground.
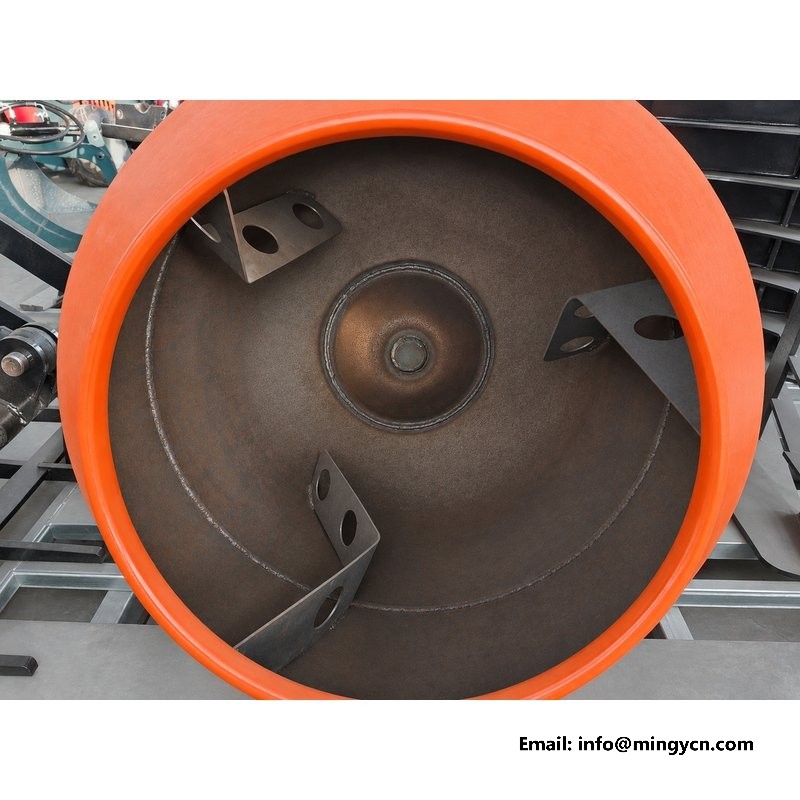
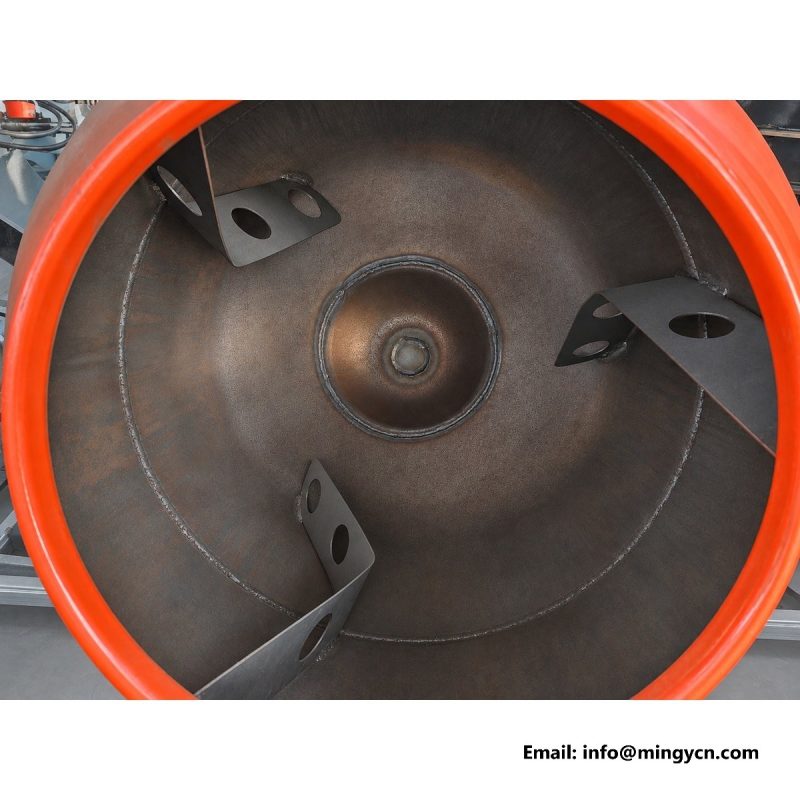
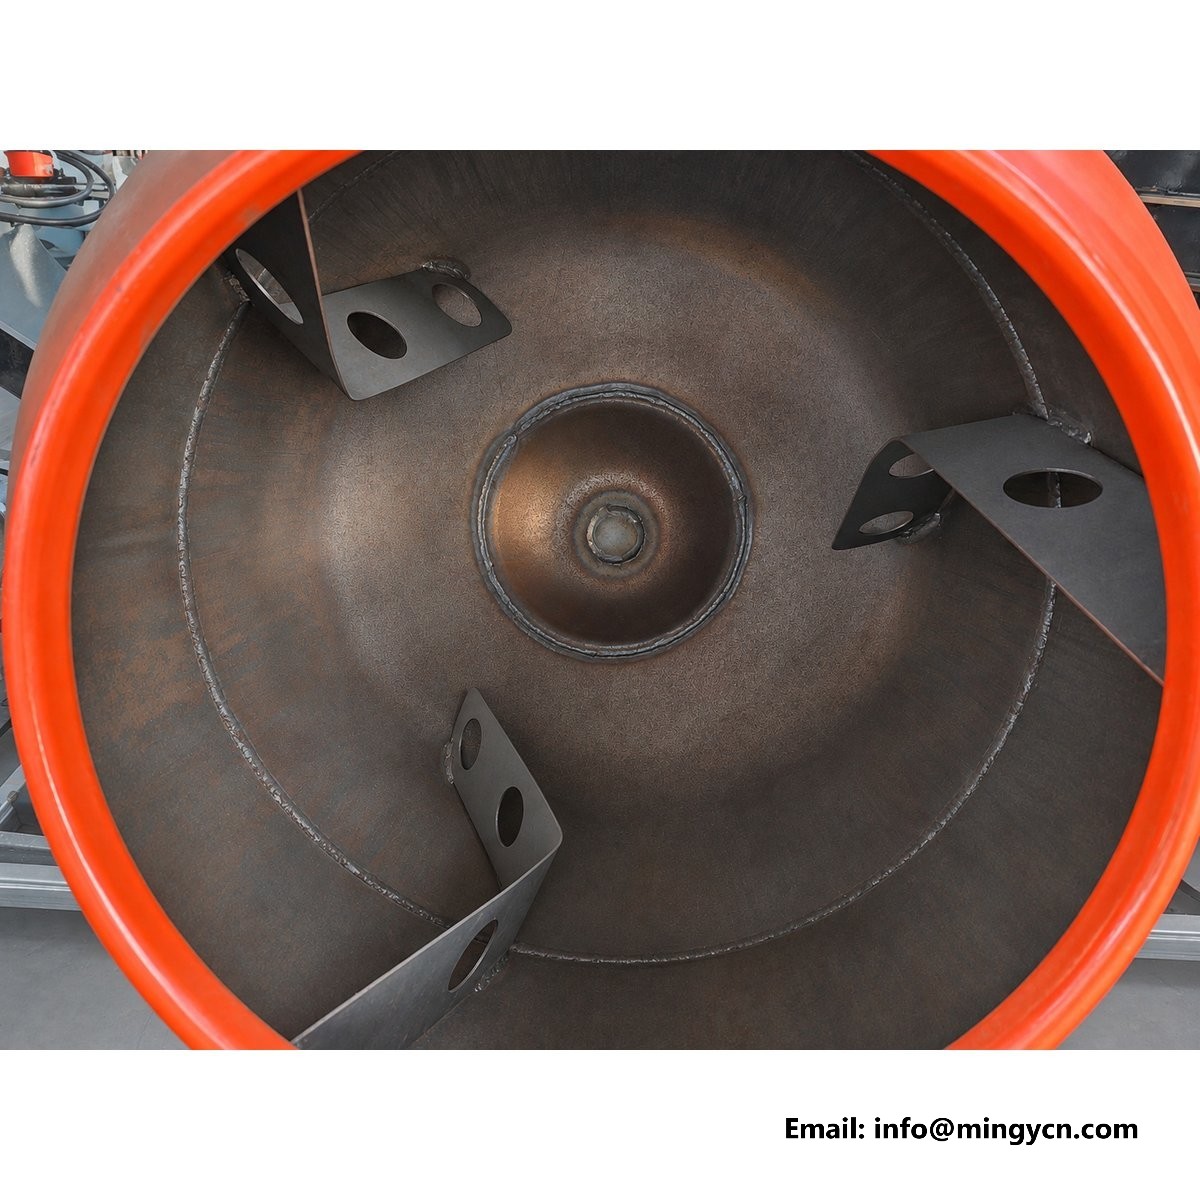
Rotation direction is the whole working principle of this attachment. Spun one way, the drum mixes and keeps the batch moving; spun the other way, it pushes the mixed concrete out of the mouth. The direction is selected from the loader cab by reversing the auxiliary flow, so the operator does not need to leave the seat between mixing and discharging. The blades inside are welded in a spiral so that one direction draws material deeper into the drum while the other brings it toward the opening. This means the same motor and the same hydraulic flow do two different jobs depending only on direction. A buyer looking at the photographs should notice the blade pitch and how far the spiral reaches toward the mouth, because that geometry, not the motor, decides whether a dry batch moves cleanly and whether discharge leaves a clean shell.
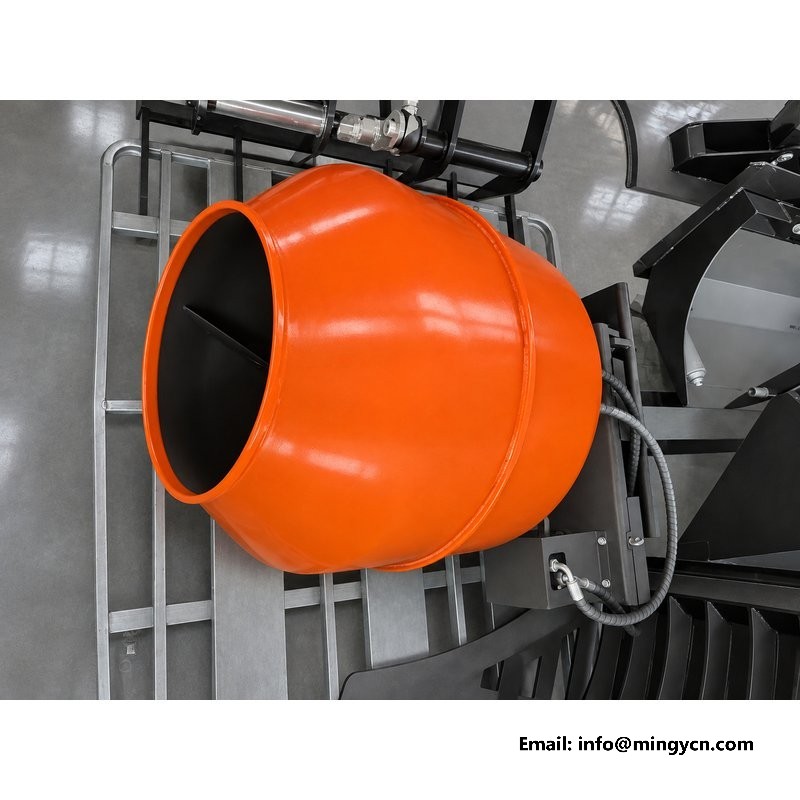
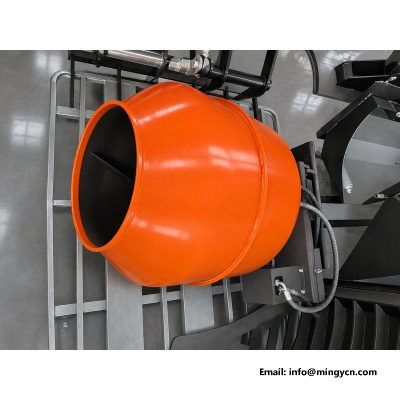
Charging is done at the mouth with a bucket, a chute or a shovel, so the operator works from ground level or from the loader seat. The open mouth faces slightly upward when the drum is in mixing attitude, which is why loading by hand or by bucket is practical on a small site. Dry aggregates, cement and water are added in the usual order, and the loader's own bucket can bring material to the mouth without a second machine. The photographs showing the open mouth and the top view down into the shell are the ones to study here, because they show how wide the opening is relative to the shell and how easily a bucket edge can reach past the rim. A wide, unobstructed mouth means fewer spills during charging and a faster batch on a site where time is measured in wheelbarrows.
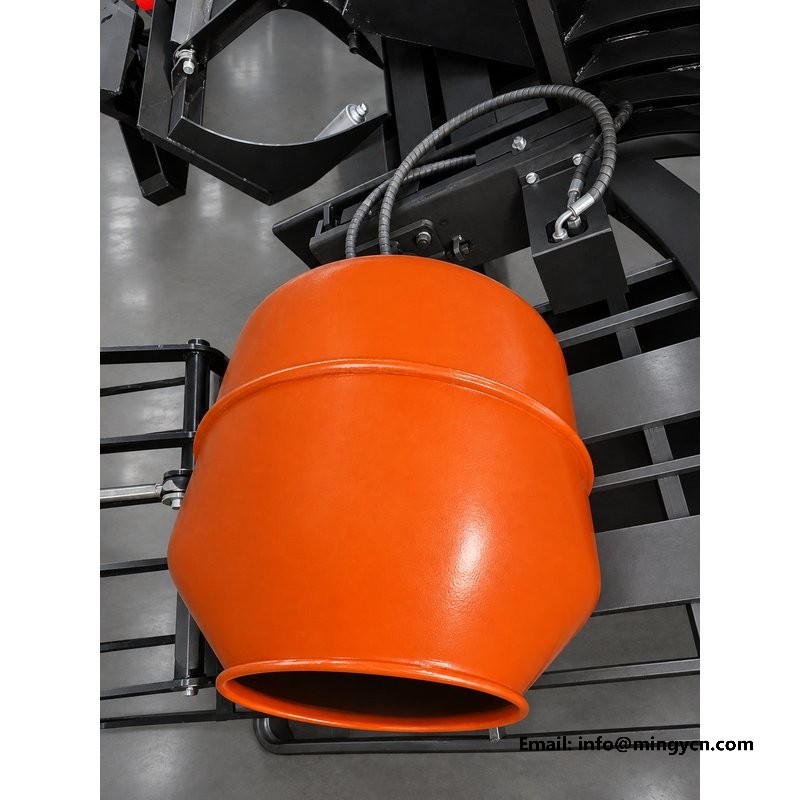
Discharge is simply the reverse of charging. The operator switches the auxiliary flow to reverse, the spiral lifts the mixed concrete toward the mouth, and the batch pours out into a wheelbarrow, a form or a prepared patch. Because the drum can be tilted and the loader can be moved while the drum turns, a small crew can place concrete exactly where it is needed without a pump. The key behaviour to watch is a clean release: concrete should slide out without leaving a thick layer stuck to the shell. That depends on the smoothness of the interior, the blade clearance and how the operator keeps the batch wet enough. A buyer judging photographs should look for a continuous, polished interior surface and blade edges that meet the shell closely, since gaps there trap hardened concrete that later breaks loose into a fresh batch.
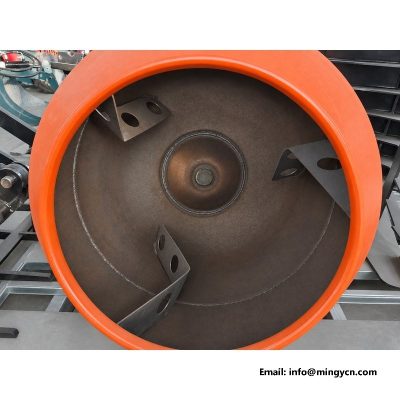
Cleaning is the task that decides how long the attachment lasts, and it is done through the same mouth that charges the batch. The standard practice is to add a little water and clean stone at the end of the day, run the drum in mixing direction for a few minutes, then reverse to empty the slurry before it can set. Hardened concrete is the enemy: a thin skin left on the shell reduces effective capacity, throws the batch out of balance and flakes off into later mixes. The top-down photograph into the interior matters here because it shows whether the shell is a smooth, continuous curve with no deep corners where a scraper cannot reach. A drum that can be cleaned with a hose and a short run of stone is cheaper to own than one that must be chipped out by hand.
Wear shows up first at the points where moving concrete touches the steel: the blade edges, the mouth ring and the shell wall near the discharge end. Inspection is visual and takes a few minutes with the drum empty. The buyer should look for blade edges that are still full height rather than rounded, a mouth ring that is even all round, and no deep scores or patches on the shell. The blades are the wearing part by design, and on a well-built drum they are made to be renewed by welding, so the shell itself never has to be replaced. The photographs of the mouth and the interior are the reference points: a blade that has lost its sharp edge, or a shell that shows local wear patches, tells the buyer how many batches the unit has already mixed and how it was cleaned between uses.
A skid steer mixer drum is not a smaller truck mixer, and the difference is not only size. A truck mixer is a dedicated vehicle with its own engine, its own water system and a drum that is always mounted; the skid steer version is an attachment that a general-purpose loader picks up when a small batch is needed. The truck mixer charges at a batching plant and delivers a metered load; the skid steer drum is charged on site from loose material and mixed close to the pour. That changes how it is used: short runs, small pours, restricted access and repeated small batches rather than one large delivery. The buyer pays for flexibility instead of capacity. The attachment shares the loader, needs no separate operator or road registration, and can be put away when the concrete work is done.
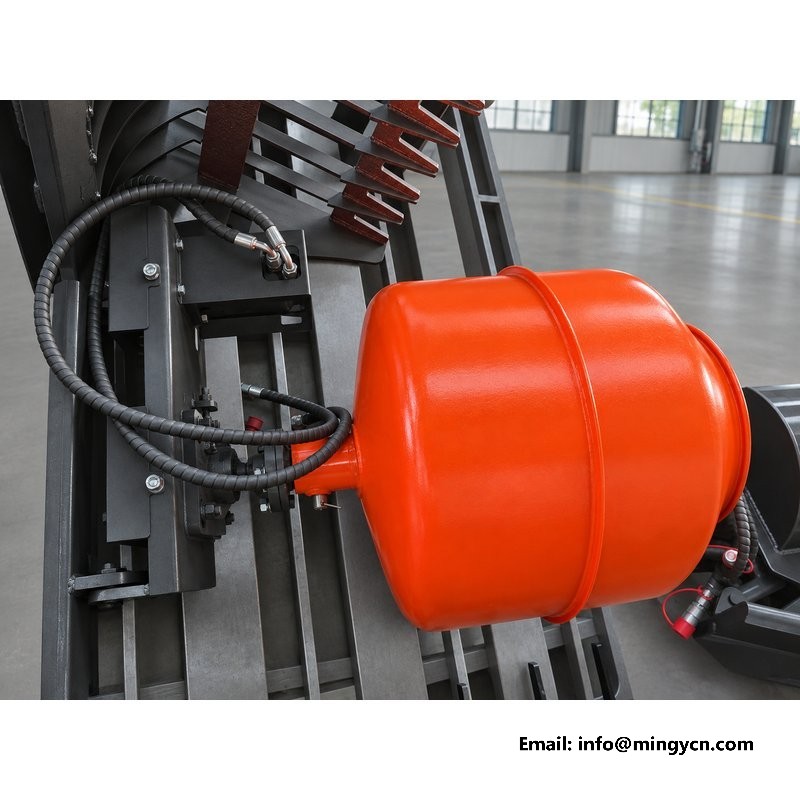
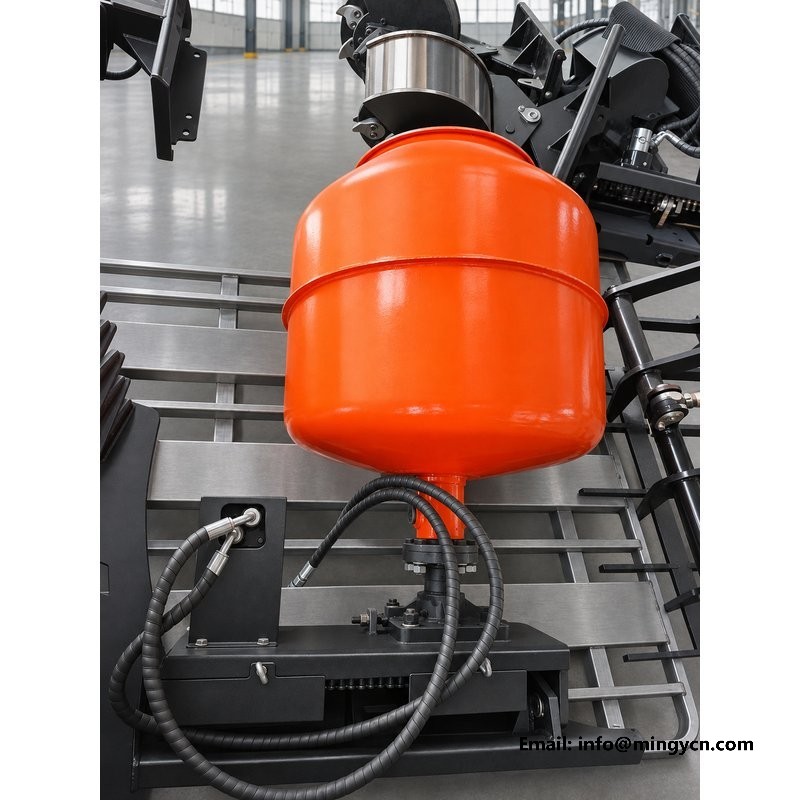
The hydraulic interface is the two hoses that run from the drum motor to the loader's auxiliary couplers. They are the only connection that supplies power, and their length, routing and fittings decide how cleanly the attachment works. The photographs that show the hose fittings and the rear of the drum are the ones to examine. The hoses should be long enough to reach the loader couplers with a gentle bend and no stretch at full tilt, and the fittings should be standard flat-face quick couplers that match the machine. Routing matters because hoses pass close to the coupler plate and the loader arms; a well-routed hose is clipped so it cannot rub on the drum or be pinched when the attachment is tipped. A damaged hose on site stops the whole job, so the protection of the hose is as much a quality point as the motor it feeds.
The bottom of the drum rests on a welded saddle that spreads the weight of the loaded shell across the coupler frame instead of hanging it all on the rear motor flange. This is the part shown in photographs taken low at the drum base. The saddle is the second load path after the coupler plate, and on rough ground it takes a large share of the shock when the loader turns or drops into a rut with a full batch. A proper saddle is wide, follows the curve of the shell and is welded to the frame with full-length runs, not a few short stitches. The buyer should check that the shell is supported along its length and that the saddle does not cut into the drum wall. A drum supported only at the mouth and the motor flange flexes under load and eventually cracks at the attachment points.
The mouth is the working face of the attachment. It is where material goes in, where concrete comes out, and where most of the accidental damage happens as buckets and shovels hit the rim. A good mouth ring is heavy enough to take those knocks without bending, and it is welded so that the rim stays round rather than oval under load. The photographs of the front opening show this best: an even, full-width opening with no obstructions in front of it. Because the operator aims a bucket at the mouth many times a day, the rim is effectively a wear surface. A strong, straight mouth ring also keeps the discharge even, so the batch pours out in a controlled stream rather than slopping to one side. This is a detail that is easy to miss in a catalogue shot and easy to see in a close photograph.
The photographs that show the drum set on the ground are useful because they reveal how the unit behaves when it is not on a loader. A drum that stands level on its own saddle and mouth ring can be set down in the yard or on a pallet without tipping, which matters at the end of the season when the attachment is stored. The standing attitude also shows the centre of gravity and how the coupler plate is positioned for a clean pickup next time. A buyer should look at whether the drum rests stably on a flat floor and whether the hose ends and fittings are kept clear of the ground where water and grit would reach them. How an attachment sits in storage says a great deal about how easily it will be picked up, parked and maintained through its working life.
The drum hangs on the loader's standard quick coupler: the top hook engages first, the plate is curled back, and the lower locking pins are secured. Two hoses from the drum motor plug into the loader's auxiliary couplers, which supply the hydraulic flow that turns the drum. No electrical or PTO connection is needed, and the attachment can be dropped and a bucket or forks fitted in a few minutes.
Add water and a little clean stone while the drum is empty, run it in the mixing direction for a few minutes, then reverse to empty the slurry before it hardens. A short rinse after each use keeps the shell smooth and prevents a skin of hardened concrete from building up and flaking into later batches. Never let mixed concrete sit in the drum after the pour is finished.
For the current specification, build options and a formal quotation for your market, contact MINGYI Machinery. E-mail: sales@mingycn.com | LINE (ID): mingyicn
Skid Steer Concrete Mixer Drum: Shell, Drive and Tilt Specification · Skid Steer Mixer Bucket: Shell, Paddle Drive and Discharge Data · Skid Steer Two-Stage Snow Blower: Intake Width, Stages and Flow Data