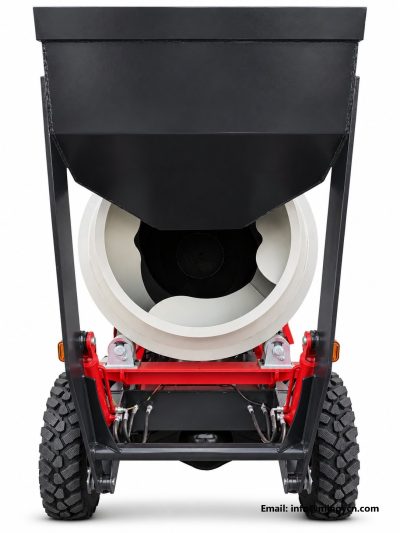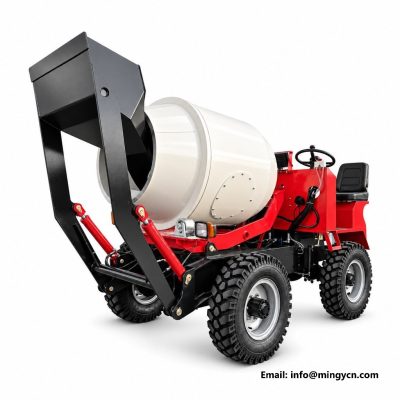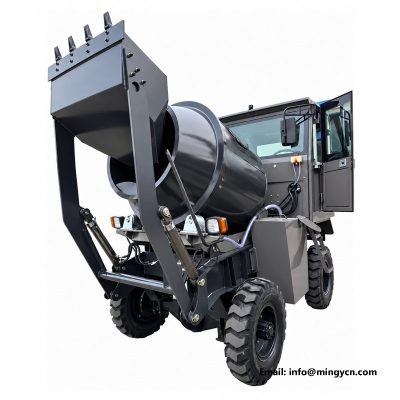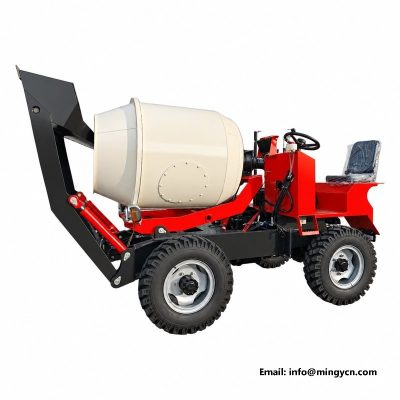
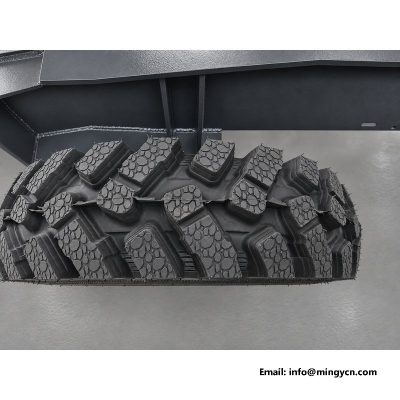
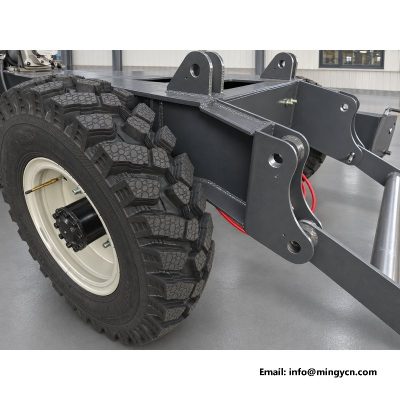
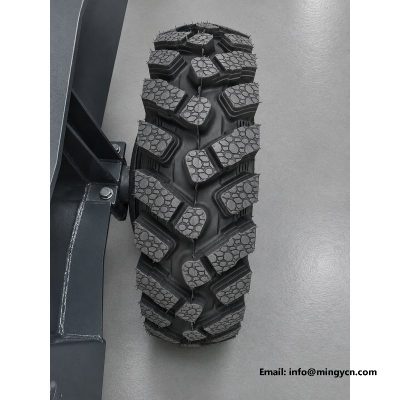
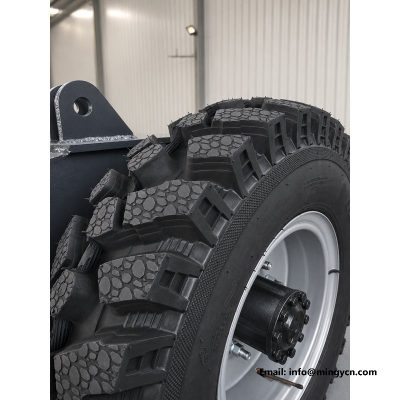
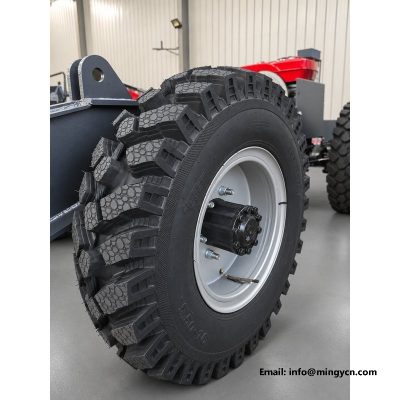
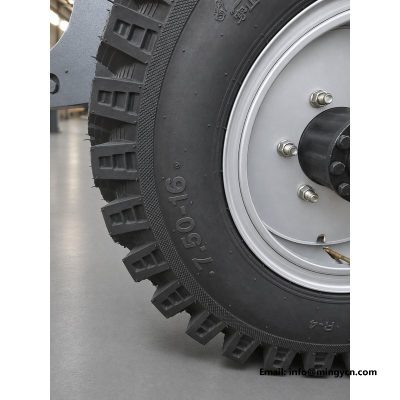
Wheel Assembly of the 0.8 m3 Self Loading Concrete Mixer with 7.50-16 and 8.25-16 Tyres, Tubes and Steel Rims
A mixer tyre is only as good as what sits behind it: the tube, the rim and the bolts that hold the wheel on. The photographs in this page follow the wheel assembly of the 0.8 m³ self loading concrete mixer from the bare steel rim to the inflated, torqued, working wheel, because most tyre trouble reported from the field starts at one of those layers and not in the tread itself. A tube pinched during fitting, a rim flange cleaned badly, or a wheel nut tightened in the wrong order will each end a working day faster than any tread wear ever will.
The sections below cover the two fitment sizes and what each axle asks of them, the tube and rim construction, how the wheels are fitted and torqued at the works, what a buyer should check at handover, and the small maintenance routine that keeps the assemblies trouble-free through seasons of rough site work.
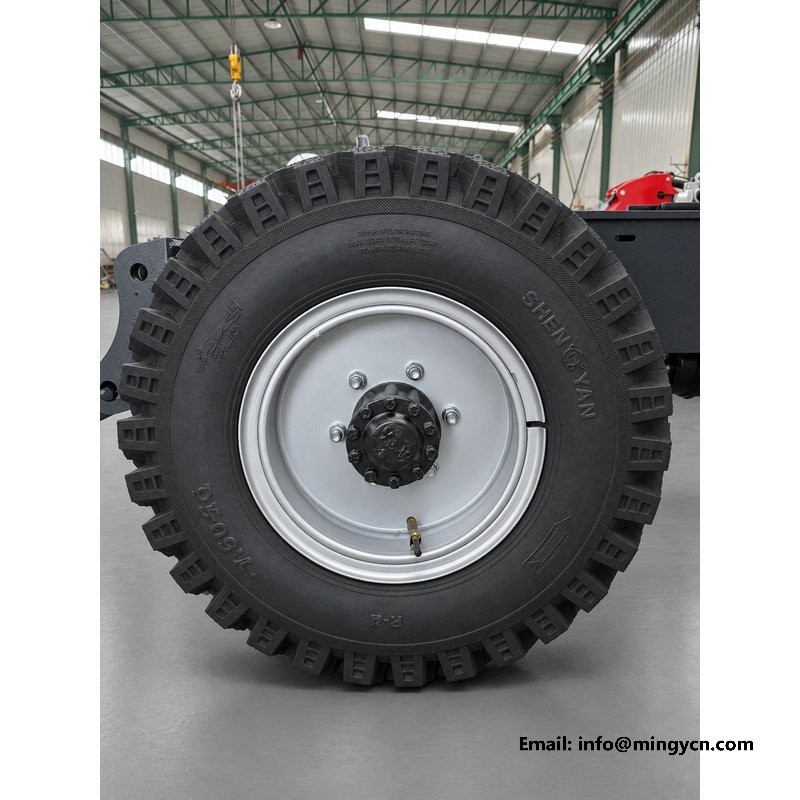
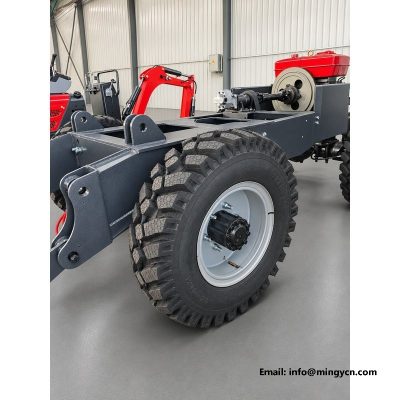
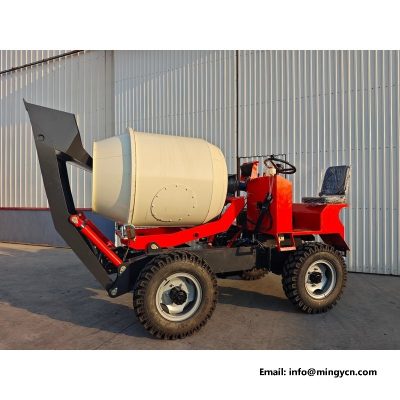
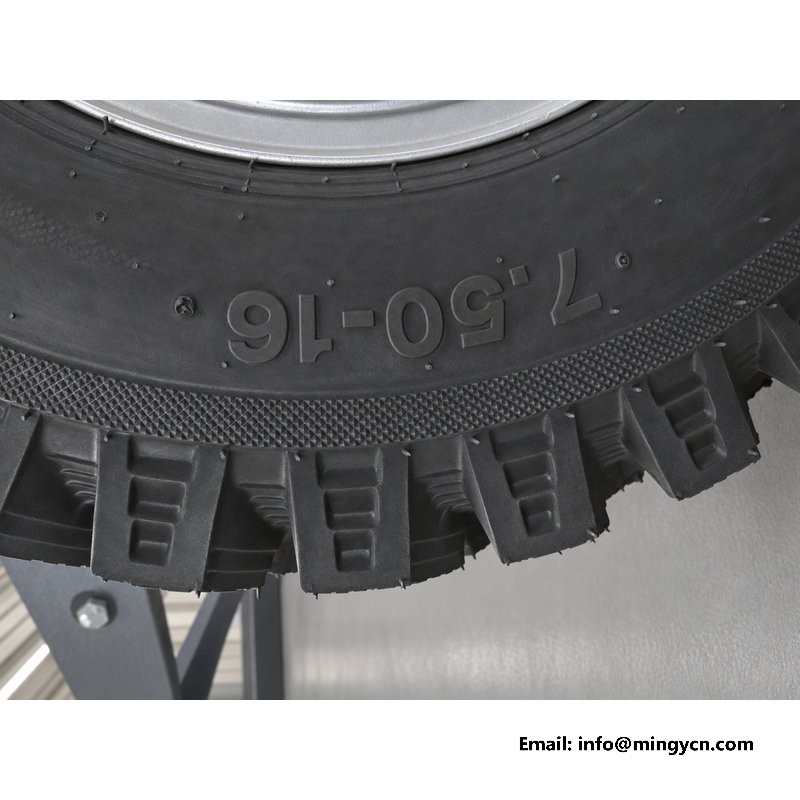
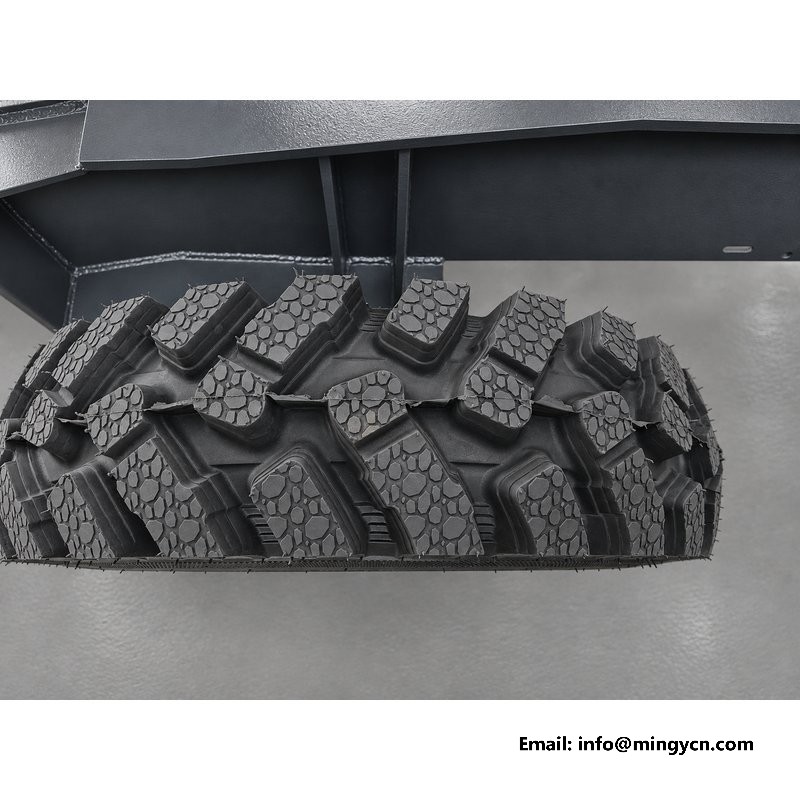
The machine leaves the works on 8.25-16 tyres at the front and 7.50-16 at the rear, both tube-type and both in the deep lug traction pattern. The front section is wider because the front axle takes the steering reactions, the braking loads and the shovel kickback when the loader digs into a stockpile; the extra width is extra air volume, and extra volume is extra cushioning exactly where the shocks arrive. The rear section is narrower because its job is simpler: it carries the drum and batch weight in straight lines and follows where the front points.
Both sizes share the same 16-inch rim diameter, which keeps one spare-rim logic for the whole machine, and both are among the most stocked light-truck sizes in the export markets this mixer serves. That is a deliberate choice. A tyre that any roadside shop in Nairobi, Manila or Almaty can supply and fit in an afternoon is worth more on a working site than a specialist fitment with marginal advantages.
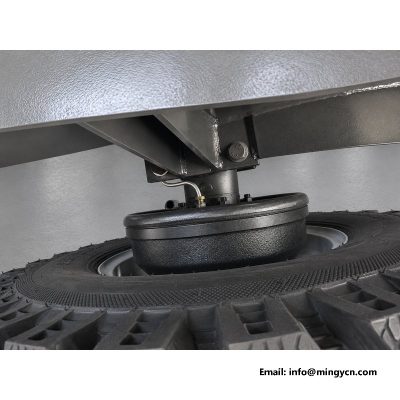
These are tube-type assemblies. Inside the casing sits a butyl inner tube, and between tube and rim a rubber flap protects the tube from the rim band and spoke heads. Tube-type fitting is chosen over tubeless deliberately for this machine: a tube can be patched with a basic kit in any village workshop, a slow bead leak that would sideline a tubeless wheel is contained by the tube, and replacement tubes cost a fraction of the casings. On sites where thorns, rebar and stones are part of the daily ground, the tube is the cheapest insurance on the machine.
The flap is the part most often left out by a hurried fitter. Without it, the tube works against the bare rim band, and the resulting chafe shows up weeks later as a puncture nobody can explain. The works fitment includes the flap on every wheel, and the handover checklist below asks the buyer to confirm it.
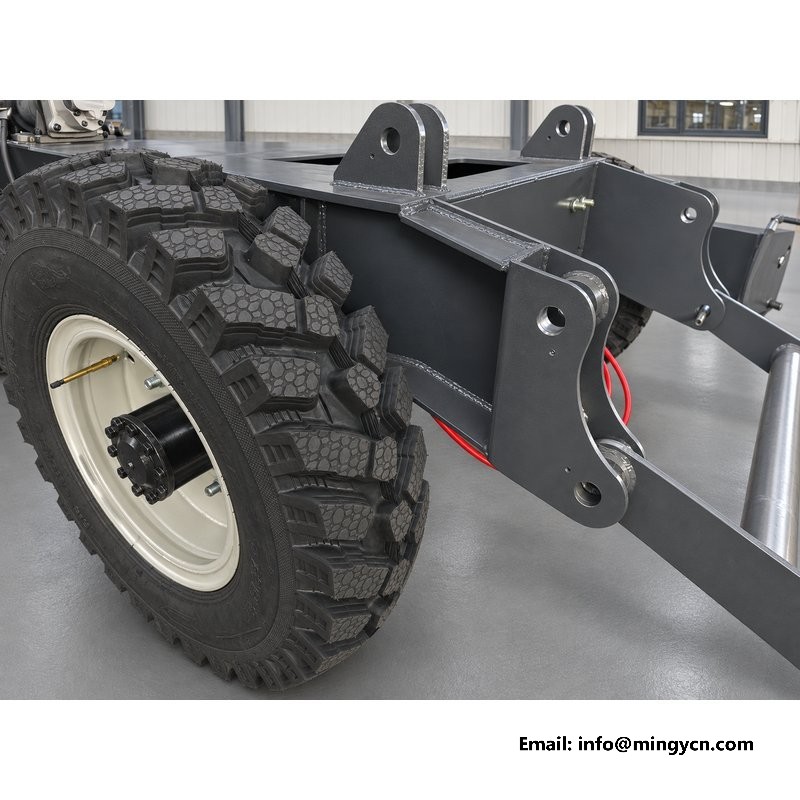
The rims are pressed steel well-base wheels in the size matching each fitment. The bead seat and flange carry the tyre’s clamping load, and their condition decides whether the assembly holds pressure and stays concentric. A rim with a dented flange or rust-scaled bead seat will leak slowly and shake the steering no matter how good the tyre on it is.
At the works, each rim is checked for runout and the bead seats are cleaned to bare metal before fitting. Buyers inspecting a machine before shipment should run a finger around both bead seats of each rim: the surface should feel smooth, with no dents, scale or weld spatter, because any of those becomes a slow leak that wastes hours of pumping across a season.
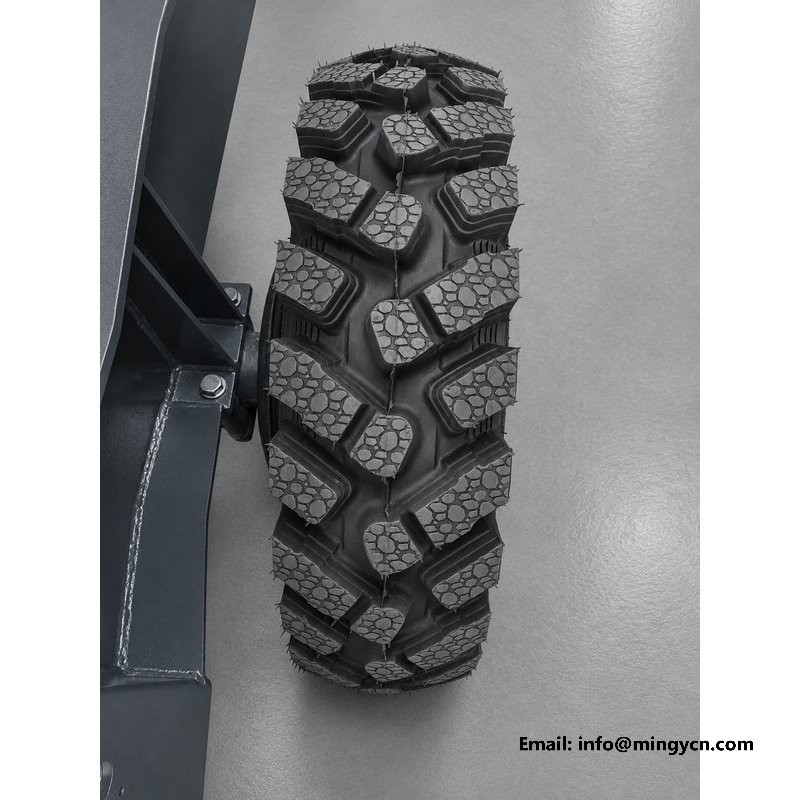
Fitting follows the same sequence a good local shop would use. The bead is lubricated, the first side is seated over the flange, the tube is inserted with just enough air to take shape and remove creases, the flap is laid in, and the second bead is worked over without tooling the tube. The assembly is then inflated with the tube partly seated, checked to seat both beads evenly against the flange, and brought to the working pressure quoted in the manual.
The pinch point in this sequence is exactly what the name says: a steel lever catching the tube between lever and rim during the second-bead work. A pinched tube fails within hours or days of first use, which is why the works fitters use levers only on the bead and keep the tube clear with their free hand throughout.
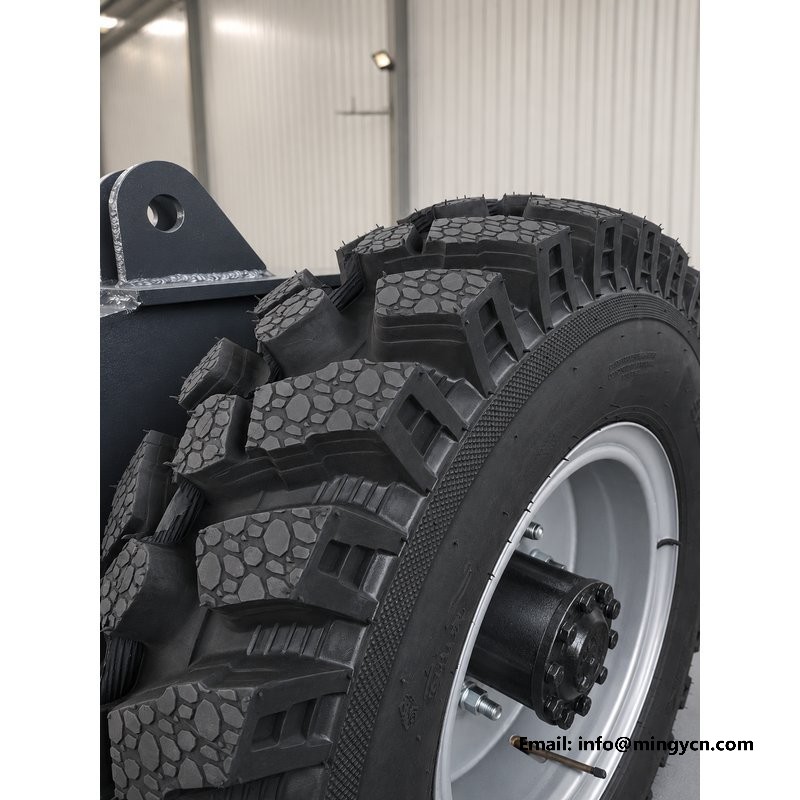
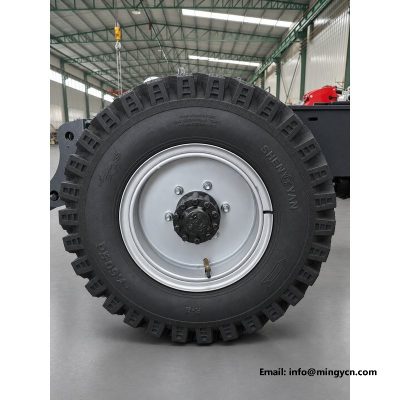
Each wheel mounts onto stud-fixed hubs and is clamped by nuts tightened in a star sequence to the torque in the manual. The star sequence matters more than the final figure: pulling one nut down fully before its neighbours can warp the rim seating and leave the wheel loose within a week of site work. The correct habit is to snug all nuts in the star, then pull them to torque in the same order, and re-check after the first working day and again after the first week, when bedding settles the joint.
Nuts that have been off a dozen times should be replaced rather than reused forever, because stretched threads give a false torque reading. A set of nuts costs less than one hour of a machine standing idle with a wheel wobbling.
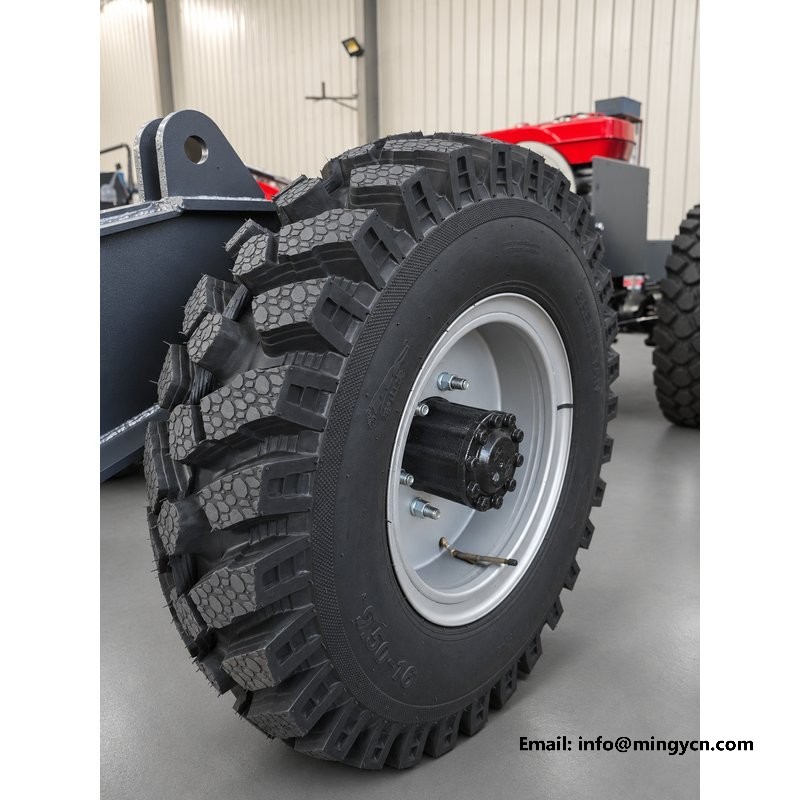
The manual lists separate pressures for loose site ground and for road travel between sites, and using the right one for the day’s work is the cheapest performance upgrade the machine offers. Site pressure lets the carcass flex and the tread open its footprint for traction; road pressure centres the wear and keeps the machine stable at travel speed. A crew that switches once a week, with a gauge and five minutes, will out-wear a crew that guesses by eye many times over.
Check with the tyres cold, because a warm tyre reads high and hides a slow loss. Any wheel that drops noticeably overnight has a valve, tube or bead issue, and it is worth the same-day attention: a casing run flat even for a short haul can be destroyed by pinch damage whatever its quality.
| Wheel assembly reference — 0.8 m³ 4WD self-loading concrete mixer | |
|---|---|
| Front fitment | 8.25-16, deep lug traction pattern, tube type |
| Rear fitment | 7.50-16, deep lug traction pattern, tube type |
| Rim | pressed steel well-base, 16 inch, both axles |
| Tube | butyl inner tube with protective flap |
| Wheel fixing | studded hub, star-sequence torque to manual figure |
| Pressure regime | separate site and road settings in the manual |
Figures are for the machine as supplied. The manual shipped with each unit carries the exact pressures and torque values for the fitment installed.
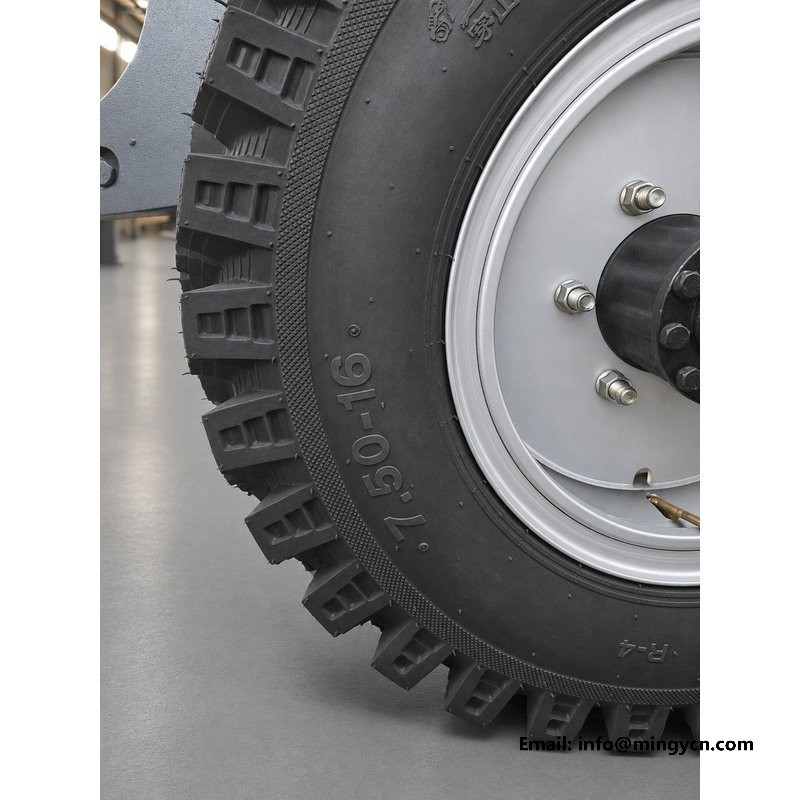
Ten minutes at delivery covers the failure modes that matter. Check that every wheel has its valve cap, that tyre pressures read to the manual on all four corners, that the nuts sit flush on the rims with no gaps, and that each rim flange is free of dents. Bounce each corner by hand and listen: a soft, even return means healthy pressure, a hard knock or a sloshing feel deserves a second look at that wheel. Confirm the spare tubes and flap stock agreed in the order are in the courier crate, and photograph the wheels as delivered for the wear baseline described on the tread measurement page.
Anything doubtful goes on the delivery note with a photograph before the truck leaves. After that point, every wheel question is easier to answer with a dated baseline than without one.
The valve is the smallest part of the assembly and the one most often blamed for trouble it did not cause. A tube-type valve is fixed to the tube itself, so a leaking valve usually means a new tube rather than a new core, though a brass cap with a good rubber seal keeps grit out of the core seat and prevents leaks that only look like valve failures. Valve caps also keep dust from the site air out of the core, and on machines worked in clay country that grit alone is worth preventing. Check that every wheel on a delivery has its cap, and treat a missing cap as a two-minute fix rather than an oversight to carry forward.
The rear wheels carry the drum, the water tank and the mixed batch, and the front wheels carry the shovel reactions plus the operator cab side of the chassis. Those two different jobs are why the fitments differ, and they are also why overloading the drum past the rated batch shows up first as sidewall bulge and uneven rear wear. The rated 0.8 m³ batch is a tyre figure as much as a drum figure: it keeps the load per wheel inside the casing’s rating on the slopes and rough approaches real sites have. Crews stretching the batch on flat ground rarely damage the machine, but the same habit on a side slope loads the low-side rear wheel past its rating, and the wear pattern tells on it within a season.
Wheels fitted to the machine travel inflated to the lower transport pressure and arrive in good order; the failures seen after shipping are almost always handling marks on rim flanges from strapping, or valves snapped by crates stacked against them. The machine is lashed by the chassis, never through the wheels, and spare tubes travel in the parts crate away from sharp edges. On arrival, before the first start, a buyer should check pressures and valve caps again, because two or three weeks in a hot container finds any marginal bead seal. A wheel that has lost only a little pressure pumps back and holds; a wheel that has lost most of its air deserves the bead seat inspection described above before it carries load.
Spares stored badly waste the money spent on them. Casings rest upright on boards, out of sun and away from fuel and grease, which attack rubber faster than work does. Tubes stay in their cartons until needed, because a tube stretched over a stray object in a tool drawer arrives at the wheel already leaking. If a complete spare wheel is carried, it gets the same pressure check as the machine’s own wheels once a month; a flat spare discovered on the day of need is not a spare at all. None of this costs more than discipline, and it is the difference between a two-hour tyre day and a two-day one.
Because serviceability beats theory on remote sites. A tube is patchable anywhere with a basic kit, contains bead leaks that would sideline a tubeless wheel, and costs a fraction of the casing to replace. Tubeless brings marginal weight savings that mean nothing to a mixer working at under 25 km/h.
The rims and body clearances are built around the bias-ply sizes quoted, and the 4WD drivetrain is set up for the rolling radius they give. Radial conversions are an order-time engineering conversation with the factory, not a swap at the tyre shop.
After the first working day, after the first week, and then at every service. Any wheel that has been removed should have its nuts re-checked the next day. The routine takes minutes and prevents the classic loose-wheel failure of the first month.
One spare tube per size, one rim flap, a valve tool, a pressure gauge and a puncture kit. Casings are better bought locally because both sizes are common stock across the export markets, but tubes travel cheaply and save a day of searching in a smaller town.
Contact MINGYI Machinery for the current 0.8 m³ self loading concrete mixer specification, wheel and tyre fitment options and a formal quotation for your market. E-mail: sales@mingycn.com | LINE (ID): mingyicn
For the tread these wheels carry, see Reinforced Axle 0.8m3 Self Loading Mixer for Unpaved Sites and the tread depth page published alongside this one in the mini self loading concrete mixer category.