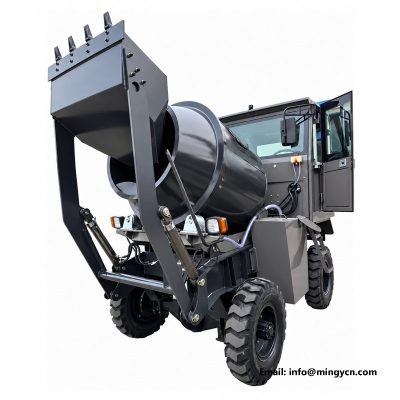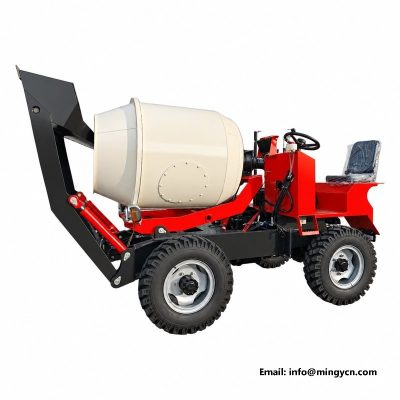
0.8 m3 4WD Self Loading Concrete Mixer Chassis with Reinforced Frame Rails, Lift Arm Pivot Mounts and Deep Lug Tyres
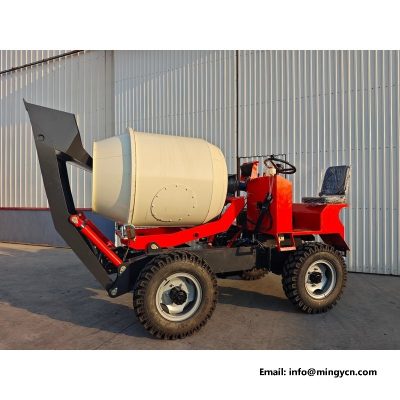
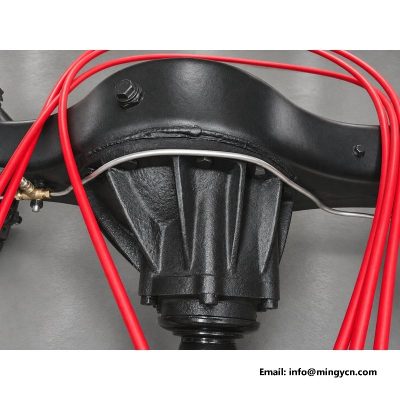
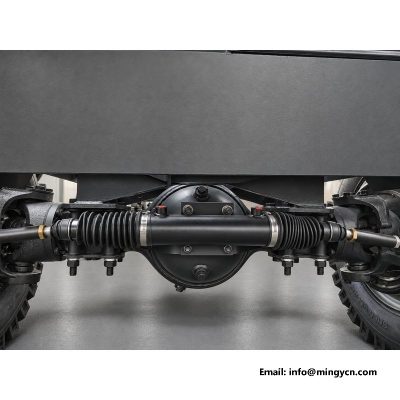
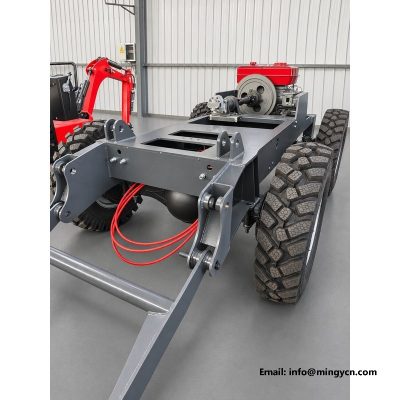
Every load a self loading mixer ever carries passes through its frame first. Before the drum turns, before the shovel lifts a kilo of gravel, the welded chassis underneath has to hold the engine, the water tank, the full batch and the shock of unpaved ground, all at once, for years. The photographs on this page show the bare 0.8 m³ four-wheel-drive chassis in the workshop, the stage where the frame rails, the lift arm mounts and every welded bracket are visible and can be judged properly.
This page walks through that structure section by section: what each plate is for, what loads it carries, and what a buyer can check from photographs like these before committing to an order. The specification table, the maintenance notes and the handover checklist follow further down.
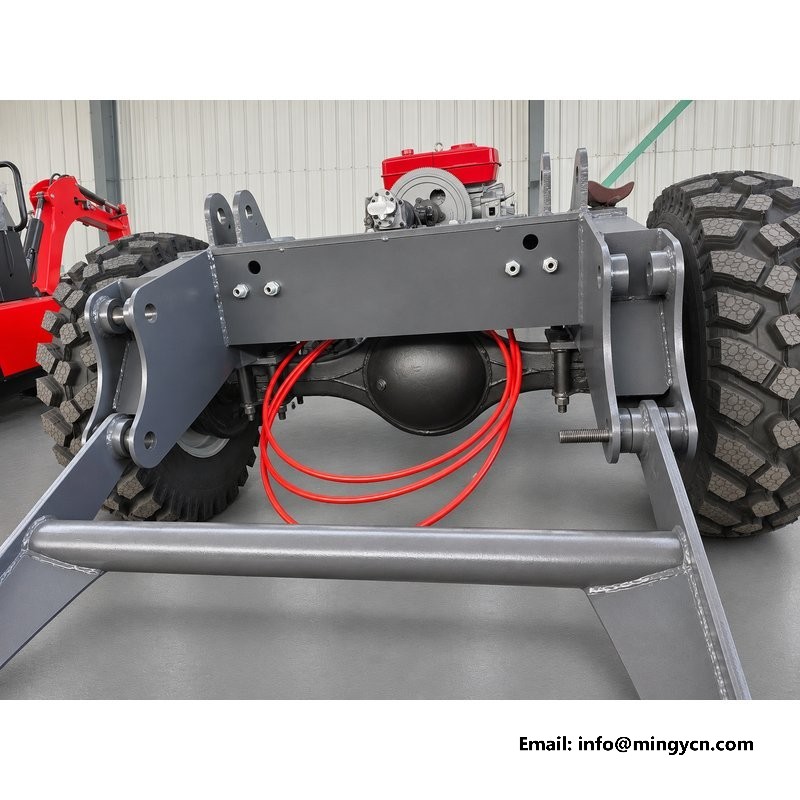
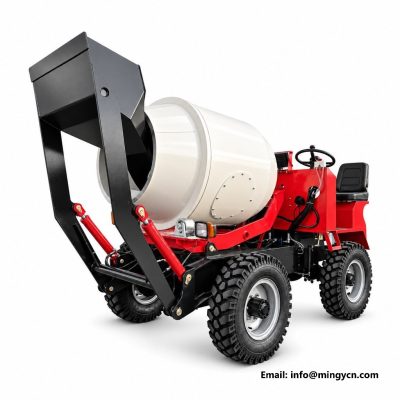
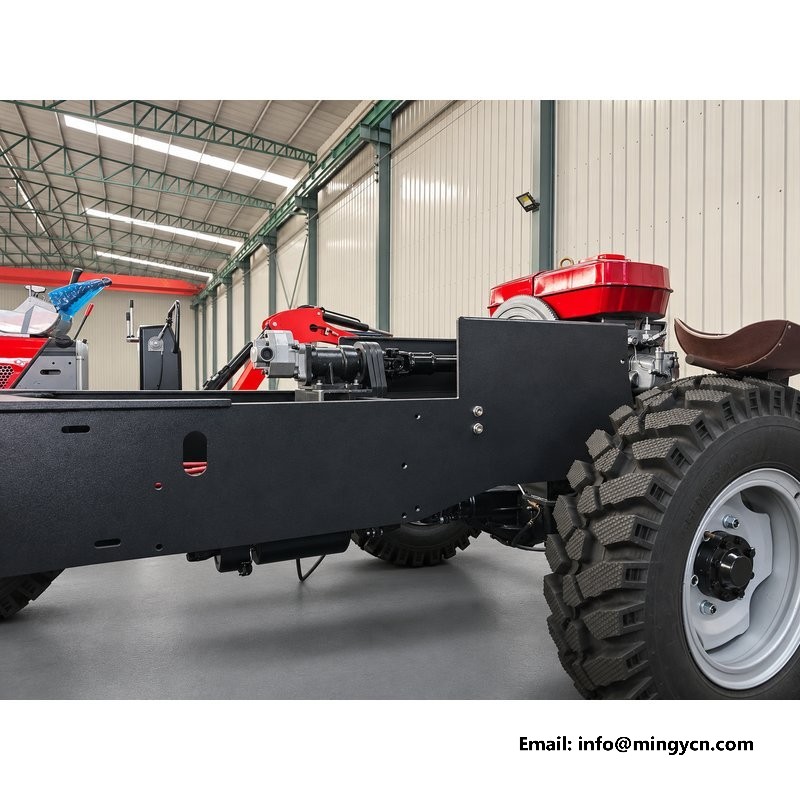
A bare chassis photograph is the most honest one a supplier can publish. With the drum, the cab and the shovel removed, nothing distracts from the quality of the steel, the alignment of the rails and the size of the welds. On this build the frame is a welded assembly of pressed plate sections: two main rails running the length of the machine, cross members at the axle stations, and a front module that carries the shovel lift arms, the counterweight box and the engine bed.
The loads are not gentle. A full batch puts roughly one and a half tonnes of shifting mass high above the rails, and every hole in a village road turns that mass into a twisting force between the front and rear axles. The frame answers with box sections rather than open channels, and with plate gussets at every point where a bracket meets a rail. Both details are visible in the photographs before the machine is ever painted.
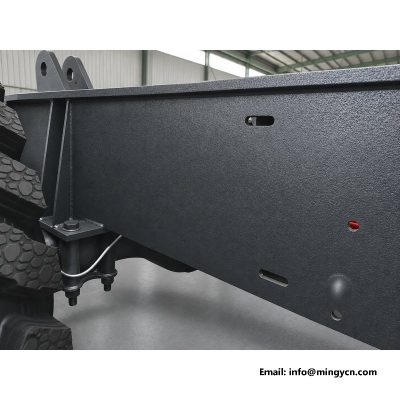
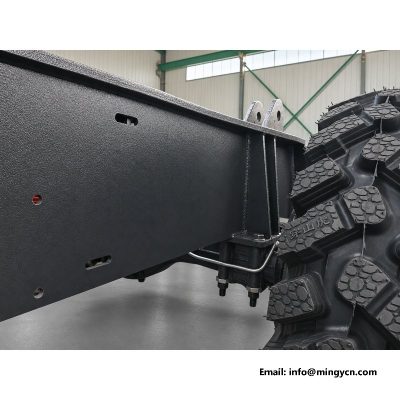
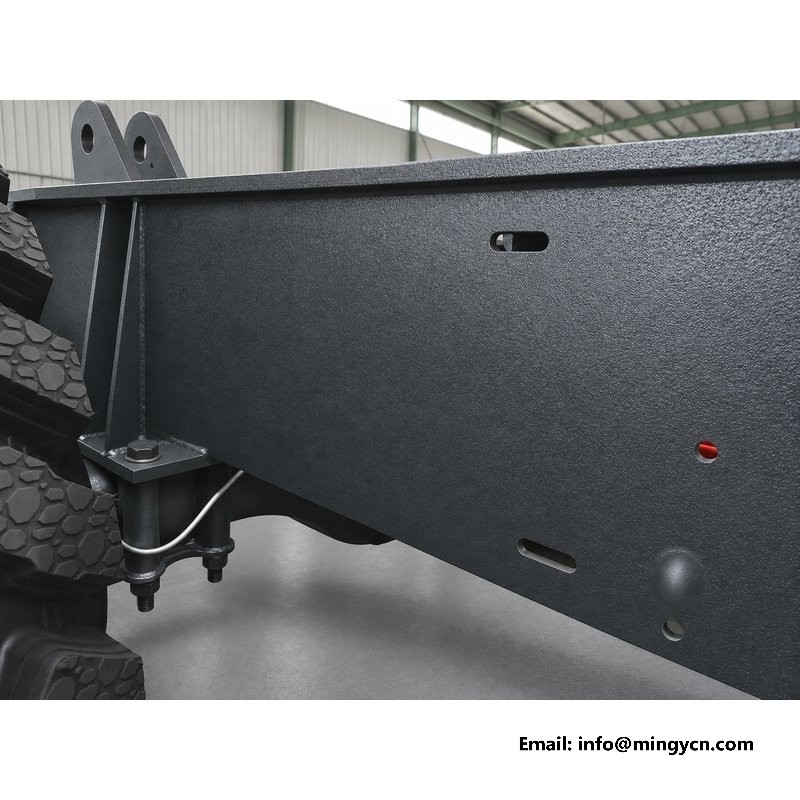
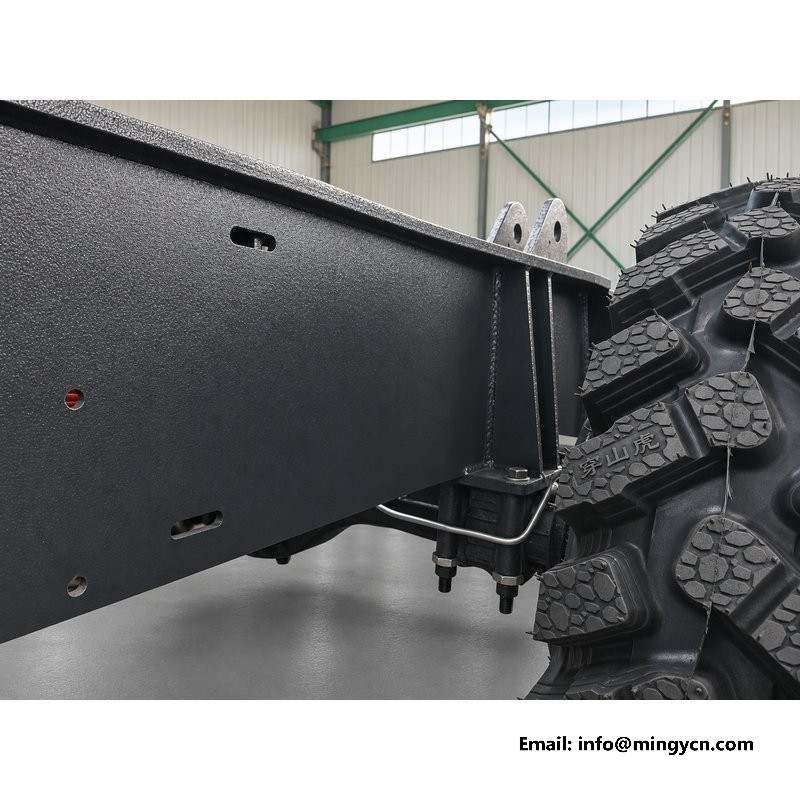
The main rails on this chassis are formed from thick plate into a closed section, which resists twisting far better than the open C-channels used on lighter machines. Closed sections cost more to produce because the ends must be closed and the inside protected, but on a mixer that works rutted ground daily, the difference shows up as a frame that stays straight instead of one that slowly winds out of alignment over its first two seasons.
Plate thickness is worth asking about by name. Stepping down one gauge on the side plates saves a few kilograms and a little cost, and it also removes most of the margin that separates a machine that lasts from one that cracks at the first hard season. The stepped cut-outs in the side plates in the photograph above are not decoration: they lighten the frame where bending load is lowest while keeping full depth where the axles mount.
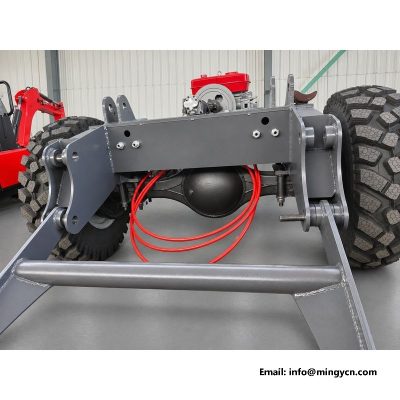
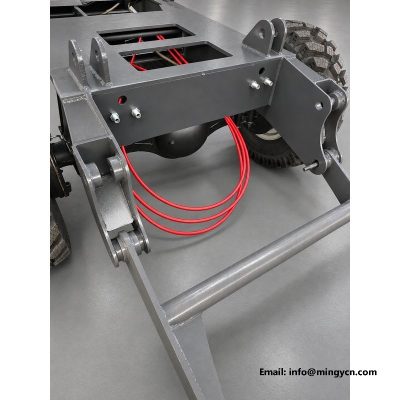
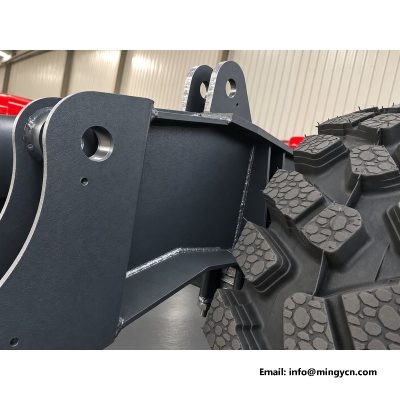
The shovel lift arms pivot on heavy bosses welded to the front frame, and these joints take the sharpest shocks on the whole machine. When the shovel edge digs into a stockpile, or when a loaded scoop is swung out over the drum mouth, the reaction does not go to the hydraulics first; it goes into these pivot plates and through them into the rails. The mounts on this build use thick plate with machined bush housings, bolted as well as welded, so a worn bush can be pressed and renewed without cutting the frame open.
This is one of the quiet differences between a properly built chassis and a light one. On light builds the pivot plates are thin and welded all round, and the first sign of trouble is a hairline crack at the weld toe in the second year. A bolted, bushed mount costs more at the factory and less at every year after that.
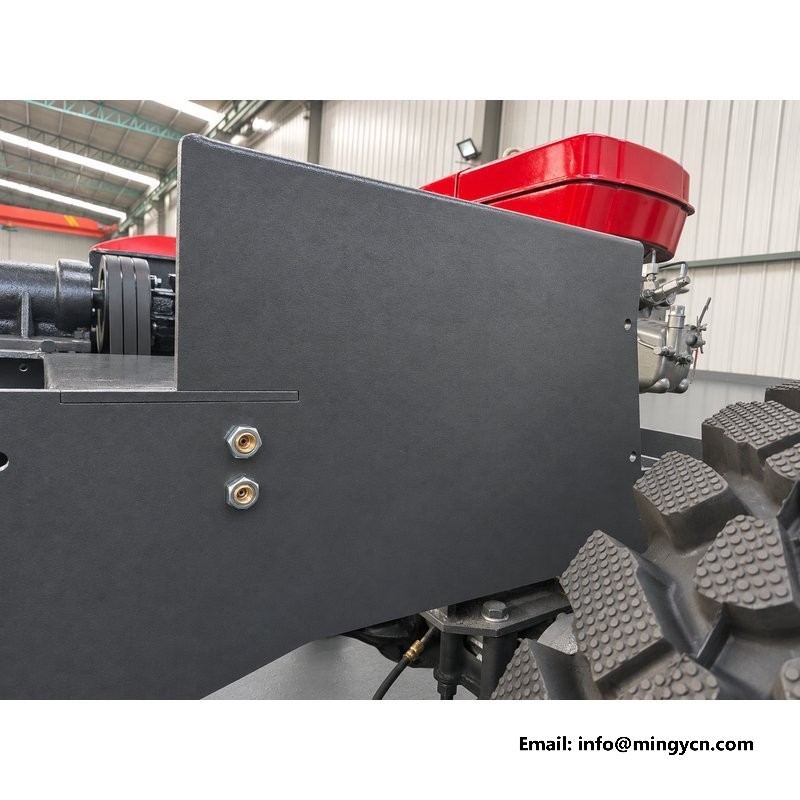
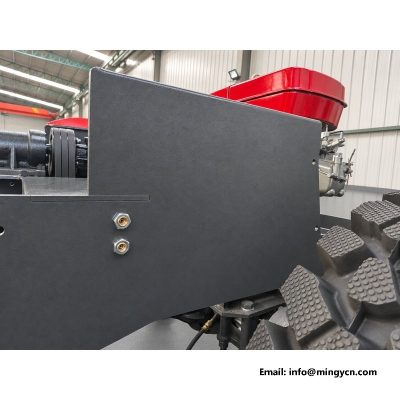
Paint hides welds, which is exactly why bare-chassis photographs matter. On this frame the principal joints are continuous fillet welds rather than stitch runs, and the brackets that carry point loads, such as the engine mounts and the lift arm bosses, are welded on all faces. A buyer looking at photographs like these should look for three things: weld legs that are consistent in width, no undercut along the plate edge, and brackets that land on gussets rather than floating on a flat plate.
The third point matters most over time. A bracket welded straight onto a rail without a gusset works the same patch of steel every time the machine flexes, and steel that is worked in one spot eventually complains. Gussets spread that working load along the rail instead of concentrating it under one weld toe.
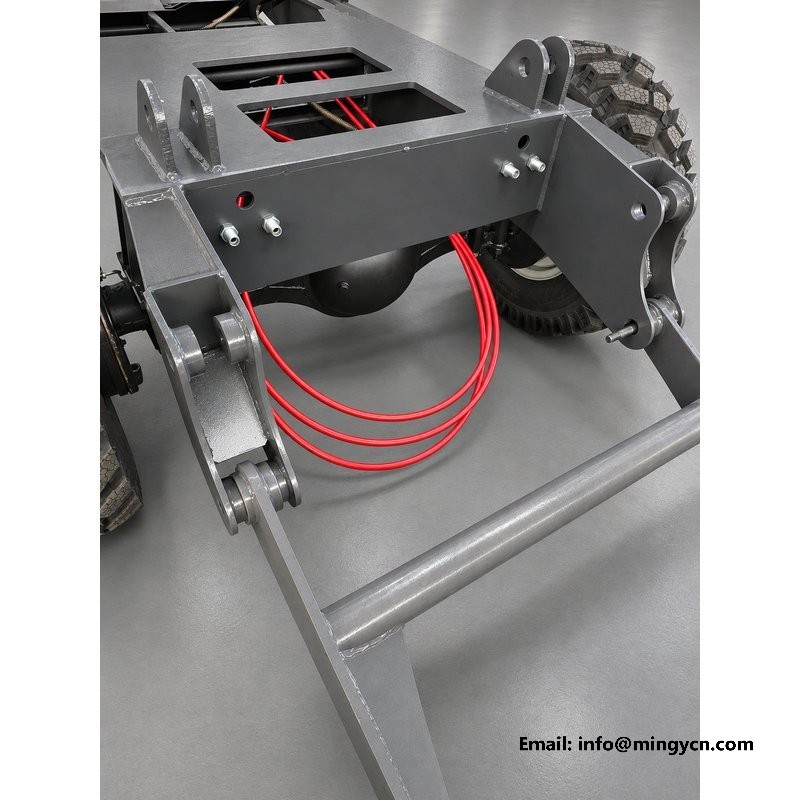
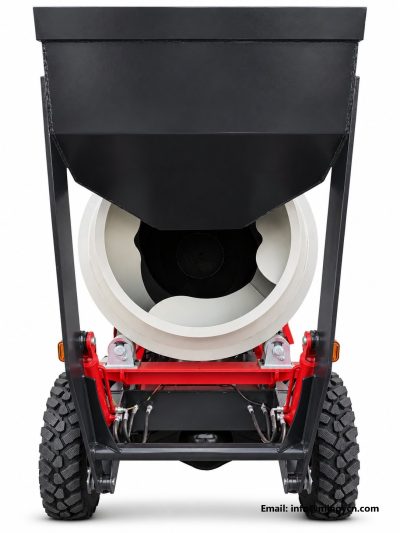
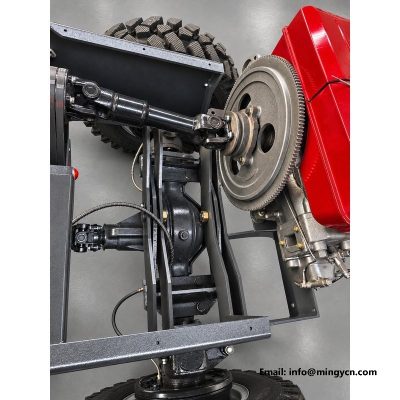
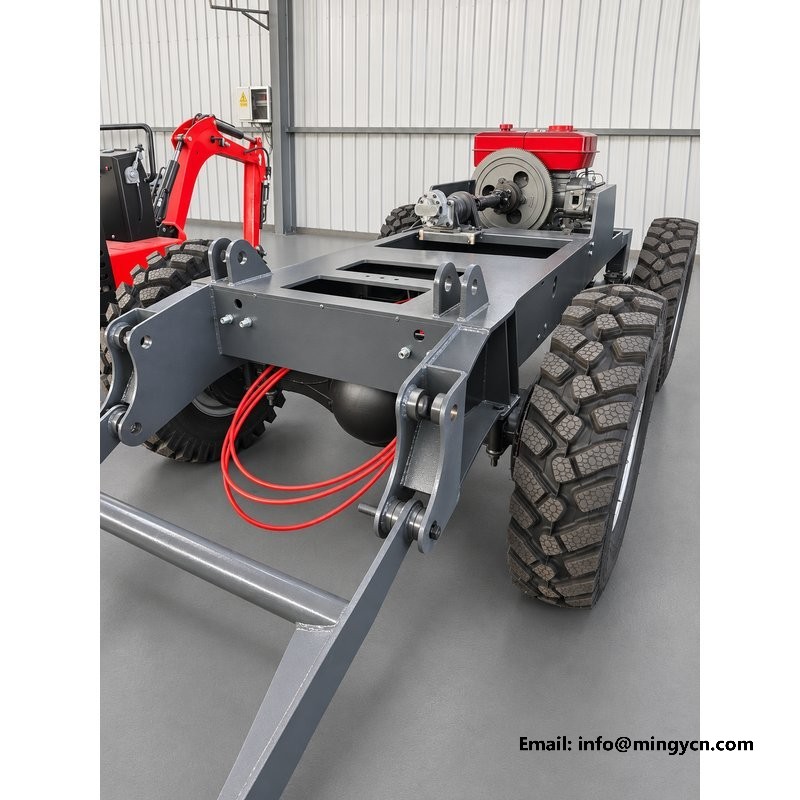
The top view above shows the mounting pattern clearly: drilled plates on the rails for the drum saddle, a flat machined bed for the engine with rubber isolators, and tapped holes for the water tank straps. Standardised mounting points are not glamorous, but they decide how easily the machine can be serviced years later. When every component bolts back onto the same drilled positions, a replacement drum or a new engine bed lines up without drilling and re-plating in the field.
The photograph also shows why the frame is built wide at the front. The lift arms need room to swing clear of the rails at full lift, and the wide stance keeps the shovel loading line inside the track width so the machine is not pulled sideways while digging.
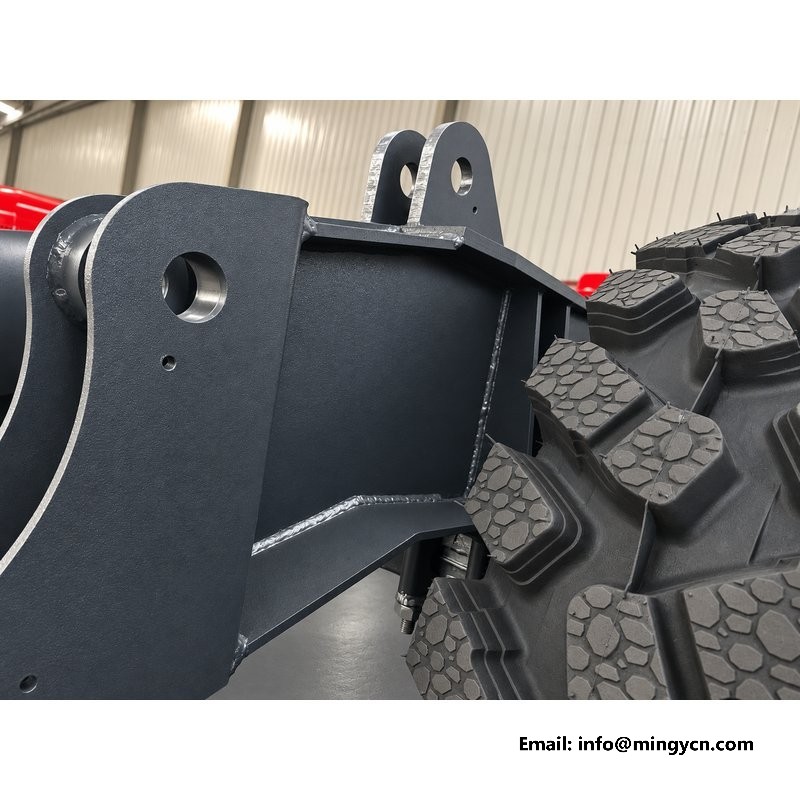
The front frame is cut away behind the shovel so that the approach angle stays useful on ramped ground. A mixer that bellies out on a kerb ramp loses half its value on a village site, because the route to the pour is often the hardest ground of the whole job. The reference clearance on this chassis is 204 mm at the lowest point, measured under the front cross member with the machine empty, and the lift arm plates are tapered so they do not hang below the rail line.
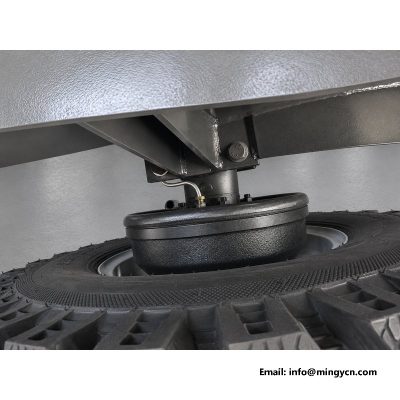
Deep lug tyres add to the effective clearance because their carcass stands taller than a highway pattern of the same rim size. On this build the 7.50-16 and 8.25-16 deep-lug fitment raises the frame another few millimetres over the standard tyre, which is worth remembering when comparing machines quoted with different tyres.
| Chassis reference — 0.8 m³ 4WD self-loading concrete mixer | |
|---|---|
| Rated capacity | 0.8 m³ |
| Rated load | 1,500 kg |
| Overall dimensions (L x W x H) | 3,500 x 1,600 x 2,200 mm |
| Frame type | welded closed-section rails with plate gussets |
| Front structure | steel counterweight box, bolted lift arm pivot mounts |
| Minimum ground clearance | 204 mm |
| Tyres | 8.25-16 front, 7.50-16 rear, deep lug |
| Transmission | 4WD |
| Engine | single-cylinder diesel / 25 hp class |
Figures are the standard transport configuration. Ask for the drawing of the mounting pattern if you plan to fit non-standard accessories, so holes are drilled at the factory rather than in the field.
With a full drum and the shovel carried high, the centre of gravity sits well above the rails, and every rut converts some of that height into twist. A closed-section frame distributes the twist along its length; an open channel concentrates it at the weakest weld. Over a season of daily work the difference is measurable in door gaps, drum alignment and how the discharge chute lines up with the formwork. Machines with tired frames start to crack the drum saddle welds and wear pivot bushes at twice the normal rate.
The practical advice for a buyer is to ask the supplier what the frame weighs bare. It is an odd question the first time, but it cuts straight to the point: a frame that is visibly heavier than the competition at the same rating has more steel in the rails, and steel is what a mixer chassis is made of.
Buyers of second-hand units can use the same photographs as a checklist. Look first at the lift arm pivot bosses for elongated bolt holes, which show the machine has been dug hard with a worn chain or slack bush. Look second at the welds around the drum saddle and the engine bed, where fatigue cracks start as rust lines. Third, sight along the top of the rails from front to rear: a frame that has taken a hard twist shows as a visible dogleg long before any crack appears.
A machine that passes those three checks is usually sound underneath its paint. One that fails the first check can still be a working machine, but its price should assume new bushes and a specialist welder.
Field repairs on this frame are straightforward because the structure is plate steel and the high-wear items bolt on. Pivot bushes, engine mounts and cross-member covers can all be renewed with ordinary workshop kit. Cracked welds at brackets can be re-welded after grinding back to clean metal, provided the crack has not run into the rail itself. A crack in a main rail section is a different matter: it needs a plated repair by a coded welder, and on a machine that carries a tonne and a half above the frame, a temporary patch is a false economy not worth defending.
The bolted lift arm mounts on this build exist precisely to keep the most stressed joints in the renewable category rather than the repair category.
Closed frame sections are only an advantage if water cannot sit inside them. This chassis drills drainage at the low points of every box run and leaves the interior accessible for the primer coat at the factory. On site, the maintenance that matters is just as simple: after the wet season, hose out the frame cavities, let them dry and brush on whatever the local agent supplies as touch-up. Rust on a mixer frame starts almost always at chipped edges around bolt holes, which is why the paint system and the touch-up routine belong in the same conversation as the steel itself.
In the container the machine is lifted and lashed by the frame, so the same structure that carries the batch also carries the whole machine through six weeks of road and sea transport. The fork pockets and lifting eyes on this build are welded directly to the main rails, which keeps lashing loads out of the drum saddle and the engine bed. At handover, check the lifting eyes for distortion; a bent eye means the machine was dragged rather than lifted somewhere along the way, and the frame deserves a second look if so.
Three lines belong in any order for this machine: the frame is closed-section rail with plate gussets at load points; the lift arm mounts are bolted with replaceable bushes; and the drainage holes are drilled in every closed section. None of the three adds cost worth arguing about, and all three decide how the machine behaves in its third year. Put them in the quotation, then check them against photographs like these before the container is stuffed.
Because everything that matters about build quality is visible before assembly covers it. Once the drum, tank and shovel are fitted, a buyer is comparing paintwork. The bare frame is where steel thickness, weld discipline and bracket design can actually be judged from a photograph.
The mounting pattern accepts the larger drum of the same series, but the axles, tyres and braking are matched to the 0.8 m³ rating. Changing drum size is a factory conversation, not a workshop job.
The chassis is primed and top-coated with the drainage holes left open, and cavities are wax injected on request for coastal or de-icing regions. Specify it at order time; it cannot be added properly after the machine has worked a season.
Sight along the rails for straightness, then work the lift arms through a full cycle and watch the pivot plates. A frame that runs true and pivots without knocking is a frame that was welded, transported and assembled properly.
Brackets, bushes and cross members are stocked items. Main rail sections are cut to order and shipped flat for local coded welding, which is cheaper and safer than shipping a welded assembly.
Contact MINGYI Machinery for the current 0.8 m³ self loading concrete mixer chassis specification, export packing and a formal quotation for your market. E-mail: sales@mingycn.com | LINE (ID): mingyicn
For the assembled machine built on this frame, see Reinforced Axle 0.8m3 Self Loading Mixer for Unpaved Sites and 0.8m3 4WD Self Loading Mixer with Operator Cab. For the full range, browse the mini self loading concrete mixer category and the self loading mixer buying guides.