1.5 m3 Self Loading Mixer Drum with Spiral Mixing Blades, Rounded Loading Mouth, Bolted Inspection Cover and Hydraulic Drive
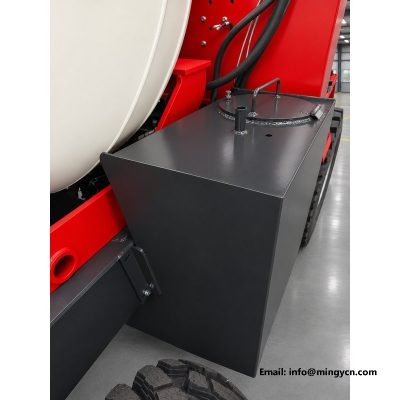
The photographs on this page look straight into the drum of the 1.5 m3 self loading mixer, which is the one view most product galleries leave out. What sits inside the shell decides whether the concrete leaving the chute is uniform or streaked with dry cement, and exterior paint cannot change that. This section covers the helical blades, the loading order, the reverse discharge, the end-of-shift washdown and the bolted inspection cover on the drum flank. It is written for a buyer who has to judge build quality from images and then live with the result on site. Read the close shots for weld continuity and blade condition, and use the whole-machine and water tank images to place each part in context.
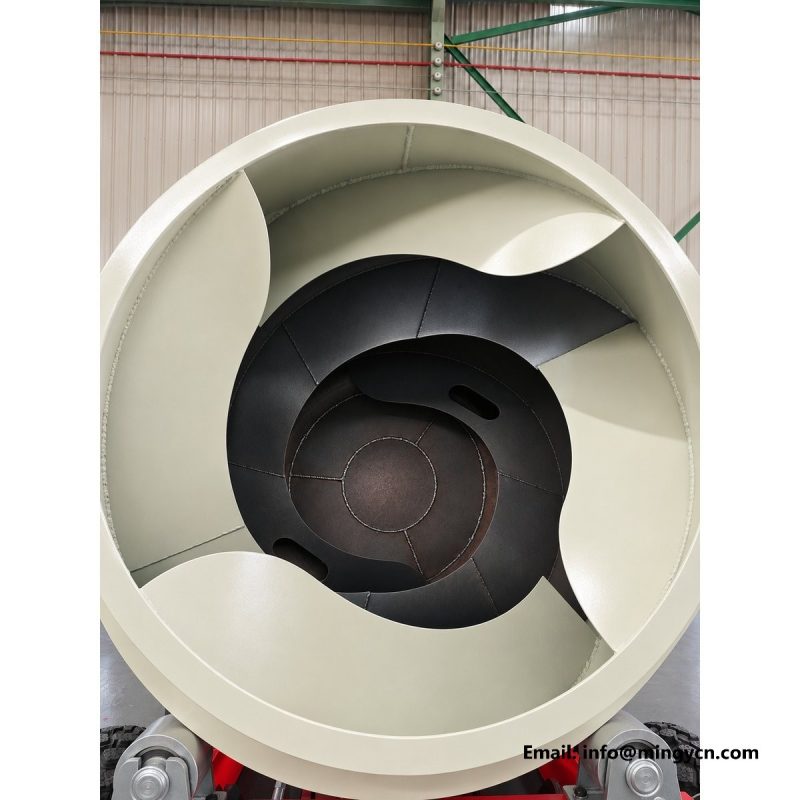
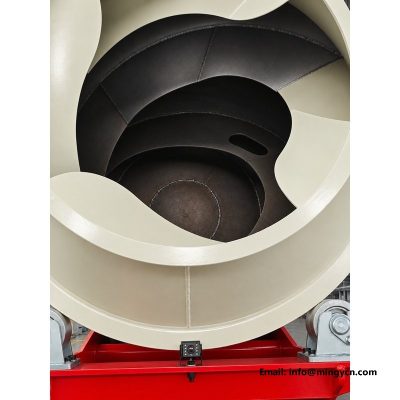
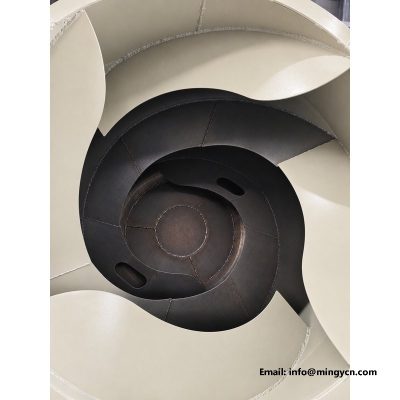
Shot through the drum mouth, the black helical blades are welded to the inner shell in a continuous spiral. During mixing, rotation carries material up the inclined face of a blade until gravity drops it back into the batch, so the load is folded over itself rather than simply sliding along the wall. That folding is what breaks up cement lumps and spreads water through the aggregate. The same spiral works in the other direction on discharge, driving the mix toward the opening instead of holding it in. When you study these interior photographs, look for an unbroken flight, smooth weld toes where the blade meets the shell, and no signs of patch repair. The condition of the shell surface matters as well, since a rough finish holds mortar that a smooth one sheds. A gap or a ragged weld at the blade root leaves a pocket where stiff concrete collects and hardens.
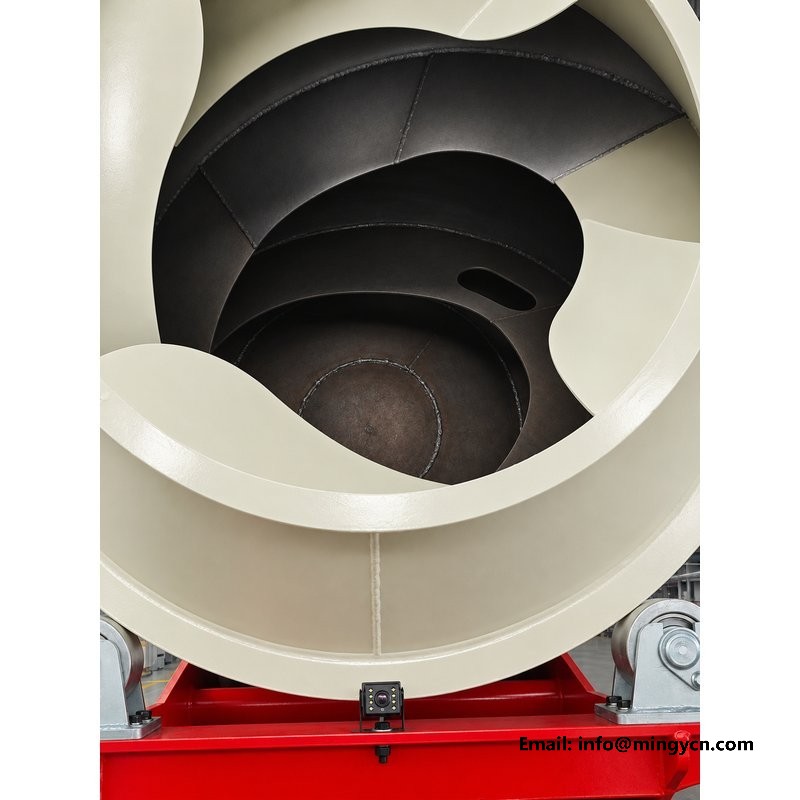
A drum-mouth view tells you more about the finished batch than a datasheet does. Stop the rotation, let the material settle, and look across the surface for pale streaks of dry cement, dark damp pockets, or balls of unmixed powder adhering to the wall. A uniform mix shows one consistent colour and a wet sheen that does not vary from the front of the drum to the back. Check near the blade roots as well, because build-up there hides fresh material from the folding action. If aggregate has separated and coarse stone has rolled to one side, the water dose or the loading order needs attention rather than the blades. Take your observation in daylight or with a work light held at an angle, since a flat overhead beam flattens the texture you are trying to read. Record what you see under the same light each time, so a gradual change is not dismissed as a one-off.
On a self loading mixer the shovel places aggregate into the drum in one pass, so the order in which water and cement join it decides how easily the batch comes together. Wetting the aggregate first and introducing cement into moving material keeps powder from smearing against the shell and forming hard balls that no amount of extra rotation will break down. Water metered from the onboard tank should be added steadily while the drum turns, not dumped in a single slug that washes cement off the blades. Keep the batch inside the nominal 1.5 m3, or 1,500 L, rating; overfilling leaves no headroom for the folding action and pushes mix out of the mouth on rough ground. Consistency between loads matters more than speed, because a crew that has to re-work a streaked batch loses the time it saved at the loading face.
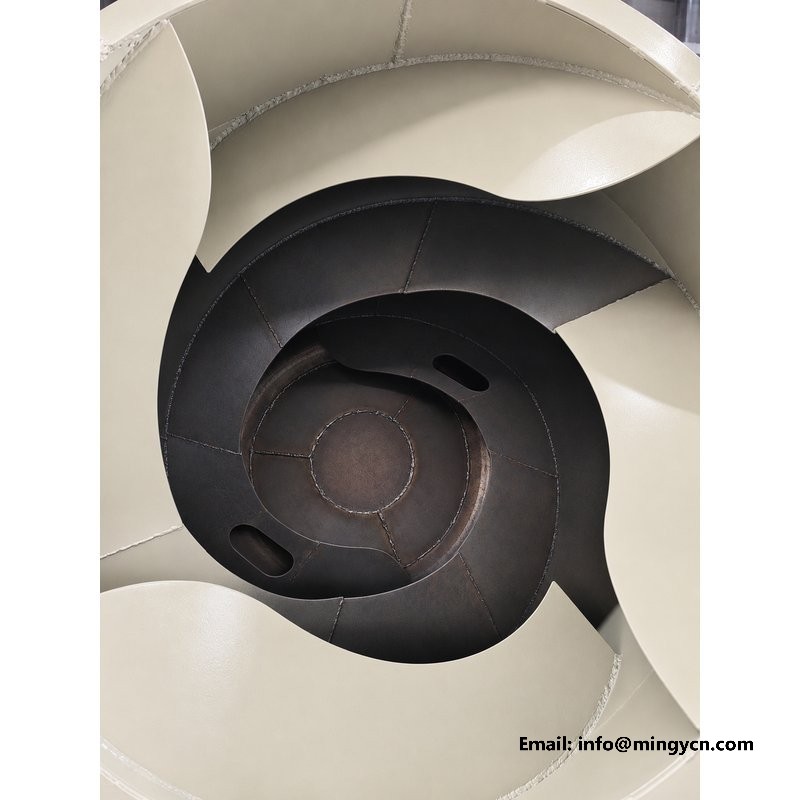
Discharge is not simply mixing stopped at a convenient moment. Reversing the drum makes the same spiral that lifted material now walk it toward the mouth and over the chute, which is why a worn or flattened blade shows up first as slow, hesitant unloading. The operator controls the rate by how the reverse drive is applied, easing the flow so the chute is not flooded and the mix does not segregate on the way out. It is worth separating two things that are easily confused: the drum reversing is a function of its hydraulic drive, while the reverse gear in the 4WD gearbox, three forward and one reverse plus road gear, moves the whole machine backward. Turning circle and gear descriptions follow the supplied data sheet, so their final definitions should be checked in the technical file before either is written into a site method statement.
Concrete left in the drum does not stay workable while the operator takes a break, so the washdown belongs at the end of every pour rather than at the end of the week. Charge clean water through the tank line, run the drum in both directions to scour the blades and the shell, then drain fully with the mouth down so no standing water dilutes the next batch. Open the bolted inspection cover to flush the pockets behind the blade roots where stiff material hides, and check that the drain path is clear of hardened lumps. Never attack the shell with a hammer or a sharp chisel to break cured concrete; bruised plate and damaged weld toes become the next place build-up starts. A drum that is washed promptly keeps its full 1,500 L working volume and mixes the following load at the same rate as the first.
Aggregate is abrasive, and the leading edge of a mixing blade loses thickness long before the rest of the drum shows any distress. During a scheduled inspection, run a light along each flight and compare the edge profile from the mouth to the far end; a rounded, thinned lip no longer lifts material cleanly and the batch starts to slide instead of fold. Look closely at the weld toe where the blade joins the shell, because that line takes both abrasion and the bending load of the charge. Hairline cracks, undercut, or a weld that has been ground back flush are all reasons to plan a repair rather than wait for a blade to tear. Hardfacing or a replacement flight restores the fold, but the decision depends on how much parent plate is left, which is exactly what a close interior photograph should be used to judge.
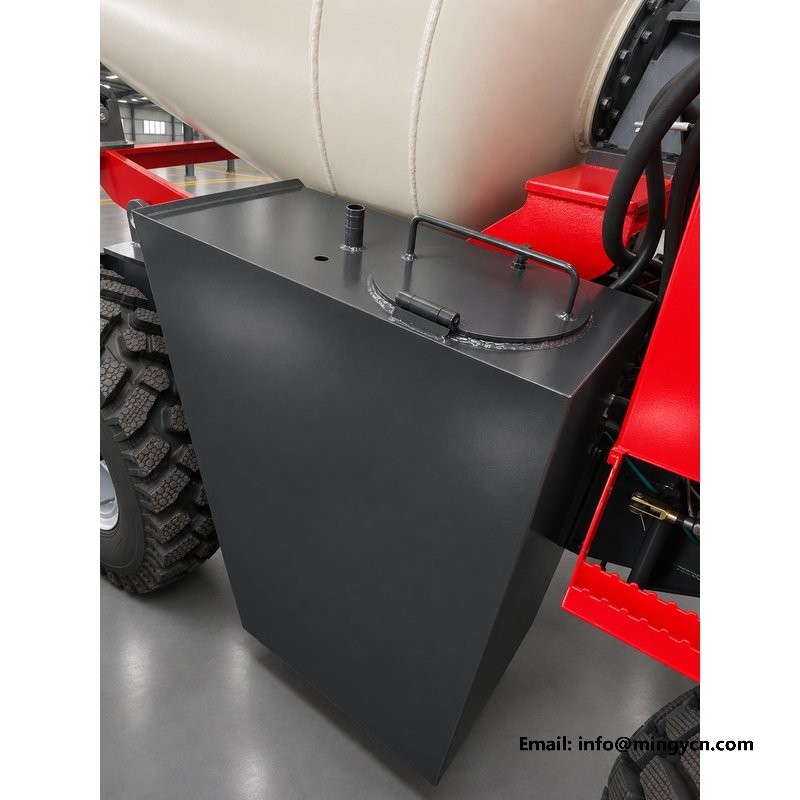
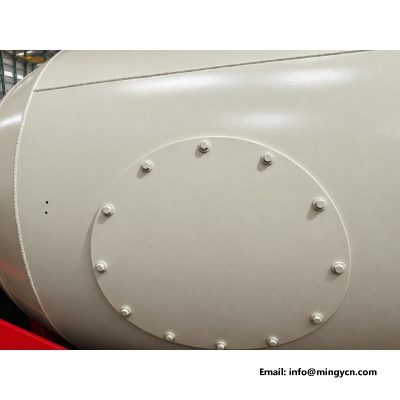
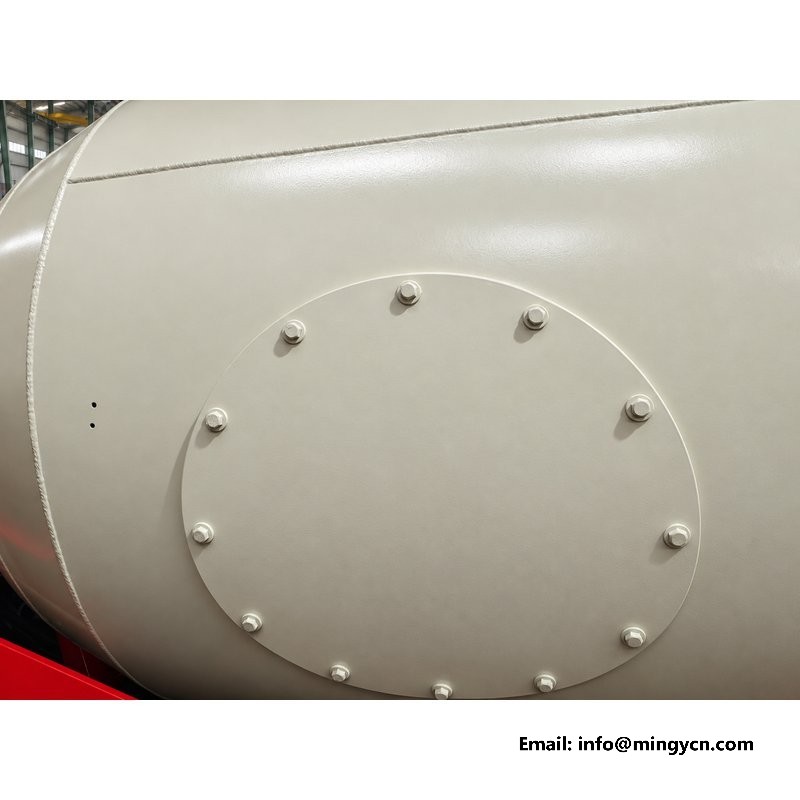
The circular inspection cover on the drum flank is held by a ring of bolts, and that joint is the most common source of the grey slurry streaks seen on otherwise clean machines. Check the gasket for flattening, splitting, or cement ground into its face, and replace it rather than tightening the bolts further to stop a weep. Tension the fasteners evenly around the ring so the cover seats square; pulling one side down first distorts the plate and opens a gap opposite. Inspect the bolt heads and threads for corrosion and the cover rim for dents from a carelessly set chute. A cover that seals properly keeps wash water and mix inside the drum, protects the surrounding paint, and gives a reliable access point for the blade inspection described above, so it is worth treating as a service item and not just a panel. Refit it only after the mating faces have been wiped clean of grit.
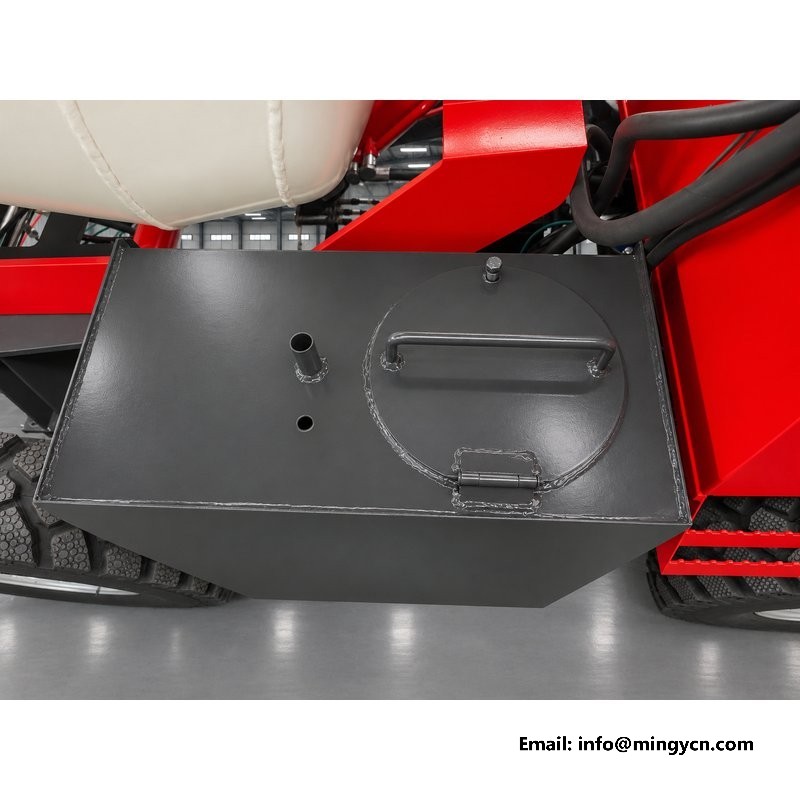
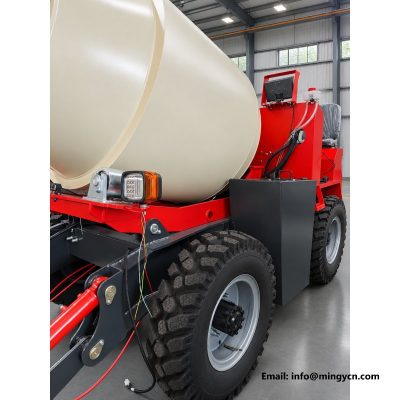
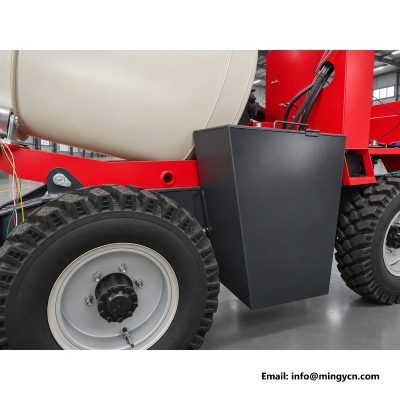
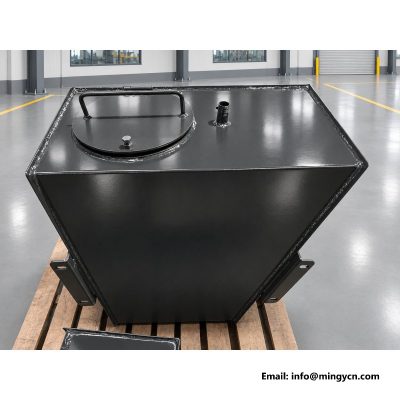
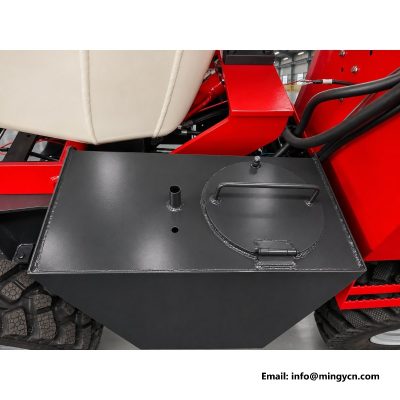
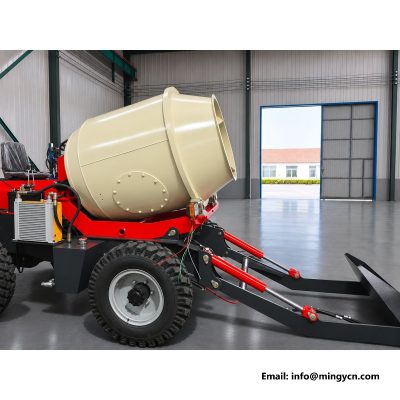
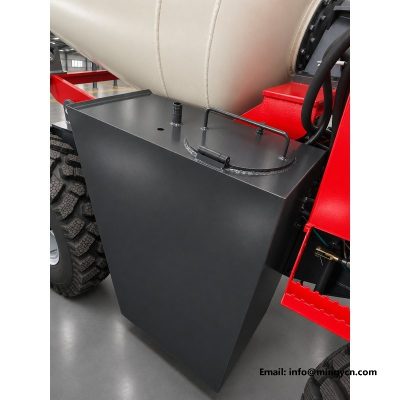
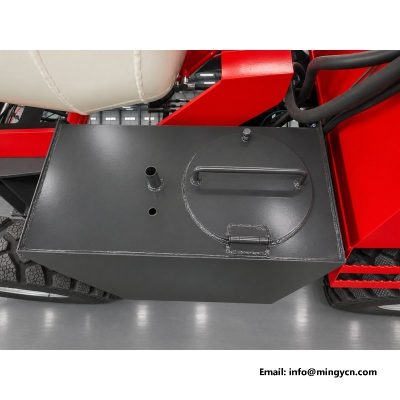
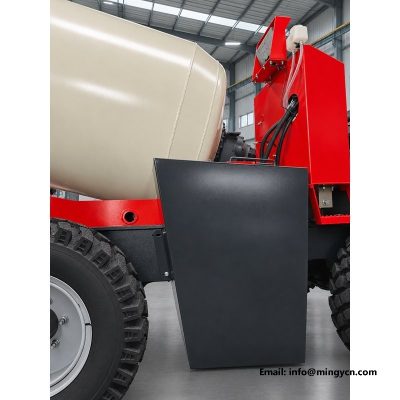
The three close shots taken through the drum mouth are the ones to study first. They show the black spiral flights, the weld line along the shell, and the condition of the inner surface with no exterior trim to distract from it. Look for a continuous, evenly pitched flight, weld toes that run without interruption, and an absence of rough patch plates or fresh grinding marks that hint at a repair. The side image of the circular cover with its ring of bolts tells you how the joint is finished and whether the gasket line sits flat. The whole-machine and water tank photographs are there to place those details in context, showing where the drum sits relative to the tank and the loading shovel. Judged together, the set lets a buyer assess the parts that a painted, assembled machine normally conceals, before any commitment to an order is made.
Streaked concrete usually traces back to the loading order or a worn blade rather than the cement itself, so check the fold and the water dosing before blaming the mix design. Cement balls point to powder meeting a dry shell, while a batch that stays stiff in one section suggests build-up behind a blade root sheltering material from the spiral. Slow discharge is almost always a reverse-drive or blade-edge problem, not a reason to tilt the machine further and risk spilling the load. Segregation, with coarse stone rolling clear of the paste, comes from too much water or an overfilled drum. A rhythmic knock during rotation deserves an immediate stop and an interior look, since a loose fragment or a cracked weld will damage the shell quickly. Working through these causes in order saves more time than adjusting settings at random, and it keeps a minor fault from being mistaken for a failing machine.
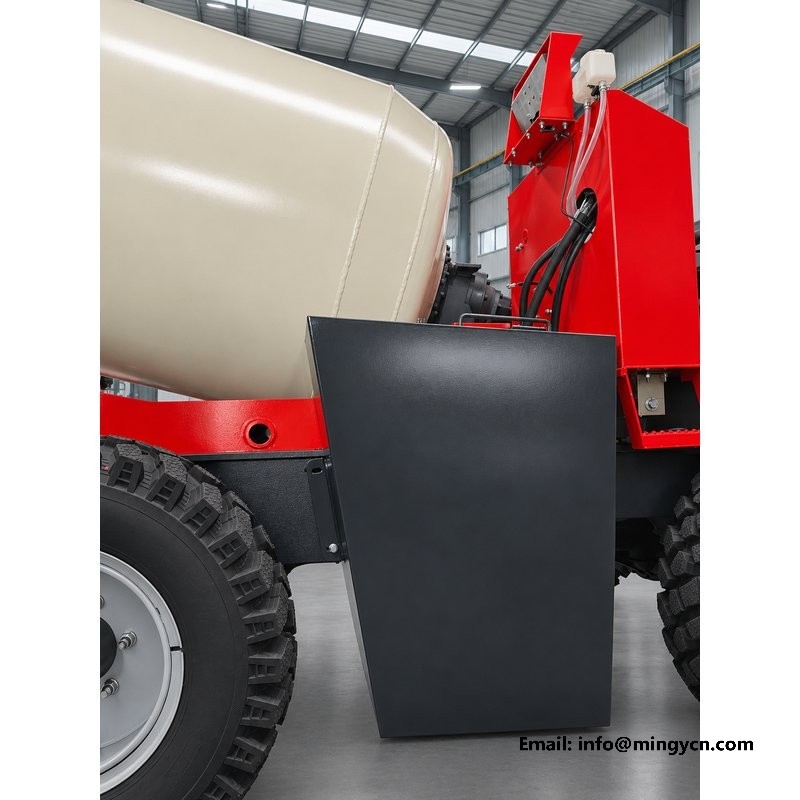
A thin skin of hardened mortar on the shell looks harmless at first, but it steadily reduces the working volume of a 1.5 m3 drum and changes how the charge moves. Material no longer slides over clean steel; it catches on the rough layer, and each shift adds another skin behind the blade roots where the spiral cannot scour it. The practical effect is a smaller effective batch, longer mixing, and a discharge that leaves more residue behind. Remove build-up while it is still young, during the routine washdown, using water and a blunt scraper that will not gouge the plate or a weld toe. If a layer has cured hard, soften it by soaking rather than chiselling, because a chipped shell creates exactly the rough spot that caused the deposit. Recording where build-up returns each week helps identify a flight that has quietly lost its edge.
A short, repeatable routine at the end of each shift protects the drum better than an occasional thorough overhaul. Wash the interior until the drain runs clear, then leave the mouth open so the shell dries instead of holding damp air against the blades. Walk the ring of cover bolts and re-tension any that have worked loose, and check the gasket line for the first sign of a weep. Look along each flight for fresh wear or a new crack at the weld toe, and note it while the machine is clean and the light is good. Confirm that the chute and the drain path are free of hardened lumps. Grease and fastener checks on the surrounding mounts belong in the same pass, since vibration from the single-cylinder diesel 25 hp engine is felt through the whole assembly. Keep a simple written log so a slow change is visible over weeks rather than discovered during a breakdown.
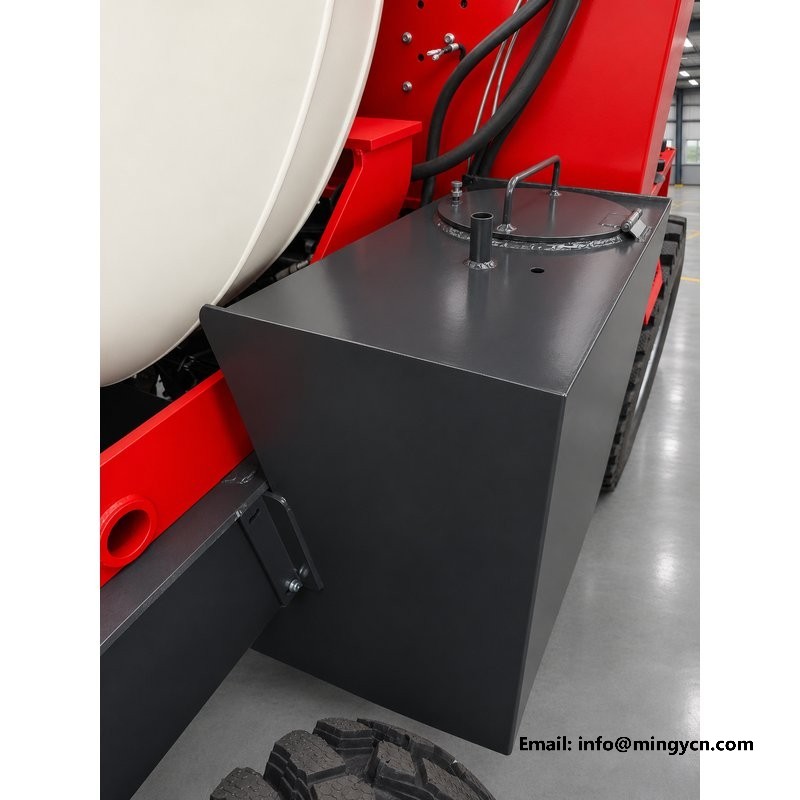
Drum condition shows up fastest on jobs with many small pours rather than one continuous placement. A crew casting foundations across scattered rural plots loads, mixes, discharges and moves repeatedly, so every batch has to reach uniformity quickly and leave the drum clean for the next one. That pattern suits a machine rated at 5,000 kg with a 1,500 L drum, but it also punishes any blade wear or build-up, because there is no long run to average out a bad load. Machines that travel between sites at up to 24 km/h and cross rutted tracks with 204 mm of ground clearance arrive with the charge already shaken, which makes a sound interior and a sealed cover more important, not less. For rental fleets, where the next operator inherits the previous one's washdown habits, a clean, unworn drum is the clearest sign of how the unit has actually been kept.
| 1.5 m³ self loading concrete mixer — drum interior, spiral blades, mixing action, discharge | |
|---|---|
| Model | 1.5 m³ 4WD self loading concrete mixer |
| Nominal drum capacity | 1.5 m³ (1,500 L) |
| Turning circle (outer tyre edge) | 2,464 mm |
| Engine | Single-cylinder diesel, 25 hp |
Turning circle and gearbox descriptions follow the supplied data sheet; final definitions should be confirmed in the technical file before order.
There is no fixed interval that suits every site, so tie the inspection to how the machine is used. A glance through the mouth belongs in the end-of-shift washdown, while a closer check of blade edges, weld toes and the cover gasket fits into a weekly review. Inspect immediately after any unusual knock, a slow discharge, or a streaked batch. Consistency matters most: a short look taken often catches build-up and wear while they are still cheap to correct.
Yes, in most cases a thinned flight can be hardfaced or a damaged section replaced without scrapping the drum. The deciding factor is how much parent plate remains along the blade root and the shell. A welded repair should restore the original spiral profile, because a patch that sits proud or leaves a gap will disturb the fold and create a new pocket for build-up. Ask the supplier to show the weld procedure and the finished profile, and judge the result from an interior photograph rather than a description.
Reverse rotation is for emptying the drum, not for a second mixing stage, and used correctly it should not harm the batch. The spiral simply walks material toward the mouth; the operator eases the flow so the chute is not flooded and coarse aggregate does not roll clear of the paste. Do not confuse this with the reverse gear in the gearbox, which moves the whole machine. Turning circle and gear definitions follow the supplied data sheet, so verify them against the technical file rather than quoting them loosely.
For the current 1.5 m³ self loading concrete mixer specification, engine options and a formal quotation for your market, contact MINGYI Machinery. E-mail: sales@mingycn.com | LINE (ID): mingyicn
0.8m3 Mixing Drum: Shell, Loading Mouth and Motor Mounting · Self-Loading Drum Mixer vs Pan Mixer: Which Suits the Job · Mobile Concrete Batching on a Single Chassis: 0.8 m³ per Drum · 4WD Diesel Tilting Drum Mixer: Rotation Both Ways
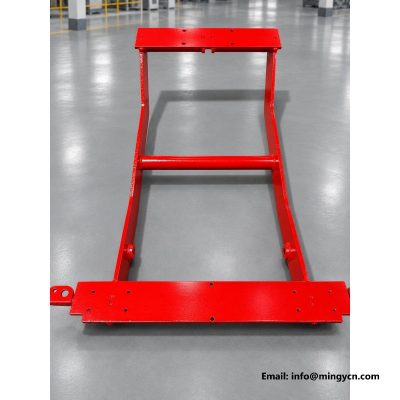
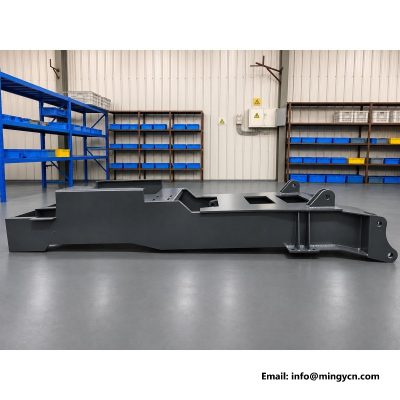
More in the 1.5 m³ series: Reversing Camera and Monitor on the 1.5m3 Self Loading Mixer · Welded Chassis Frame on the 1.5m3 Self Loading Mixer · Roll Bar and Operator Guard on the 1.5m3 Self Loading Mixer