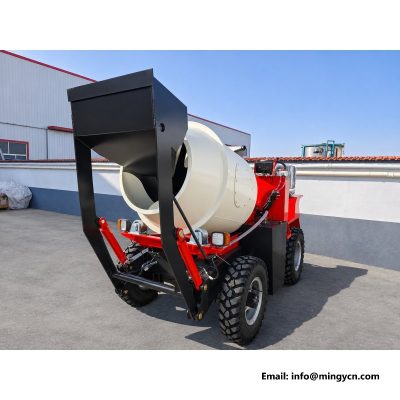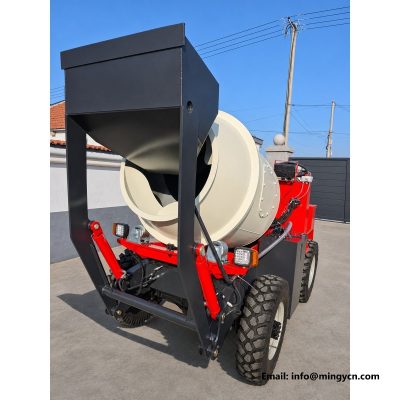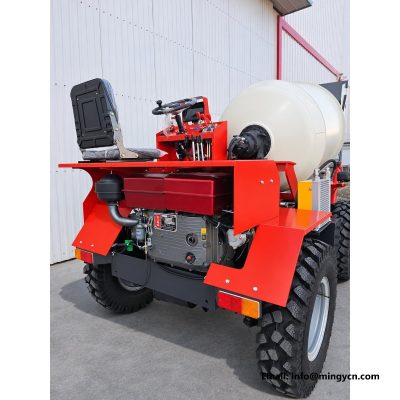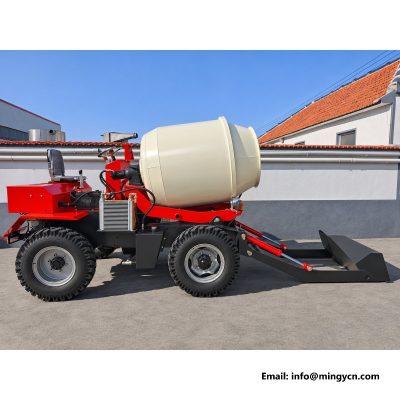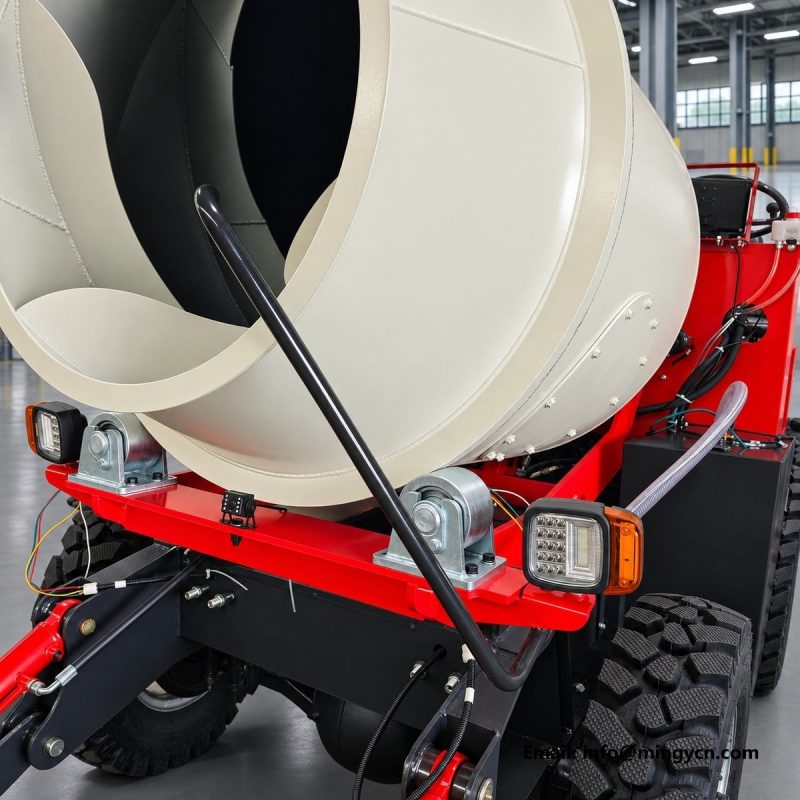
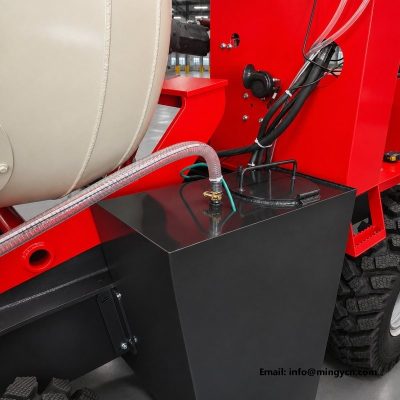
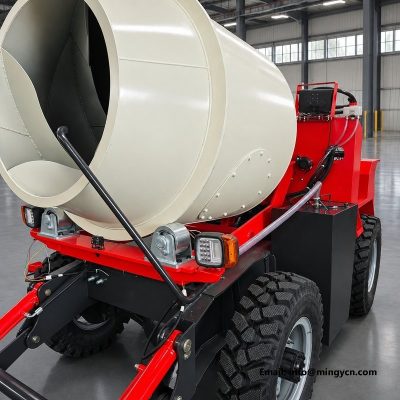
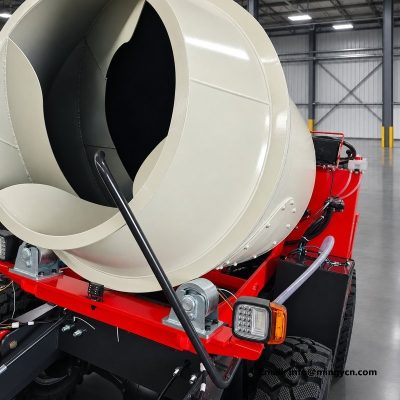
top-fill water tank for 1.5m3 self loading mixer
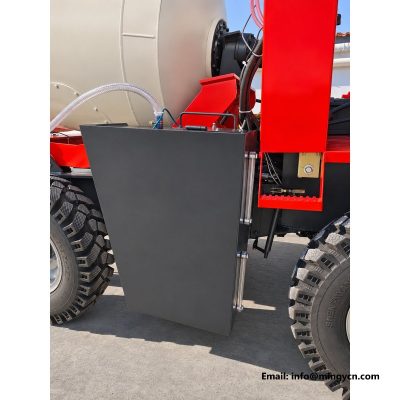
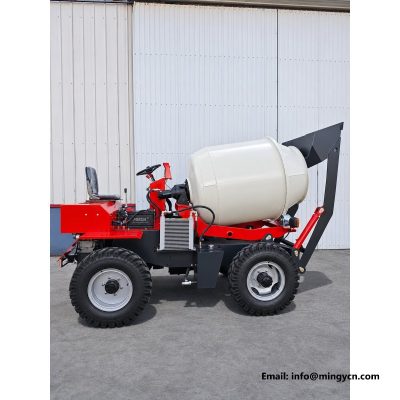
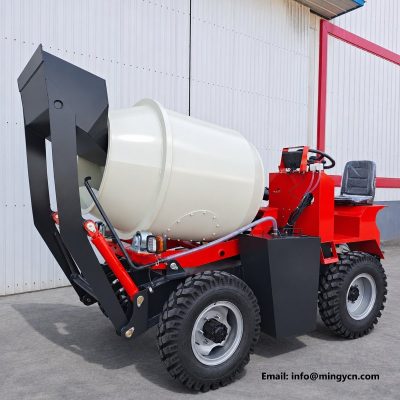
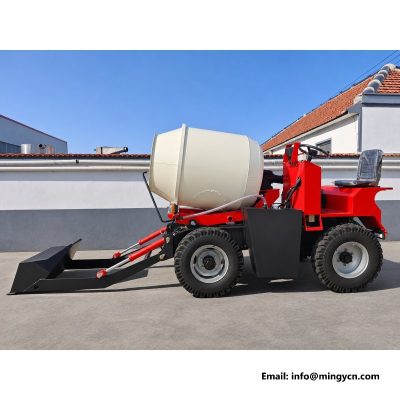
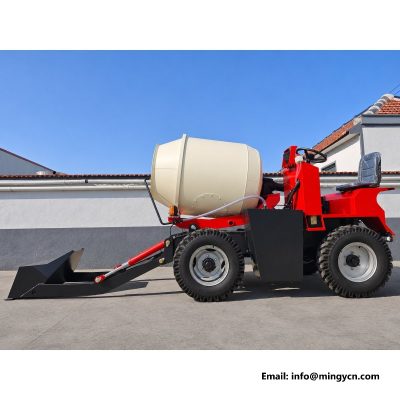
The water tank on a self loading mixer is easy to overlook because it is small and simple, but it controls the single most important ingredient in every batch. This page examines the top-fill steel tank fitted to the 1.5 cubic metre mixer, shown in the photographs from several angles against the wheels and the drum. The text explains why the tank fills from the top, where it sits and what that does to the machine's balance, how the water is dosed into the mix, and how the tank is cleaned, checked and accepted at delivery. Nothing here invents a capacity or a dimension; the photographs and the supplier's data sheet carry those numbers, and this page teaches you how to judge the tank itself.
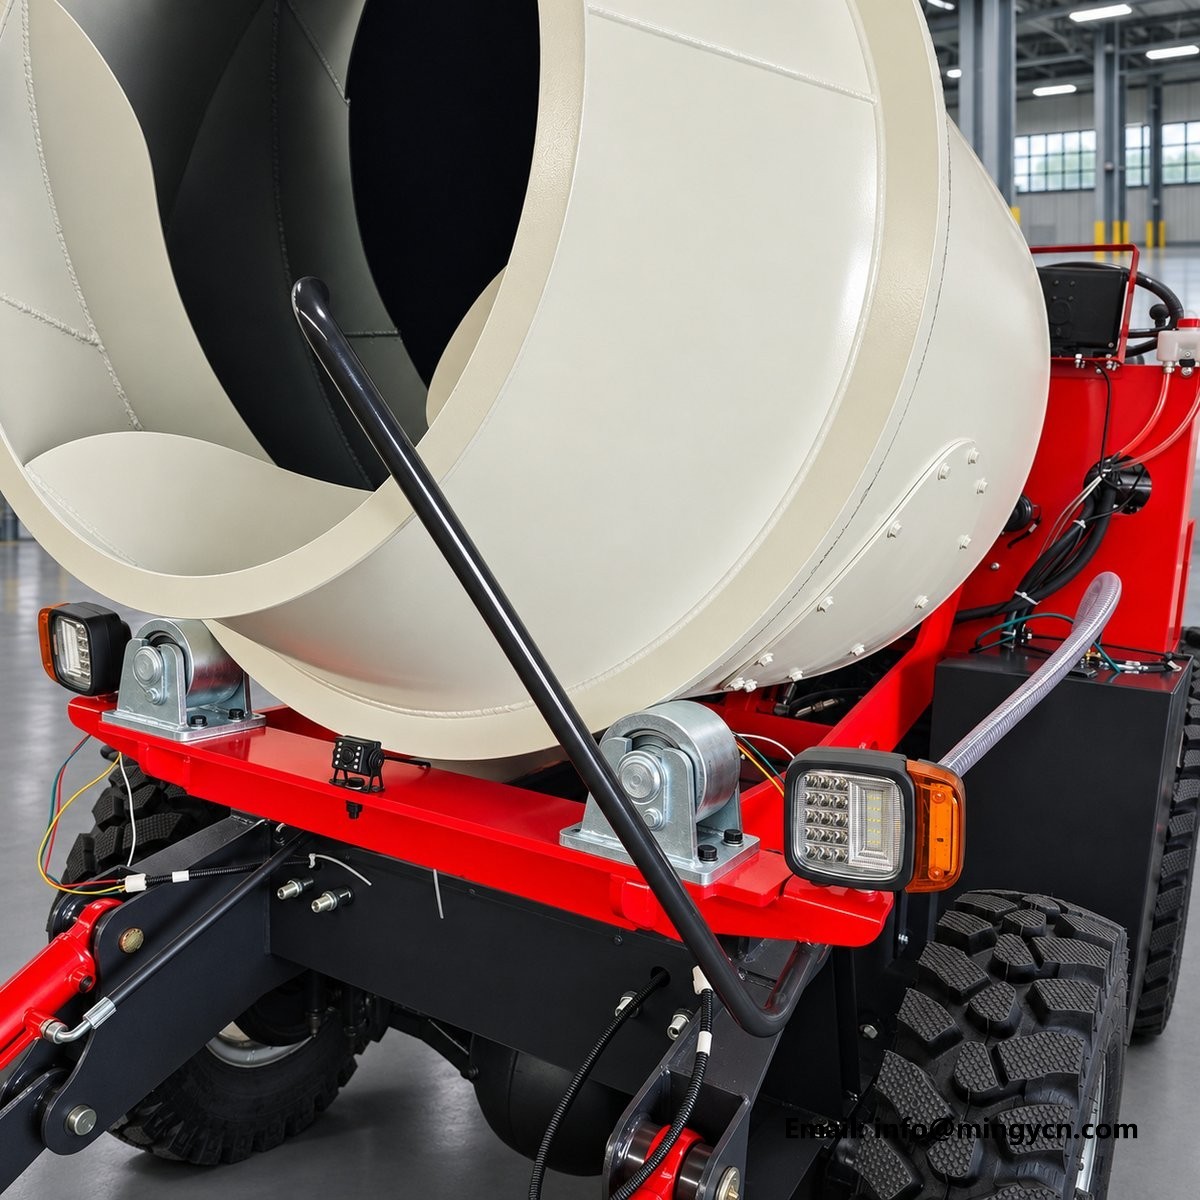
Water is the cheapest ingredient in concrete and the easiest to get wrong, and a mixer's water tank exists so that the operator adds it in a controlled way rather than tipping a bucket in. The 1.5 cubic metre self loading mixer shown on this page carries its water in a top-fill steel tank fixed to the chassis, and the photographs show that tank from several angles so a buyer can see how it sits, how it fills and how it is checked. The point of the tank is not just storage; it is dosing. Concrete that gets its water too late or too fast cures weak and cracks, and the difference between a strong slab and a weak one is often a few litres added at the wrong moment. The tank turns a guess into a procedure.
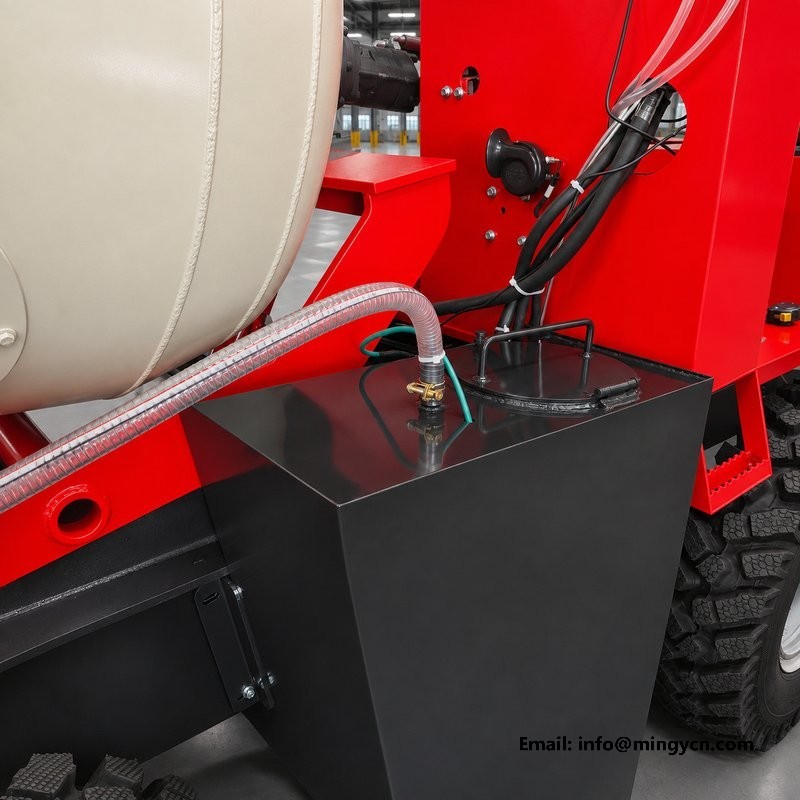
The tank in the photographs fills from the top, and that placement is a deliberate choice about how water reaches the drum. A top opening lets the operator fill from a hose, a header tank or simply by standing at ground level with a supply pipe, without climbing onto the machine or crawling underneath it. The opening is sized to take a normal water hose without splashing back, and its rim is raised so rainwater and road spray do not run into the tank through a low opening. Because the fill point is high, gravity does the rest of the work: water drops into the tank and then flows out to the drum under its own head. A top fill is also easier to clean, since the whole opening can be inspected from above.
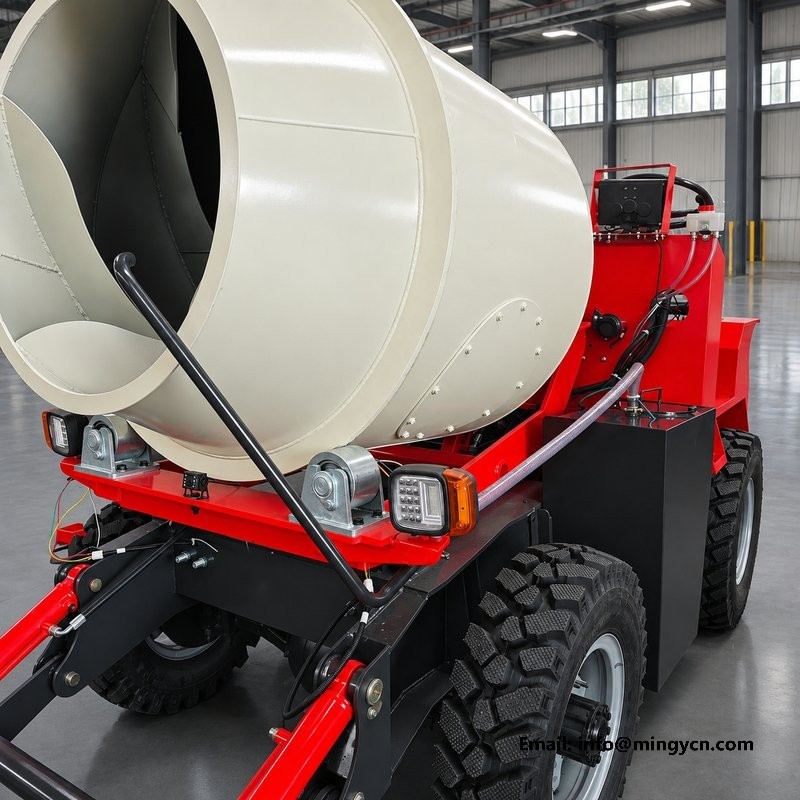
Where the tank sits matters as much as how it fills, because a mixer carries a heavy, sloshing load that moves as the machine climbs and turns. On this build the tank is mounted on the chassis, low and close to the machine's centre line, so the water does not sit high above the wheels where it would raise the centre of gravity and make the machine tippier on a slope. A tank placed low keeps the weight where the machine is widest and stiffest, and it shortens the run of pipe between the tank and the drum. The photographs show the tank against the wheels and the drum so a buyer can judge that position directly. A stable mixer loads, travels and pours more safely, and the water's placement is part of that stability.
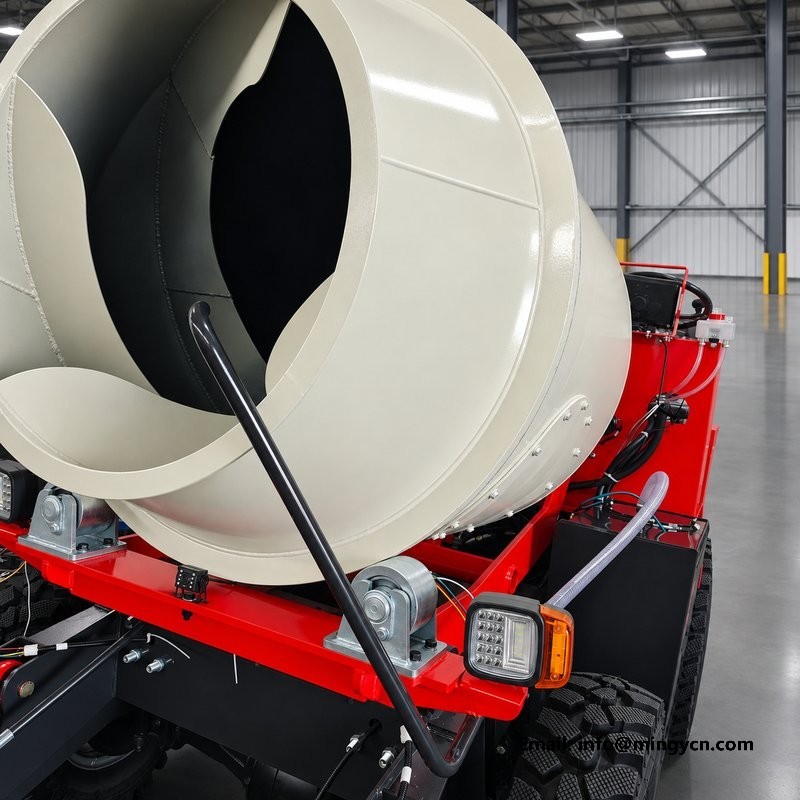
The tank is not a simple box; it is a trapezoid in side profile, wider at the bottom and tapering toward the top, and the shape is chosen for the way it fits the machine. The narrow top keeps the filled tank's mass low and leaves clearance for the drum and the hoses that run above it, while the wider base uses the space between the wheels where the frame is strong. A tapered tank also drains completely, because the bottom slopes toward the outlet and leaves no dead corner where water would stand and rust. The steel construction is visible in the photographs, black-finished, with the seams and the mounting straps on display. A tank that follows the frame rather than fighting it is one more sign the machine was designed as a whole.
The tank's real job begins when the operator opens the valve and sends water to the drum at the right point in the batching cycle. Concrete mixed too dry will not flow or compact, and concrete mixed too wet loses its strength, so the water is added in stages: part with the dry materials, part as the mix turns, and the last amount as the operator watches the slump. The tank makes this possible because it holds the water under pressure at a known outlet, so the flow can be opened and closed cleanly rather than tipped in all at once. A good operator learns how long to hold the valve for a given batch, and that habit, repeated, is what gives a customer the same concrete every time.
Water tanks live in a wet world, and the inside of this one never dries completely, so its steel has to be protected from both sides. The black finish on the outside is a paint or coating that keeps rain and splash off the metal, and the photographs let a buyer check that the coating covers the seams and the mounting points where rust always starts. The inside is the harder fight, and the defence is simple: drain the tank when the machine stands idle, and flush it with clean water when it has held anything but clean water. A tank that is left part full for weeks grows scale and rust, and that debris travels down the pipe and into the concrete or blocks the valve. Keeping the tank dry when idle is the cheapest maintenance on the machine.
The tank should be on the operator's short list every morning, alongside the engine oil and the tyres, and the checks are quick. Look at the fill opening and the cover, and make sure nothing has fallen in and no debris is resting in the mouth. Check the outlet valve and the pipe run for drips, because a slow leak at a fitting wastes water and can bleed a tank dry overnight. Check the mounting straps and the brackets for looseness, since a full tank is heavy and a loose strap lets the tank work against the chassis on rough ground. Feel the tank for rust bloom at the seams and the bottom edge. None of these checks takes more than a minute, and together they catch every tank failure before it becomes a broken weld or a seized valve.
The photographs show an access cover on the tank, and it is there for a reason most buyers discover the first time the tank needs cleaning. A closed tank with no opening can only be cleaned through the fill pipe, which is slow and incomplete; an access cover lets the operator reach inside, brush the scale off the walls and inspect the interior properly. The cover should be seated with a gasket so it seals against splash and dust, and its fasteners should be easy to turn by hand, because a cover that needs a tool and a struggle will not be opened often enough. Behind the cover a buyer should expect to see the same care as on the outside: a clean interior, no loose scale, and an outlet that is clear and low in the tank.
The photographs place the tank in its working context, between the wheels and the drum, and that context explains several of its details. The tank is tucked inboard of the tyres so it does not widen the machine or catch on obstacles when the mixer turns through a gate or along a wall. Its top stays below the drum's operating line, so the drum and its drive do not have to be raised to make room for the water, and the fill opening remains reachable from the ground beside the wheel. The pipe run from the tank to the drum is short and follows the chassis, which means fewer fittings, less exposed pipe and less to leak. Every one of these choices is visible in the photographs if you look at the tank as part of the machine rather than an accessory bolted on.
A buyer accepting this machine should treat the tank as a system to be specified and checked, not a box to be assumed. Ask the supplier for the tank's capacity, the coating used inside and out, and the size of the outlet and fill opening, and check those against how you will fill and draw water on your own site. On delivery, run clean water through the tank, watch for drips at every fitting, and confirm the valve opens and closes fully and the access cover seals. Make sure the tank is mounted to the chassis with the straps tight and the brackets sound, because a full tank on rough ground will find any loose mount. A tank that fills easily, holds clean water and doses reliably is a working part of the machine, and it deserves to be accepted as one.
Because the timing and amount of water decide the concrete's strength and workability. A mix that is too dry will not compact, and one that is too wet loses strength. The tank lets the operator add water in stages: part with the dry materials, part while the drum turns, and the last amount while watching the slump. This controlled flow, opened and closed at a valve, turns the water into a measured ingredient instead of a guess. The result is the same concrete batch after batch, which is what a customer pays for.
Drain the tank whenever the machine stands idle, because standing water grows scale and rust that will travel into the pipe and block the valve. Flush it with clean water if it has held anything but clean water. Check the fill opening, the access cover and the outlet valve daily for debris and drips, and keep the mounting straps tight, since a full tank is heavy and rough ground will work a loose strap. Brush the interior through the access cover when scale appears. Keeping the tank dry when idle is the cheapest maintenance the machine has.
For the current specification, build options and a formal quotation for your market, contact MINGYI Machinery. E-mail: sales@mingycn.com | LINE (ID): mingyicn
1.5m3 Self Loading Mixer Water Tank: Filler, Capacity and Mounting · Water Tank Fabrication on the 1.5m3 Mixer: Welds and Baffles · 1.5 m3 Self Loading Concrete Mixer: Full Specification and Walkaround