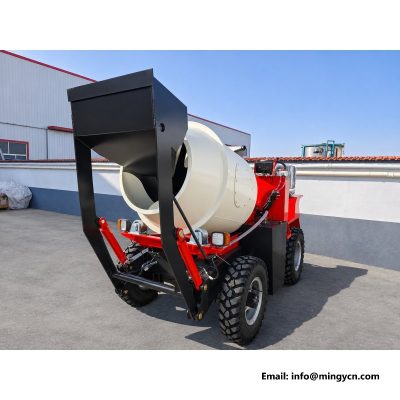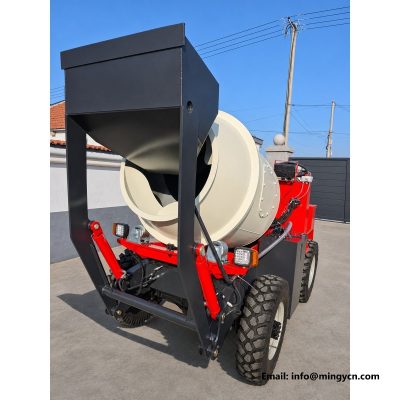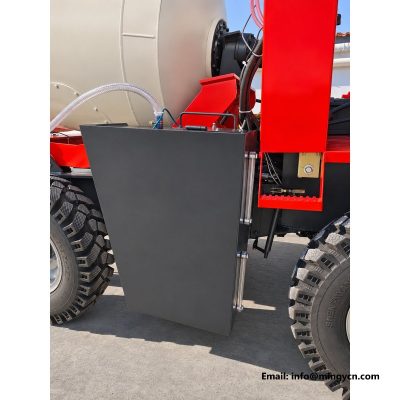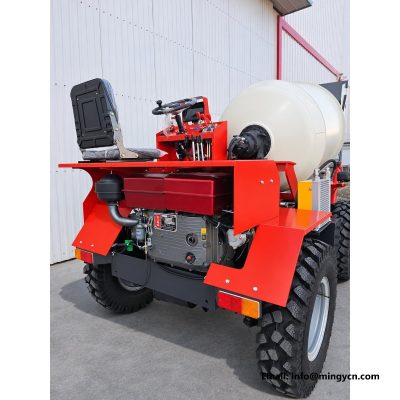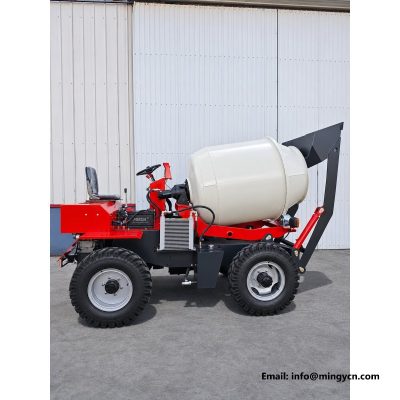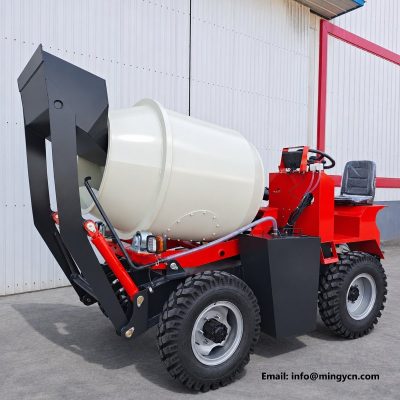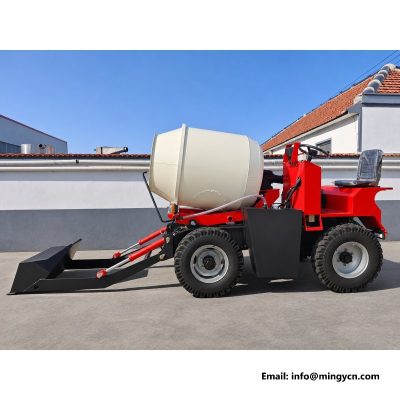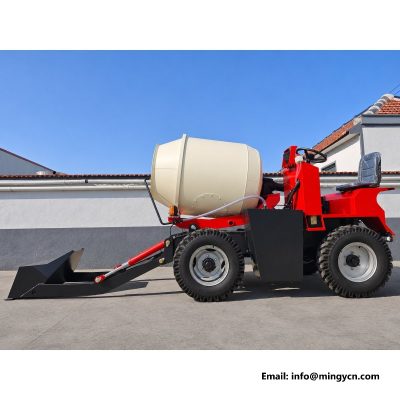
loading hopper and lift arm for 1.5m3 self loading mixer
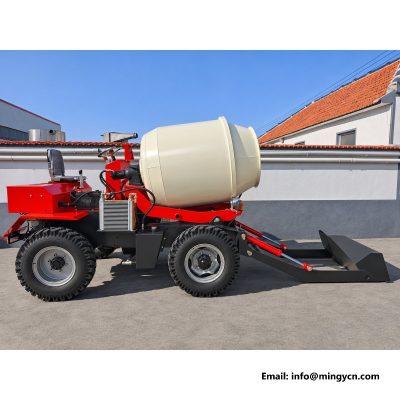
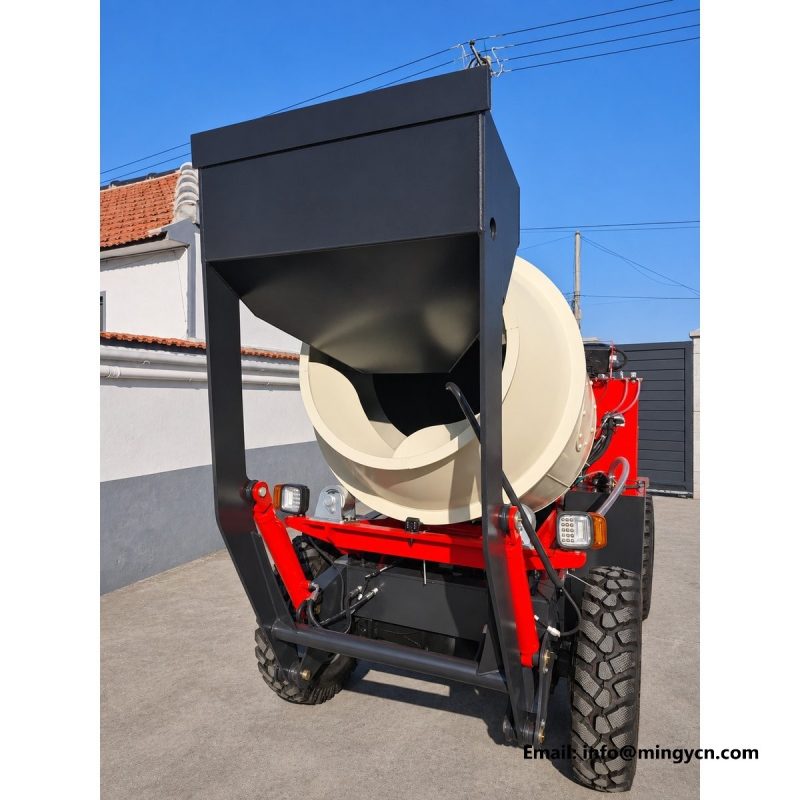
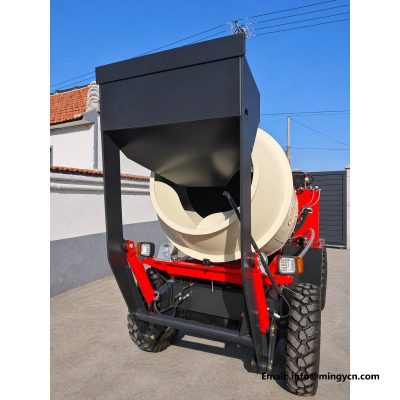
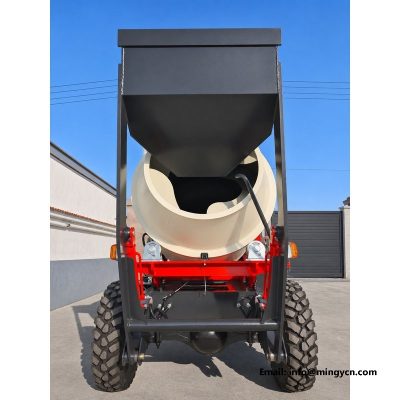
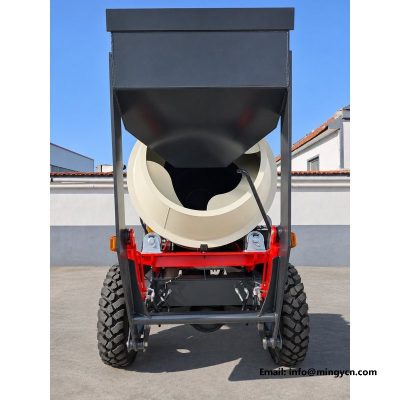
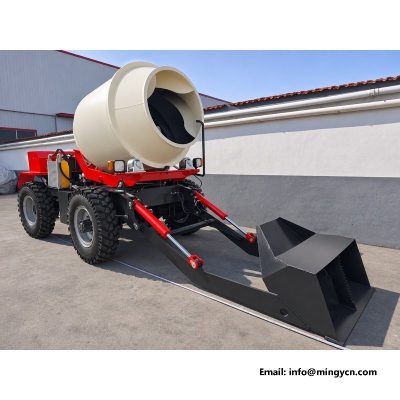
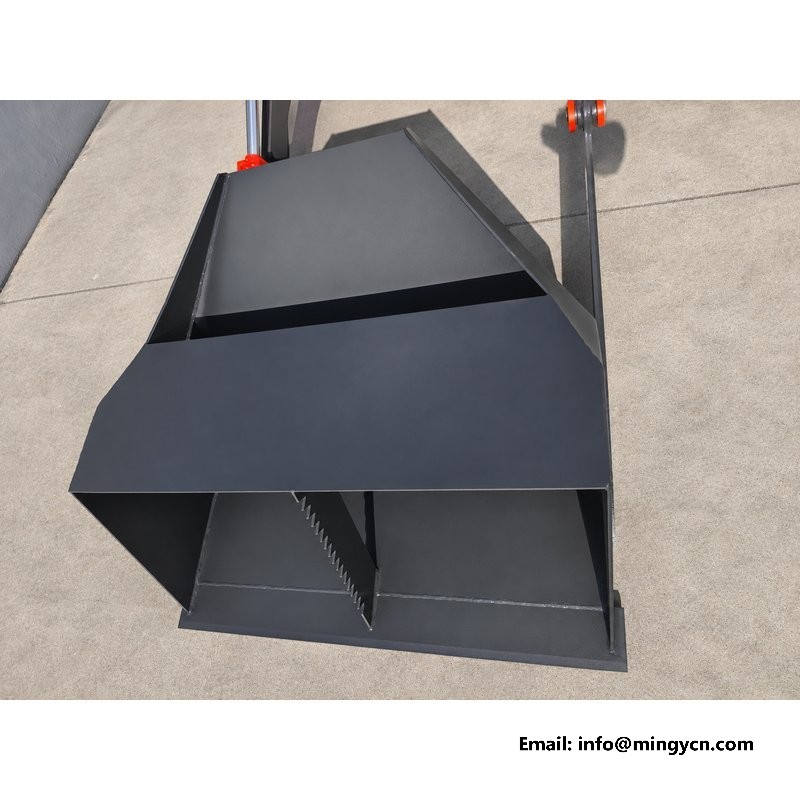
Every load this machine carries begins at the hopper, and the photographs on this page show it from the angle that matters: the mouth facing the camera, the interior visible, the lift arms caught part way through their arc. What follows is a walk through the loading end of the 1.5 m³ self loading mixer, covering how the scoop fills, how the arms carry a 5,000 kg rated load without moving it too far from the front axle, and what the steel and the welds look like at close range. There is also a practical section on measuring the hopper yourself with a tape, and a list of the faults that appear first when a machine is worked hard.
| Specification | 1.5 m³ self loading mixer |
|---|---|
| Rated load | 5,000 kg |
| Drum capacity | 1.5 m³ (1,500 L) |
| Overall dimensions (L x W x H) | 3,500 x 1,600 x 2,200 mm |
| Minimum ground clearance | 204 mm |
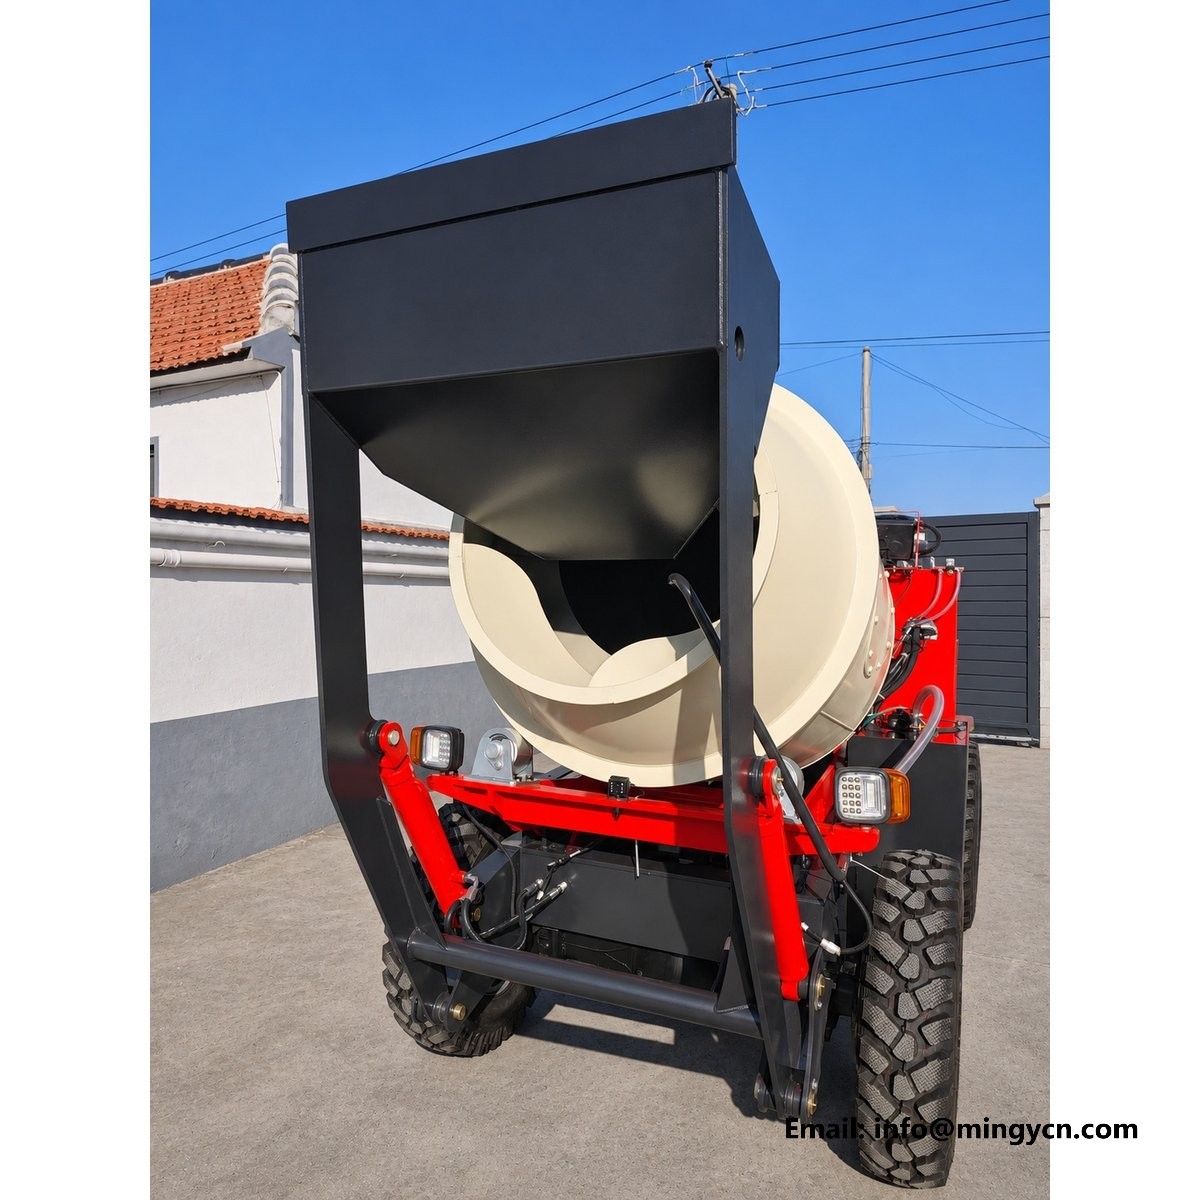
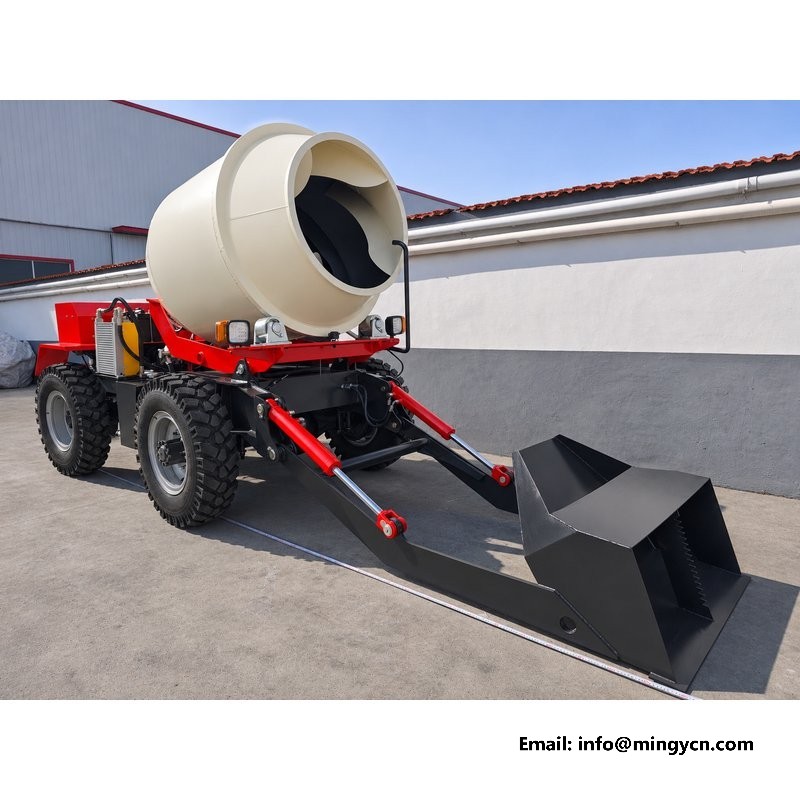
The cycle starts with the machine facing the stockpile and the hopper lowered until its cutting lip rests on the ground. The operator drives forward slowly and the lip slices into the heap; because the mouth is open and wide, material flows over the edge and fills the body of the hopper instead of being pushed ahead of it. Once the hopper is full, the lift arms raise it clear of the pile, the machine reverses, and the load is carried to the drum. Nothing in this needs a second machine or a second man. Watching the sequence in the photographs, note that the hopper is a scoop rather than a bucket: it has no closing jaw, so it depends on the heap collapsing into the open mouth as the machine advances. That single fact explains most of the loading technique described on this page.
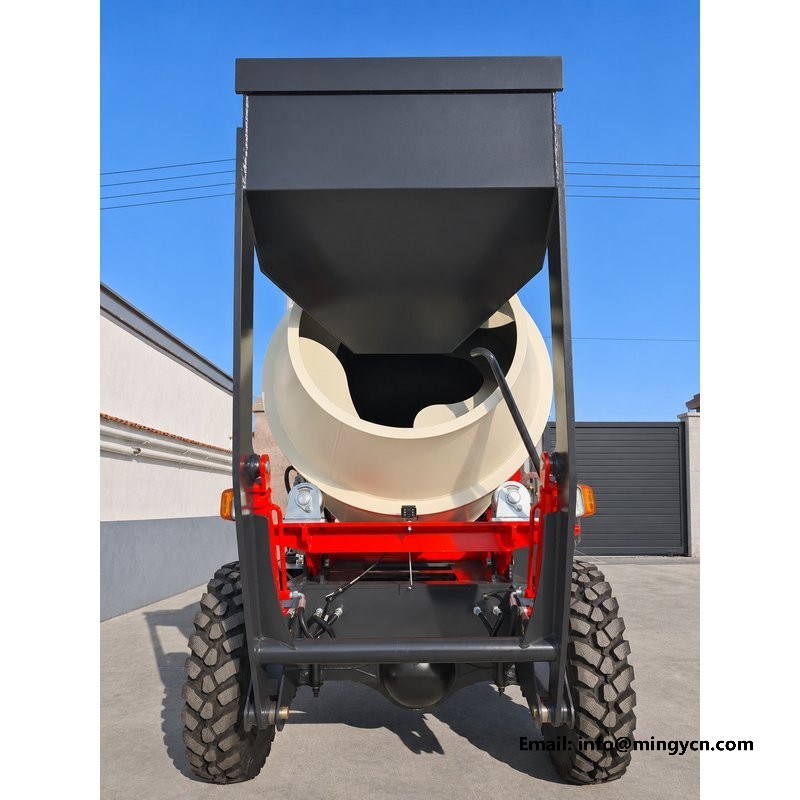
Two arms run forward from pivots on the front frame, and a pair of hydraulic rams raises them. The geometry is a compromise between reach and stability. Long arms put the hopper further forward, which helps when the stockpile is high, but they also move the load centre away from the front axle, and a 5,000 kg rated load is not something to hang in the wrong place. On this machine the pivots sit well back, so a full hopper stays close to the wheelbase and the 1,900 kg operating weight works as counterweight rather than as a lever. In the photographs, look at the arm section, the size of the pivot bosses and the gussets behind them. Those three details decide whether the arms stay parallel after a few seasons of digging.
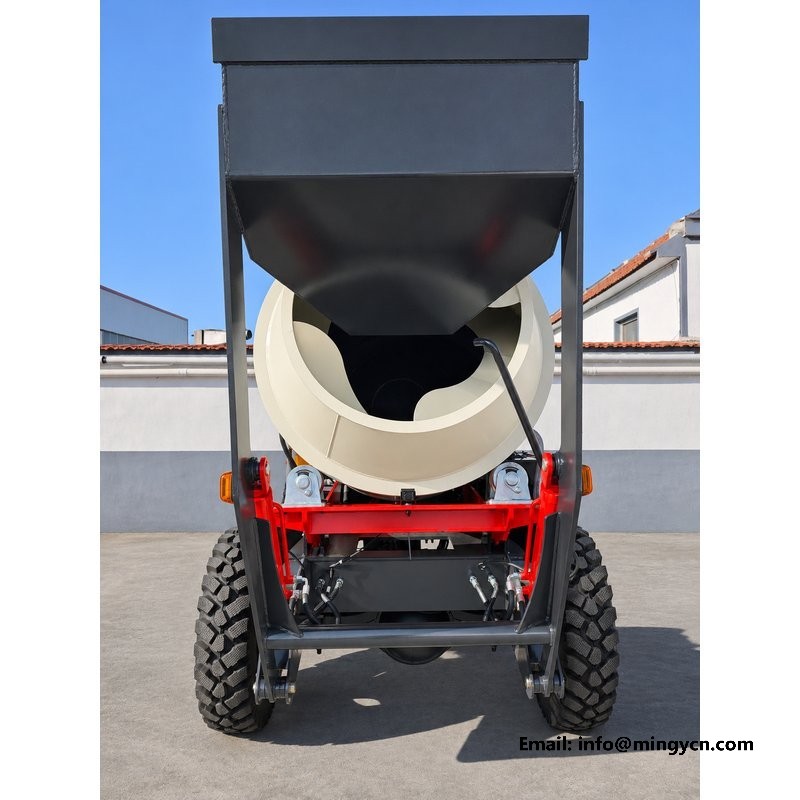
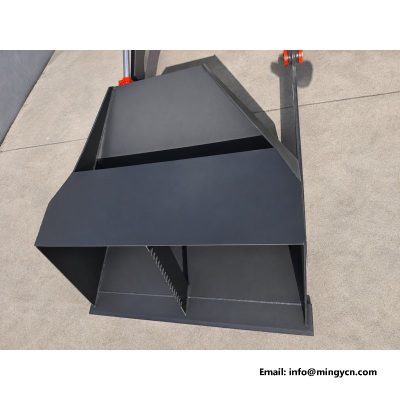
The front edge of the hopper is not a plain rectangle. The lip is set at an angle and the side plates taper slightly towards the opening, so material has a clear path inward and the heap is less likely to bridge across the mouth. A square, blunt mouth pushes material ahead of itself; an angled, sharp one cuts under it. The same shape helps when the hopper is tipped over the drum, because the pour edge becomes the lowest point and the last of the mix leaves cleanly instead of sitting in a corner. Buyers should study the lip in the close-up photographs and ask whether it is a folded edge or a welded strip. A folded edge keeps its shape after contact with stone, while a welded strip can peen over and then needs dressing before it will dig again.
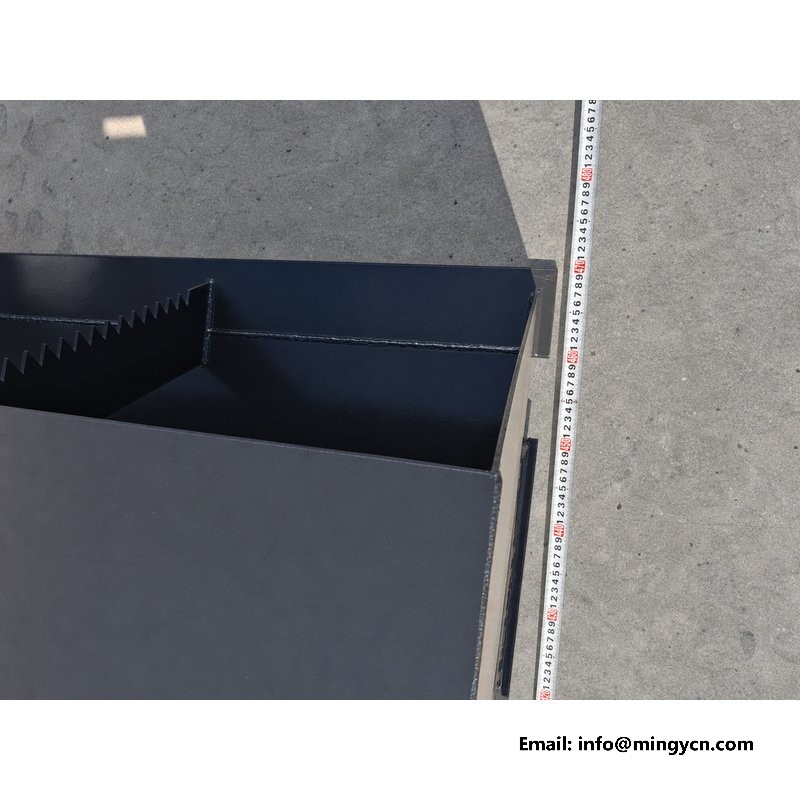
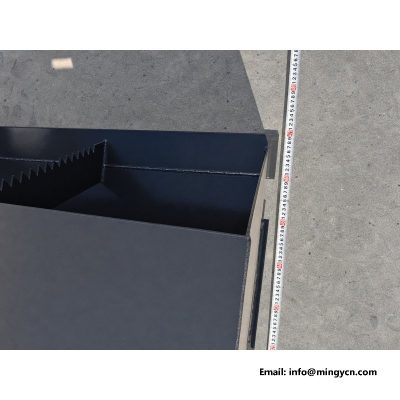
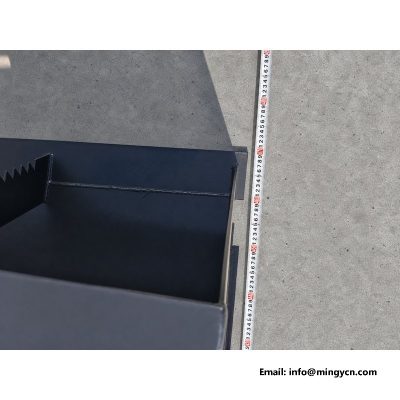
The inside of the hopper is a wearing surface, so the panels are supported from the outside by ribs rather than by extra thickness alone. Vertical ribs carry the bending load when the hopper is full and raised; horizontal members tie the side plates together so they do not bow outward under a heaped load. In the close-up photographs the rib spacing looks regular and the welds run continuously along the panel seams. That matters, because a stitch-welded seam lets water and grit into the joint and the panel then rusts from the inside where no paint reaches. Look also at how the ribs terminate at the top edge. A rib that stops short leaves a stress concentration, while one closed off into the edge stiffener spreads its load along the rim.
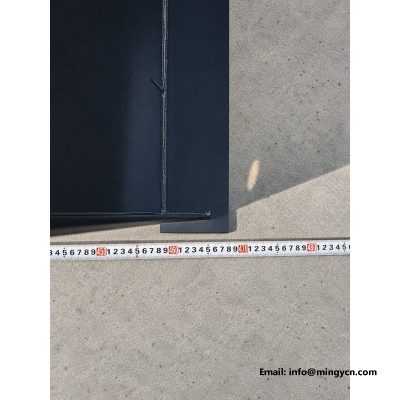
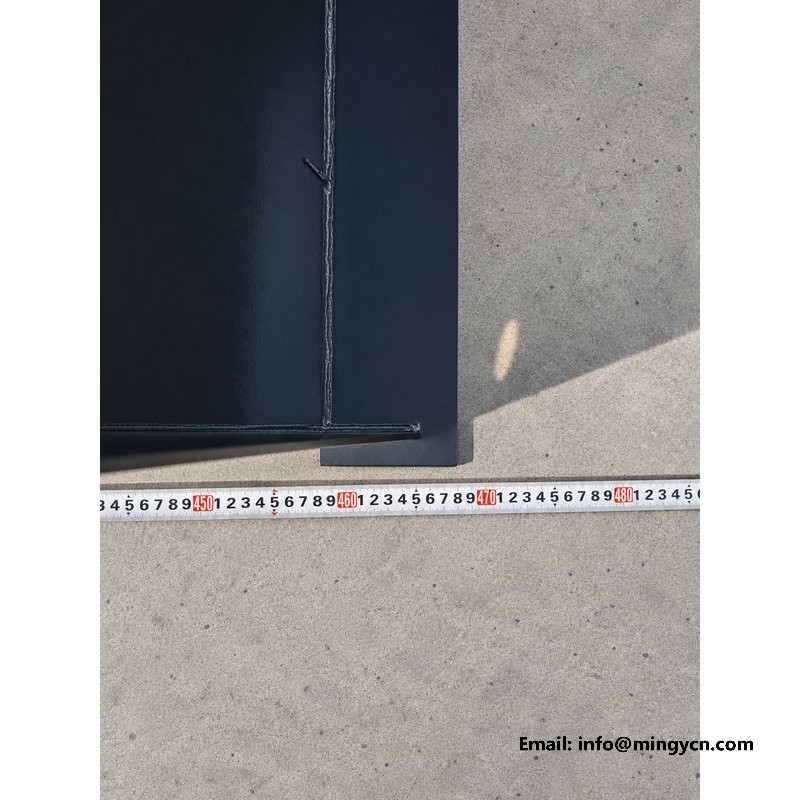
One photograph on this page shows a tape measure across the hopper mouth and another down the inside wall. That is deliberate: a buyer should not take a capacity figure on trust. Measure the inside width at the lip and again at the back of the hopper, then the depth from the lip to the floor plate. If the two width readings differ by more than a little, the side plates have spread, which is the first sign of overload. Check the diagonals from corner to corner as well, since equal diagonals mean the box is still square. Write the readings down and repeat them after the first season. A hopper that is losing its shape tells you more about how the machine is used than any operator's account, and the tape costs nothing.
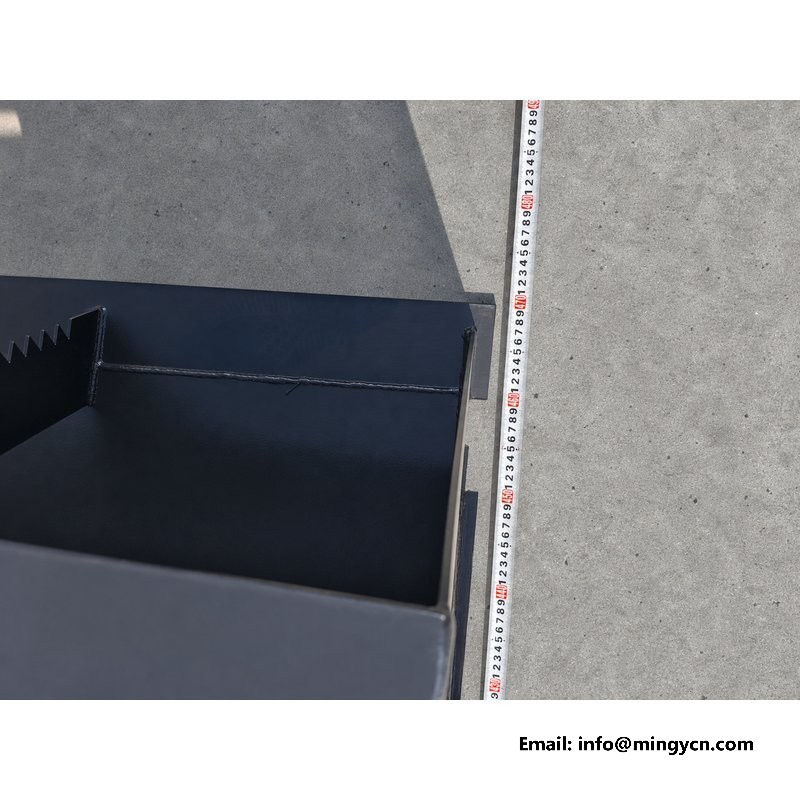
Two habits shorten hopper life more than any other: filling above the side plates, and digging with the lip tilted down. A heaped load spills on the road, and the spill lands on the tyres and the steering linkage; worse, it puts a bending load on the side plates that they were never designed to take. Keep the material just below the top edge. For the angle, the lip should meet the ground almost flat so that it slides under the heap. Tilt it down and the machine tries to climb the pile; tilt it up and it skates over the surface. Take short bites, reverse, then go again. On hard, compacted material a gentle approach using the machine's own weight does more than speed, and it keeps the arms and rams out of shock loading.
Raising a full hopper is only half the job; the pour has to land inside the drum opening, not on the shell. Bring the machine to a level spot first, because a machine leaning to one side throws the pour off line even when the arms are correctly positioned. Raise the hopper until its lip clears the drum mouth, then edge forward until the lip is centred over the opening. Watch the lip, not the drum. Tip slowly and let the material slide; a fast tip sends a wedge of mix against the far side of the drum and leaves the near side empty. If the hopper is not centred, stop and reposition rather than pouring and sweeping afterwards. Mix that lands on the frame sets hard and hides cracks.
Lower the hopper to the ground, switch off, and look at five places. First the cutting lip, for peening, cracks and a worn centre. Second the floor plate, especially where it meets the front edge, because that is where abrasive material slides fastest. Third the lower corners of the side plates, which take the scrape when the hopper is dragged. Fourth the pivot pins and bushes, checked for play by rocking the arms with the engine off. Fifth the chrome on the ram rods, looking for scoring and for grit trapped under the wiper. Photograph anything you find and keep the images with the service record. A worn lip can be built up, a scored rod cannot, and catching the second early keeps the first from becoming urgent. Keep a note of the grease that comes out of the pivot bushes as well; dark grease with grit in it means a seal has gone and the pin is being lapped.
A hopper that no longer sits flat on the ground is usually telling you about load, not about steel. The common causes are digging with the lip angled down so the arms take a shock, carrying a heaped load across rough ground at speed, and lifting one side of the hopper out of a pile while the other side is still buried. Symptoms appear in order: the lip stops being straight, the side plates bow outward at mid-height, the hopper rocks when lowered, and finally the pivot bosses show cracks at the weld toe. Correction depends on how far it has gone. Mild bowing can be pressed back cold and the ribs re-straightened; a cracked boss means cutting out and re-welding, which is a workshop job. Prevention is cheaper than either.
Judder on the way up usually comes from air in the circuit or from a pivot that is binding, and the two feel different. Air gives a soft, springy hesitation that changes with load; a dry or worn pivot gives a hard, repeated catch at the same point in the arc. Slow raise across the whole range points to supply: low oil level, a clogged suction strainer, or a pump that is tired. Drift with the lever centred points to a leaking cylinder seal or a valve that is not closing. Work through them in that order, and do not adjust anything until you know which one you have. Before anyone goes under a raised hopper, fit a mechanical prop. Hydraulics hold load by pressure alone, and a hose or a seal can fail without warning.
Dry sand runs into the hopper almost by itself and spills just as easily, so keep the approach slow and the load a little under full. Gravel is heavier and settles, which means the hopper can look half empty and still be carrying its rated load; judge by the arms, not by the surface. Wet mix and clay are the difficult ones. They stick to the floor plate, bridge across the mouth and refuse to slide out when tipped, and the temptation is to shake the hopper with the lift lever. A better habit is to clean the hopper at the end of a wet day, before the material sets, and to keep a scraper on the machine. Material left overnight in a hopper is the most common reason a lip gets bent during the next load.
Ask for the machine on level ground with the hopper down. Run the hopper through its full arc and watch the lip at the top: it should clear the drum mouth without touching, and the arms should move together. Turn the steering to full lock both ways and check that the hopper, the tyres and the hoses all stay clear; with a 28 degree steering angle and a rear axle that also steers, the swing at the front is greater than it looks. Check the pivot pin retainers, the hose routes and the paint inside the hopper. Then measure the mouth and the depth yourself and write the figures into the handover sheet, so the next inspection has a baseline. Bring a torch and a notebook, and use both. A machine accepted carefully tends to be maintained carefully.
In most cases the hopper is a bolted and pinned assembly rather than a part of the chassis, so it can be removed and replaced without cutting the frame. The arms, rams and pivot bosses usually stay on the machine. Ask the supplier to confirm the mounting pattern and the pin sizes before ordering, and photograph the pivot area during dismantling. A replacement hopper that lines up with the original drilled positions saves a day of field work, while one that does not will need re-drilling on site.
Look at the arms and the side plates rather than at the surface of the load. Arms that sit lower than usual on the same material, side plates that have begun to bow outward, and a hopper that no longer sits flat when lowered are all signs of repeated overloading. A tape measure across the mouth, taken at the lip and again at the back, will confirm it. Keeping the material just below the top edge is the simplest protection.
Bridging happens when wet or clay-rich material packs across the mouth and holds itself up while the centre empties. The usual contributors are a damp mix, a hopper that was not cleaned at the end of the previous shift and a pour made too quickly. Cleaning the hopper before the material sets, tipping slowly so the mass slides rather than falls, and avoiding heaped loads in wet conditions will prevent most of it. A scraper kept on the machine helps on site.
For the current specification, build options and a formal quotation for your market, contact MINGYI Machinery. E-mail: sales@mingycn.com | LINE (ID): mingyicn
1.5 m3 Self Loading Concrete Mixer: Full Specification and Walkaround · Loading Shovel and Lift Arm: Geometry of the Front Loader · Mixing Blades and Drum Interior on the 1.5m3 Self Loading Mixer