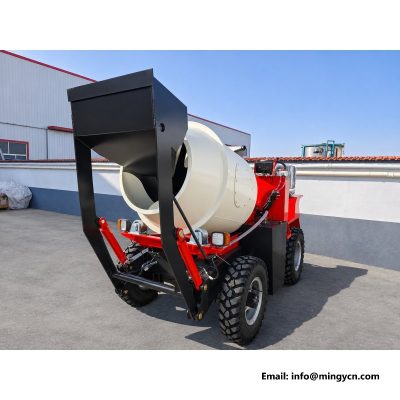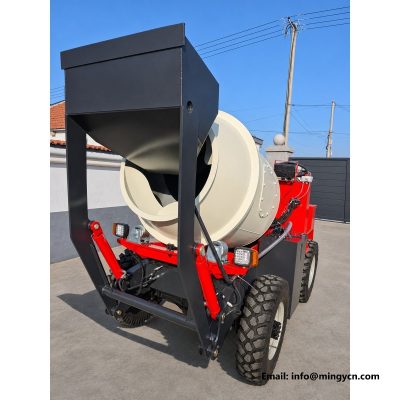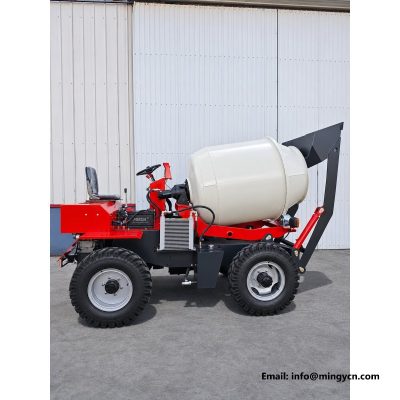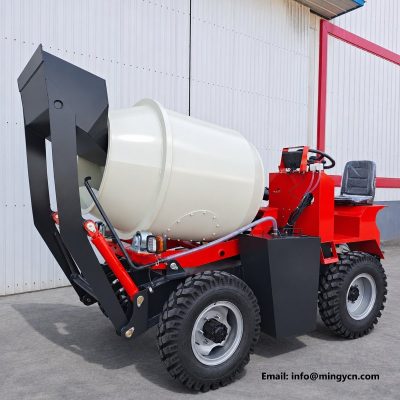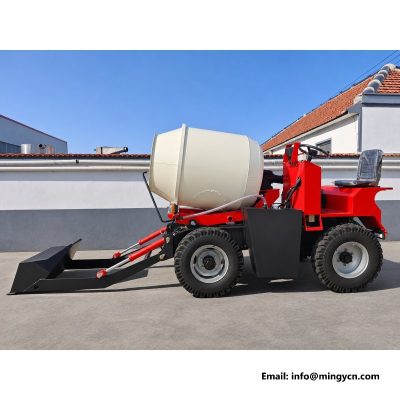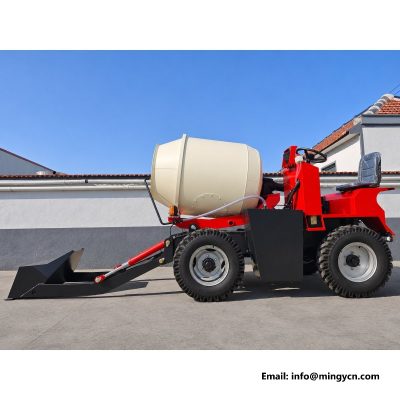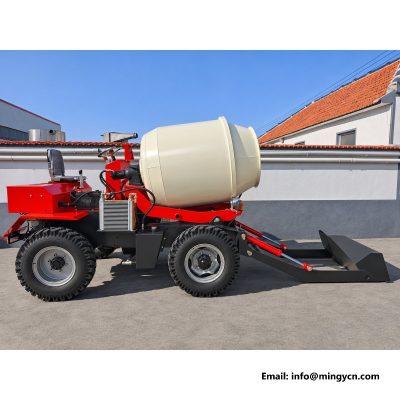
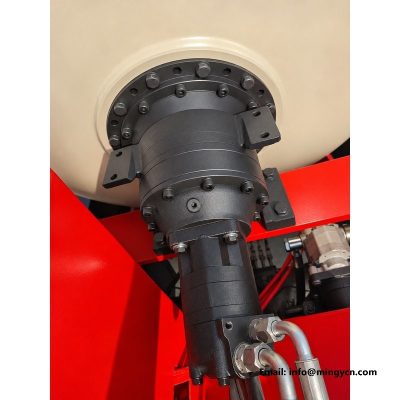
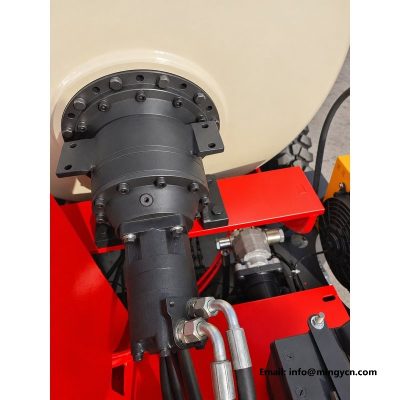
hydraulic valve block and drum drive 1.5m3 self loading mixer
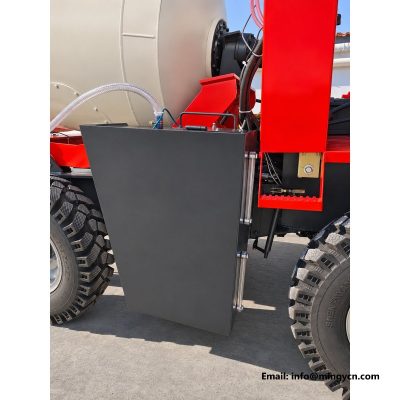
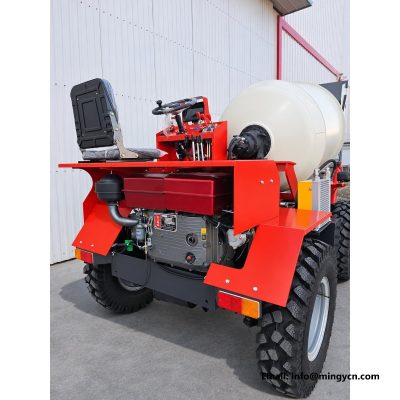
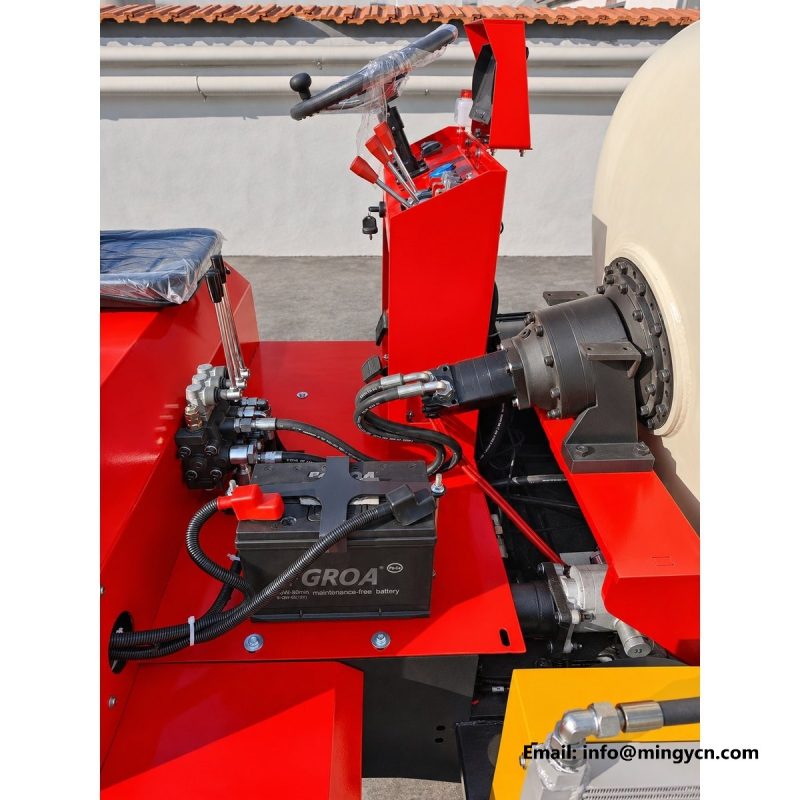
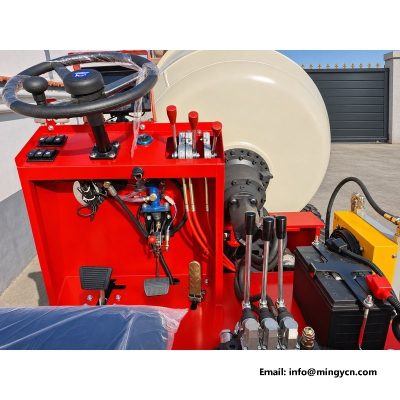
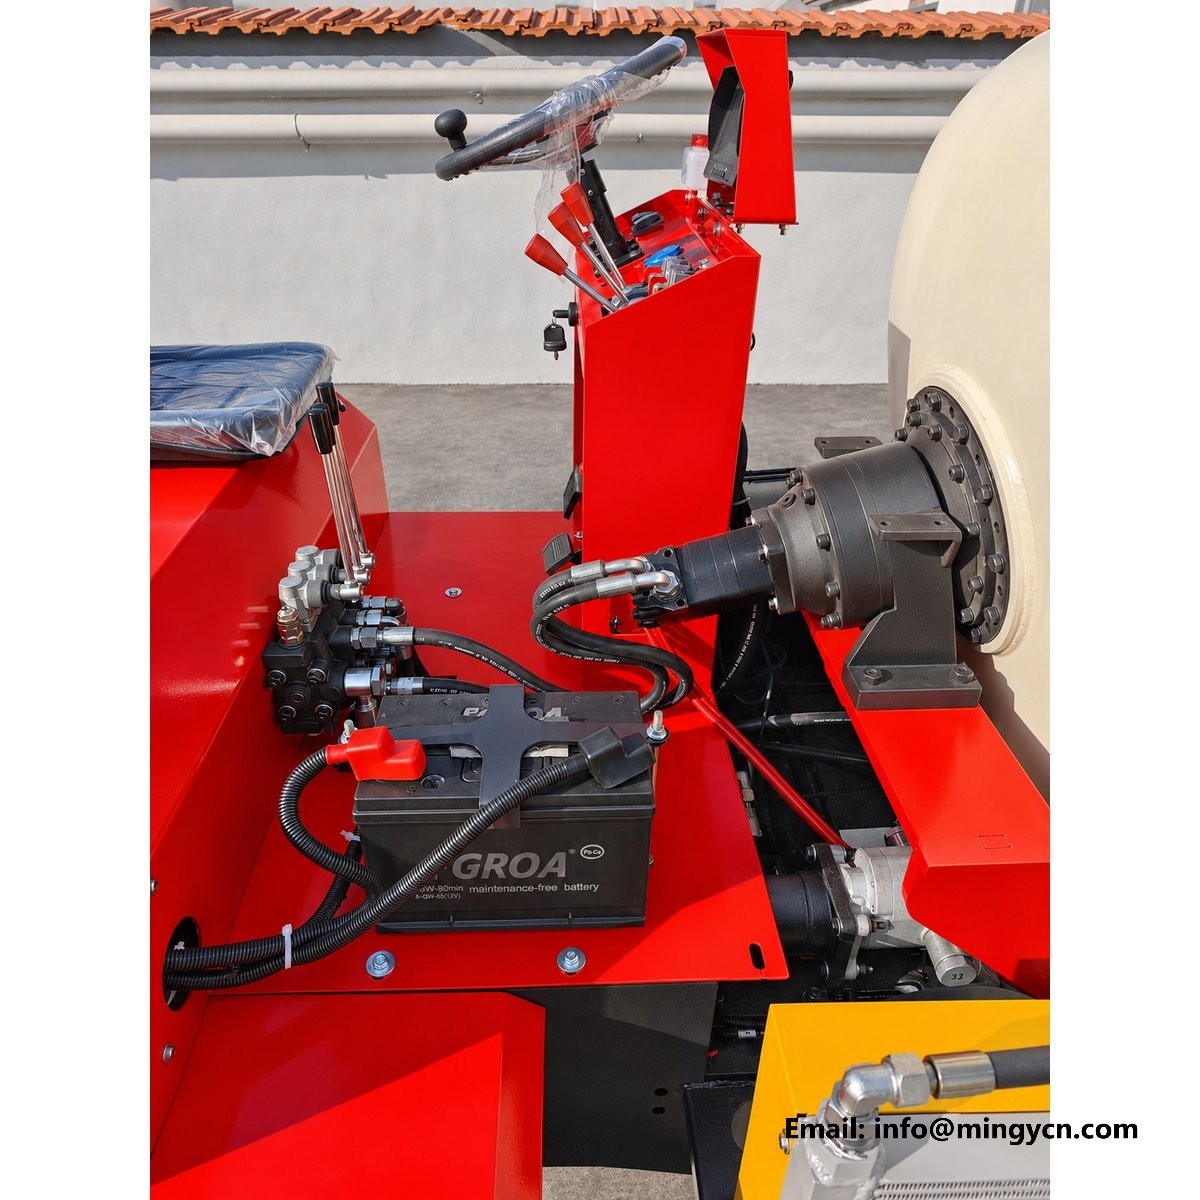
Under the drum and behind the frame, the hydraulic system is what turns engine power into lift, steering, rotation and discharge. This page follows the oil from the valve block out to the rams and the drum motor, and shows the parts that a buyer or a fitter actually sees: the spool block with its linkage, the hose ends and quick couplers, the motor and planetary reducer bolted to the drum side. The emphasis is on diagnosis rather than theory, with notes on contamination, oil temperature, leaks, service routine and the noise and slowness that send an operator looking for a cause.
| Specification | 1.5 m³ self loading mixer |
|---|---|
| Rated load | 5,000 kg |
| Drum capacity | 1.5 m³ (1,500 L) |
| Transmission | 4WD, 3 forward + 1 reverse + road gear |
| Engine | Single-cylinder diesel, 25 hp |
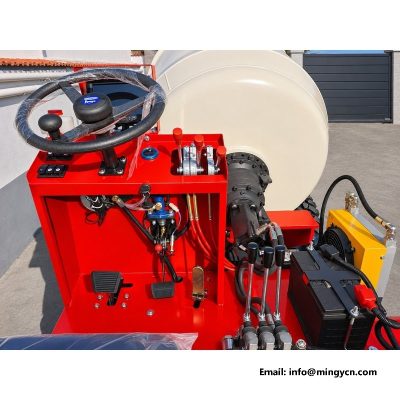
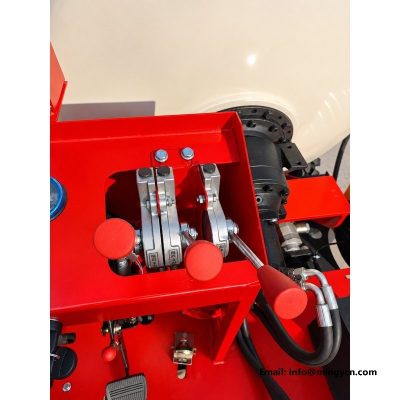
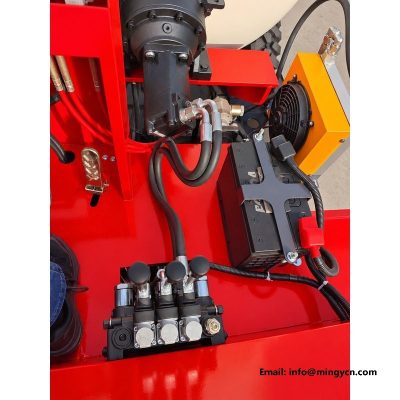
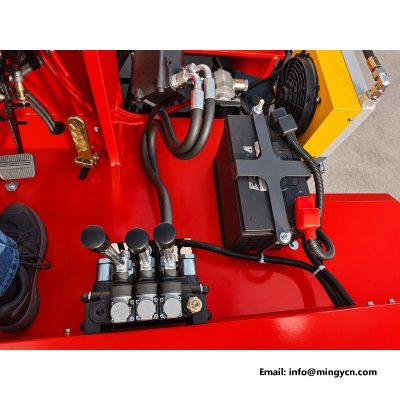
Oil leaves the pump and enters a block of valves that decides where it goes. From that block the circuits branch to the hopper lift rams, the steering, the drum drive and the discharge, and the operator selects between them with the levers. The block does not create flow; it divides what the pump supplies, which is why two functions used at once will each run slower than either would alone. That single principle explains most of the behaviour an operator notices in the first week. When the hopper is being raised, the steering still works but with less authority; when the drum turns against a stiff mix, the lift feels lazy. A well-matched block gives priority to the function that matters for safety, and the driver learns to work one function at a time.
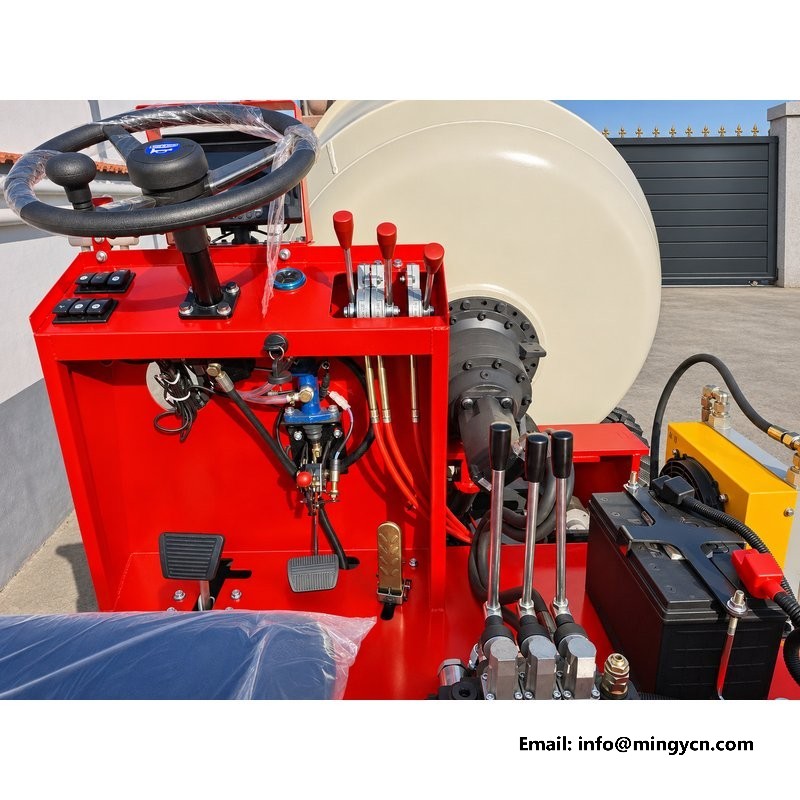
Inside the block, relief valves set the ceiling on pressure in each circuit. Their job is to protect the pump, the hoses and the structure, and they do it by opening when the load exceeds what the circuit is meant to carry. That happens more often than operators realise: the hopper lip hits a buried rock, the drum meets a mix that has set, a cylinder reaches the end of its stroke. In each case the relief opens, the pressure stops rising and the oil returns to tank. A relief set too high protects nothing; one set too low makes the machine feel weak and heats the oil. If a function has become sluggish after a repair, the setting is among the first things to check, by someone with the right gauge.
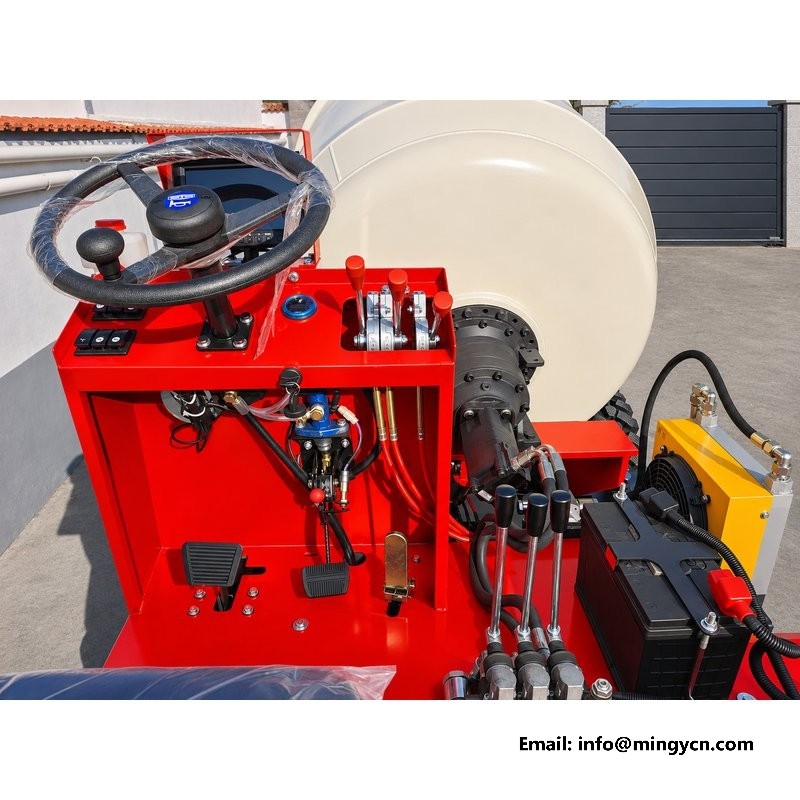
The hoses between the block and the rams are routed along the frame, clipped at intervals and kept away from the exhaust and from anything that rubs. Two failures account for most hose problems: a route that lets the hose touch a hot or moving part, and a joint tightened once and never checked again. Walk the route with a torch after the first days of work and look for polished spots where the outer cover is being worn, then add a clamp or a sleeve before the braid shows. At the joints, check for weeping rather than for looseness; a fitting that weeps is telling you about a damaged seat or a missing seal, and tightening it further rarely helps. Mark hoses at both ends so a replacement goes back the right way.
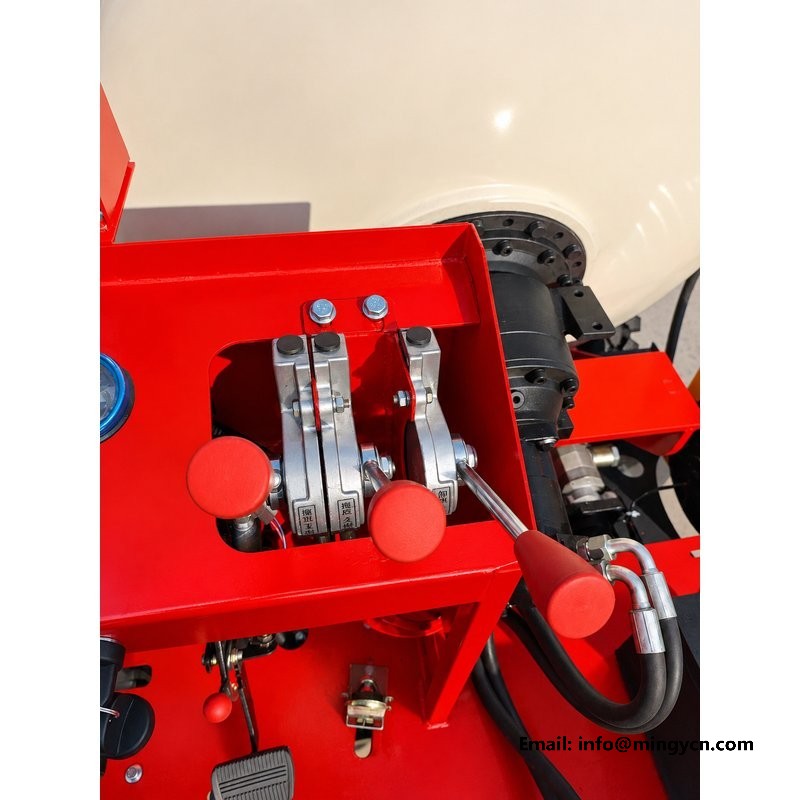
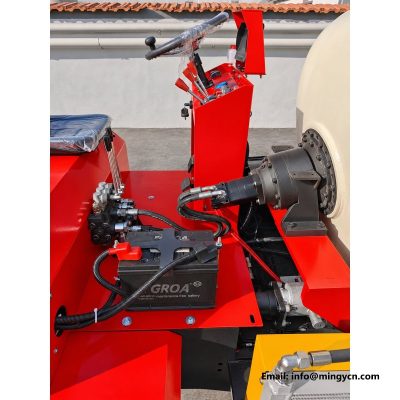
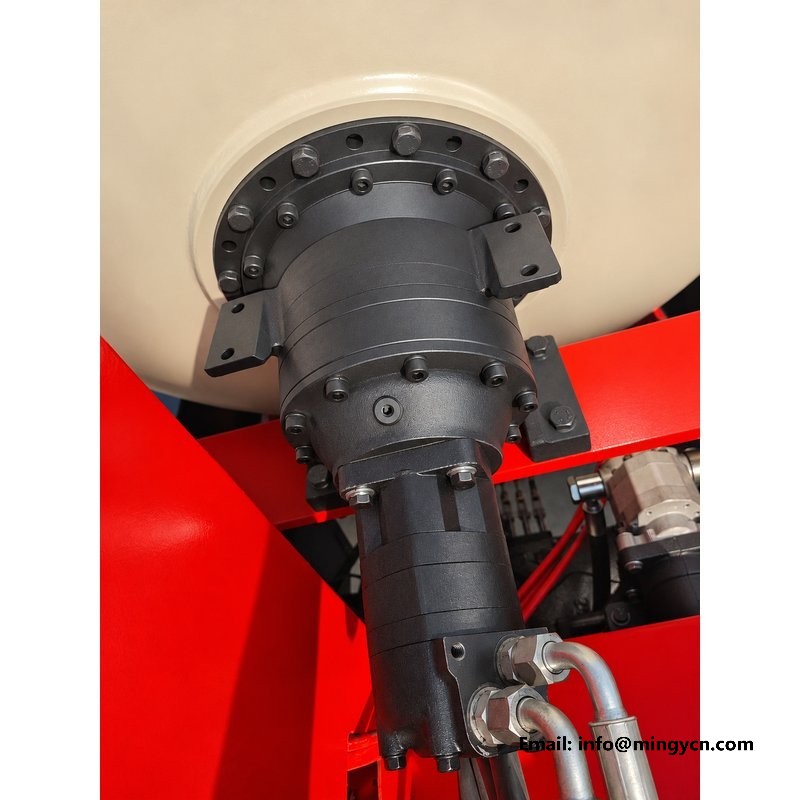
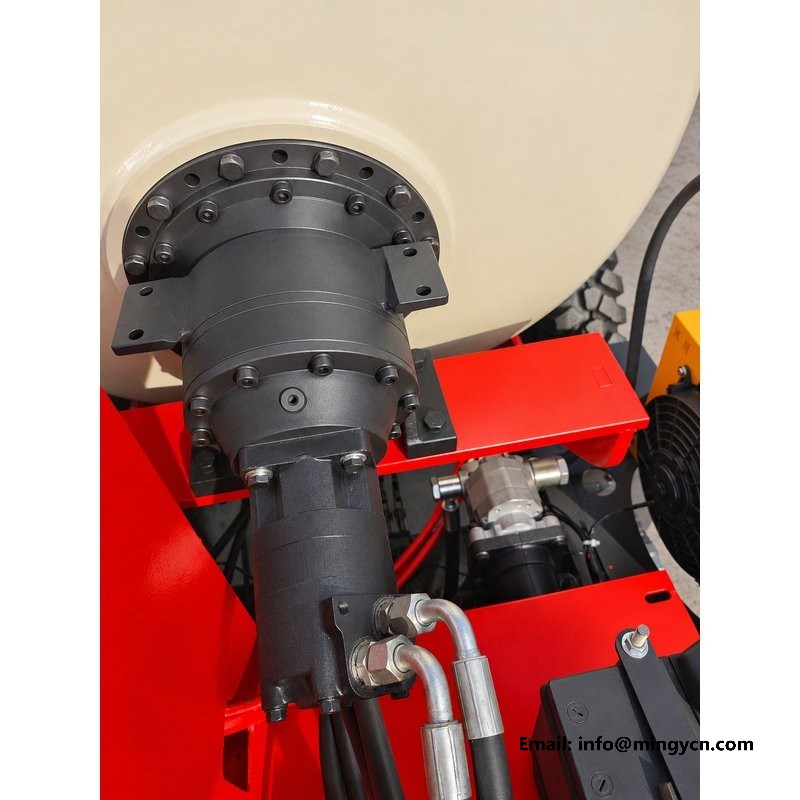
Rotation comes from a hydraulic motor bolted to the side of the drum through a planetary reducer. The motor turns fast and the reducer multiplies torque, which is the arrangement that lets a compact unit turn a 1.5 m³ batch at mixing speed and still hold it against the weight of wet concrete. The output flange carries the drum, so the reducer's bearings take the drum's weight as well as its torque. In the photographs, look at how the motor and reducer are mounted to the frame: a rigid, machined connection keeps the gears aligned, while a mounting that flexes shows up later as noise and seal failure. Check the mounting bolts at every service, and keep the breather area clean, because dirt drawn in here ends up in the gears.
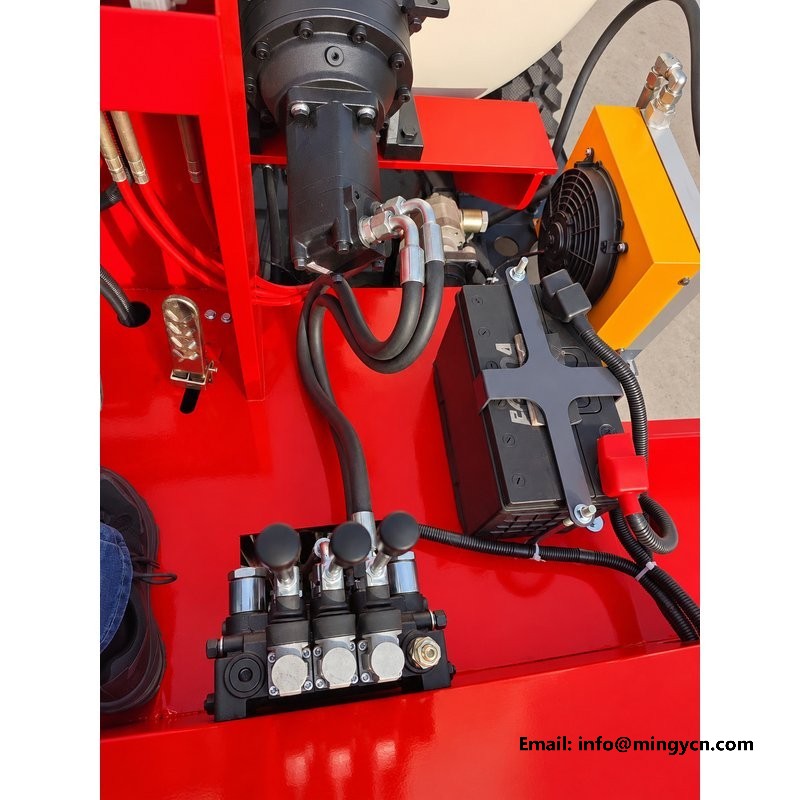
The drum turns one way to mix and the other way to discharge, and the change is made at the valve block. The habit that matters is to let the drum stop before reversing it. Reversing a loaded drum at speed puts the whole mass of the batch against the blades in the opposite direction, and the shock travels through the reducer into its bearings. Pause, let the drum come to rest, then select the other direction. The same applies when the drum is nearly full and the mix is stiff: give it a moment at low speed before asking for full rotation. If the drum will not start against a set mix, do not hold the lever and wait; break the mix up or reduce the load, because the relief will be open and the oil heating while nothing turns.
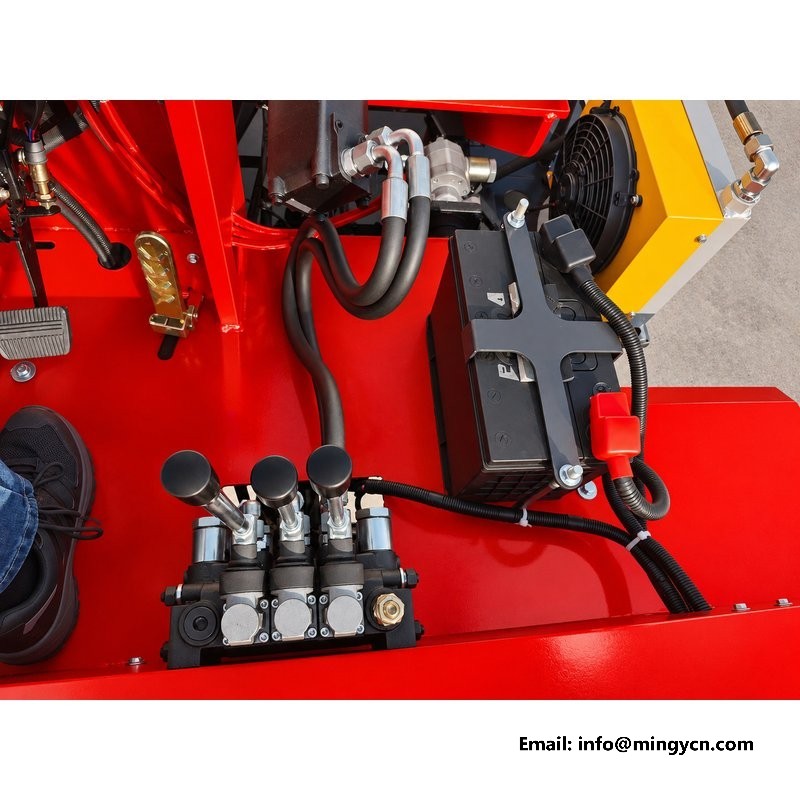
Hydraulic components fail on contamination far more often than on wear. Grit enters through a dirty filler cap, a damaged breather or a hose changed without cleaning around the joint, and it travels to the valve clearances and the motor's working surfaces, where the gaps are smallest. Keep the area around the filler clean before opening it, use a clean container, and never pour back oil that has been drained into an open pan. Change the filter at the interval in the maintenance schedule, and check the old element for metal particles by cutting it open; a few fine particles are normal, while flakes or a grey paste mean something is wearing and the cause needs finding. Record the change with the hour meter reading, and note the colour of the oil, since dark oil and a clean filter together point to heat rather than to dirt.
Hydraulic oil heats whenever it is forced through a restriction, and a mixer has several: the relief valves, the valve clearances and the motor itself. Continuous mixing in a hot climate is the hardest case, because the drum drive works against a heavy batch for long periods with little time at idle. If the oil runs hot, the first checks are the level, the condition of the cooler and its fins, and whether a relief is opening when it should not. Symptoms of overheating are easy to recognise once you have seen them: functions become weaker as the oil thins, the oil darkens, and a hot smell appears around the tank. Let the machine idle with the drum empty to bring the temperature down, then find the cause before the next shift.
Clean the area first, then dry it, then run the machine and watch. A leak that has been spreading for weeks tells you nothing, because the oil is everywhere. With a clean surface, the first fresh trace points to the source, and gravity takes it downwards from there. Check the valve block joints, the hose crimps, the cylinder glands and the rod seals in that order, because that is roughly the order of likelihood. A seep that leaves a film is different from a drip that forms a drop; the first can be watched, the second needs attention. Put a sheet of card under the machine overnight if the leak only appears when it is parked. Wipe up spilled oil, since it hides the next leak. A dry machine is a readable machine.
The routine does not need to be complicated, but it does need to be written down and followed. Daily, check the oil level and walk the hose routes. Weekly, look at the joints for weeping, check the mounting bolts on the drum drive and clean the cooler fins. At the intervals in the schedule, change the filter and take an oil sample if the machine works in dust. Keep a log with the hour meter reading for each entry, because a pattern of small top-ups is the earliest sign of a leak or of oil being lost in a circuit. A machine with a complete log is easier to sell and easier to repair, and the log costs nothing but discipline. Keep the manual with the machine, and write the service intervals on the inside of the toolbox lid.
Begin by comparing functions. If the hopper, the steering and the drum are all slow, the problem is upstream: oil level, a blocked suction strainer, a tired pump or air being drawn into the suction line. If only one function is slow, the fault is in that circuit: a cylinder seal, a relief opening early, or a valve spool that is not moving fully. Listen as well as watch. A pump that whines under load and a pump that is quiet but weak are telling you different things. Check the simple items before the expensive ones, and never compensate for a weak function by holding the lever longer, since that only raises oil temperature. If the fault comes and goes, note when it appears: cold oil, hot oil, full drum or empty. That single detail often separates a suction problem from a worn component.
Noises from the drum area fall into a few recognisable kinds. A high whine that rises with load and follows drum speed is usually the motor or the pump working against a restriction. A rhythmic knock once per drum revolution points to the drum itself, a blade or a build-up of set concrete on one side. A chatter that appears only when starting suggests air in the circuit or a relief that is chattering. A growl from the reducer that changes with direction suggests gear or bearing wear. Stop the machine, lower the drum area to a safe position and check the mounting bolts before anything else; a loose reducer makes a surprising amount of noise. If the noise remains, take the machine out of service. Record what you heard, when it appeared and whether the drum was loaded, because that description is what a fitter needs first.
Mix design changes what the hydraulics are asked to do. A wet mix moves easily and the drum turns with little resistance; a stiff, low-slump mix loads the motor from the first revolution and keeps loading it as the batch stiffens. The operator can help by charging the drum in stages rather than all at once, letting the first part mix before adding more, and by keeping the drum turning at a steady rate instead of starting and stopping. The valve block allows the drum to be feathered, and feathering is a skill worth learning, because a gentle start avoids the pressure spike that a full-lever start produces. On discharge, let the drum run steadily and move the chute rather than racing it. Racing the drum to empty it faster only throws the mix past the chute.
The pump supplies a fixed amount of oil, and the valve block divides that flow between the circuits the operator selects. When two functions are used at once, each receives a share, so both move more slowly than either would alone. This is normal behaviour rather than a fault. It becomes a problem only when a single function is slow on its own, which points to that circuit, or when everything is slow together, which points to the supply side.
Follow the interval in the maintenance schedule for the machine and shorten it if the site is dusty or the oil is running hot. The filter is inexpensive compared with a pump or a motor, and the old element is worth cutting open to see what it has caught. Fine particles are normal; flakes, grit or a grey paste indicate that something is wearing, and changing the filter alone will not fix the cause. Record each change against the hour meter.
Stop the machine and check the mounting bolts on the motor and reducer before anything else, because a loose mounting produces a surprising amount of noise and is quick to rule out. Then check the oil level and look for air being drawn into the suction line. If the noise follows drum speed and rises with load, suspect a restriction or a worn component in the drive; if it is rhythmic once per revolution, look at the drum and the blades.
For the current specification, build options and a formal quotation for your market, contact MINGYI Machinery. E-mail: sales@mingycn.com | LINE (ID): mingyicn
Hydraulic Drum Drive: Motor, Planetary Gearbox and Supply Lines · Mixing Blades and Drum Interior on the 1.5m3 Self Loading Mixer · Welded Chassis Frame on the 1.5m3 Self Loading Mixer