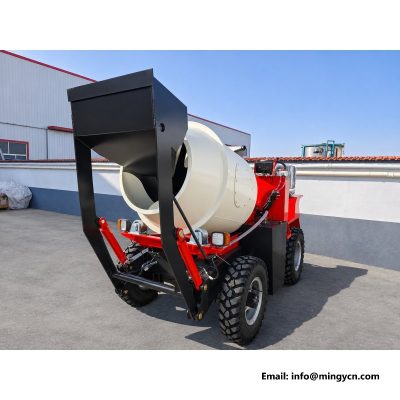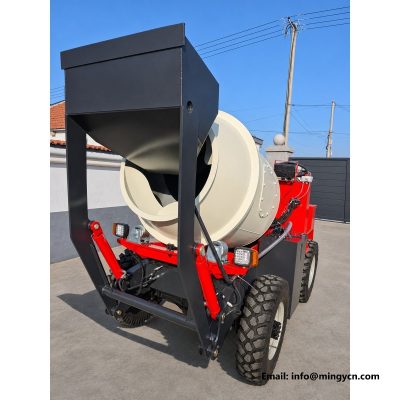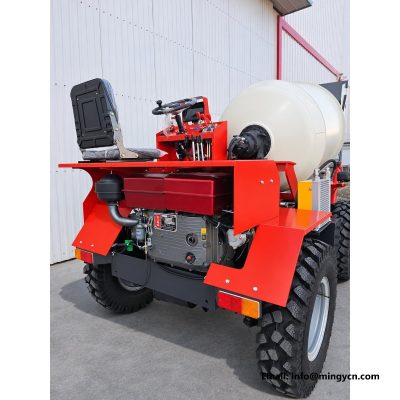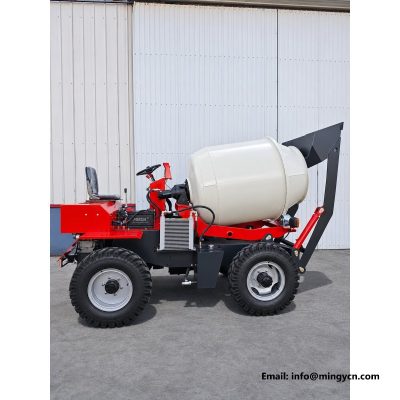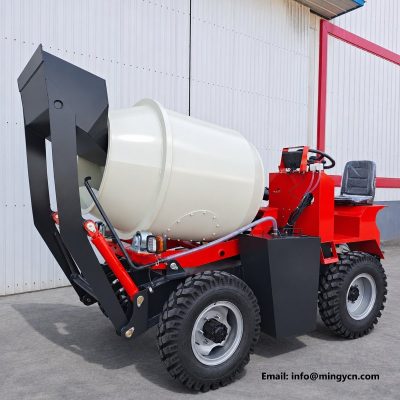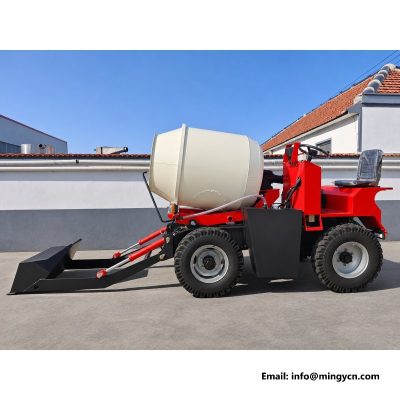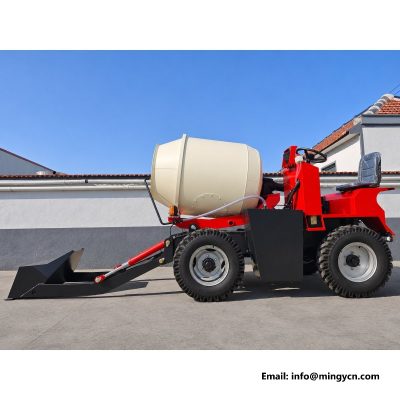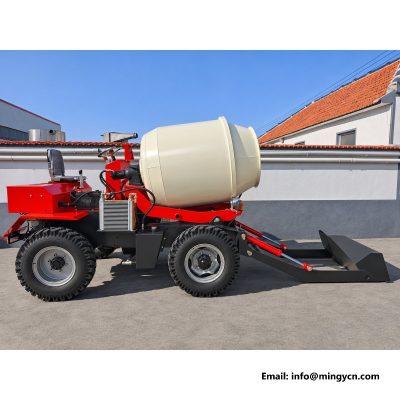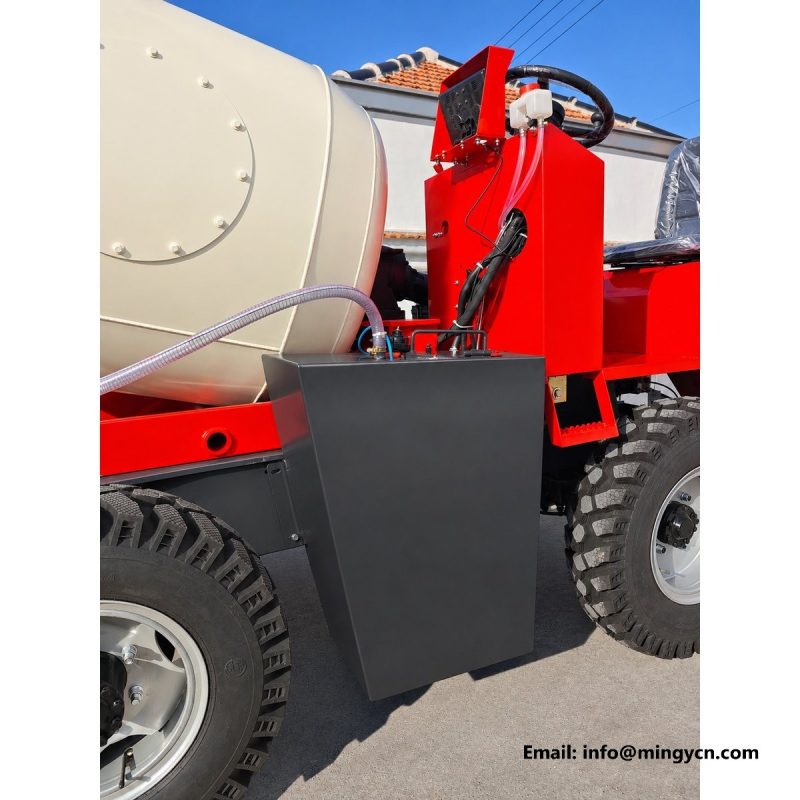
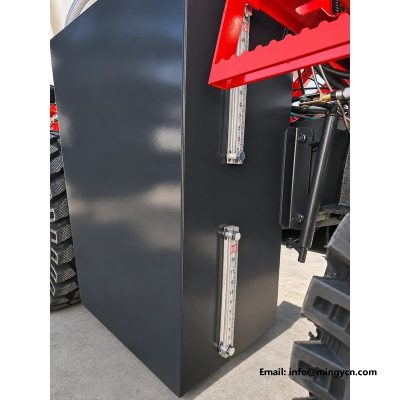
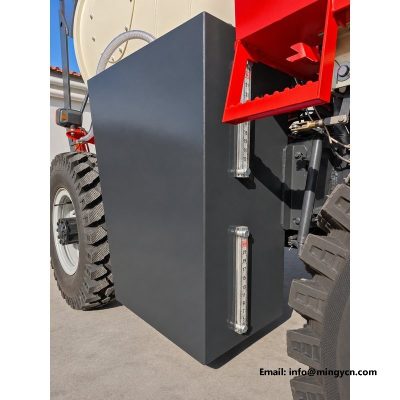
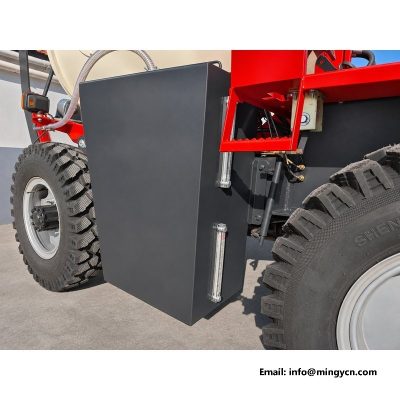
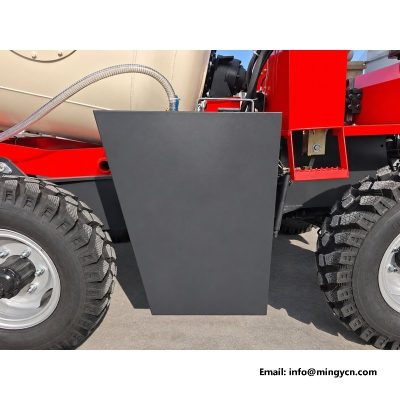
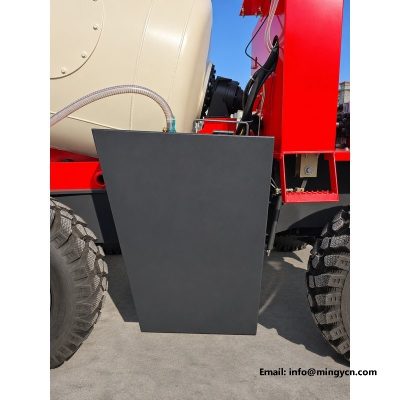
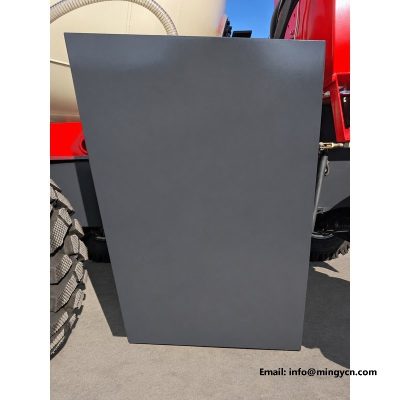
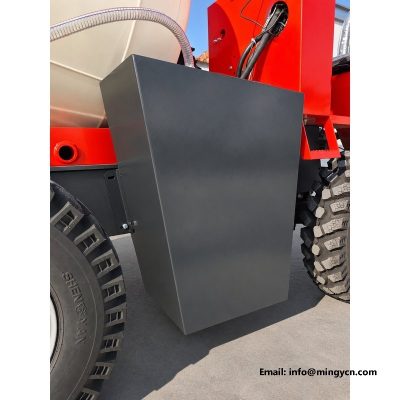
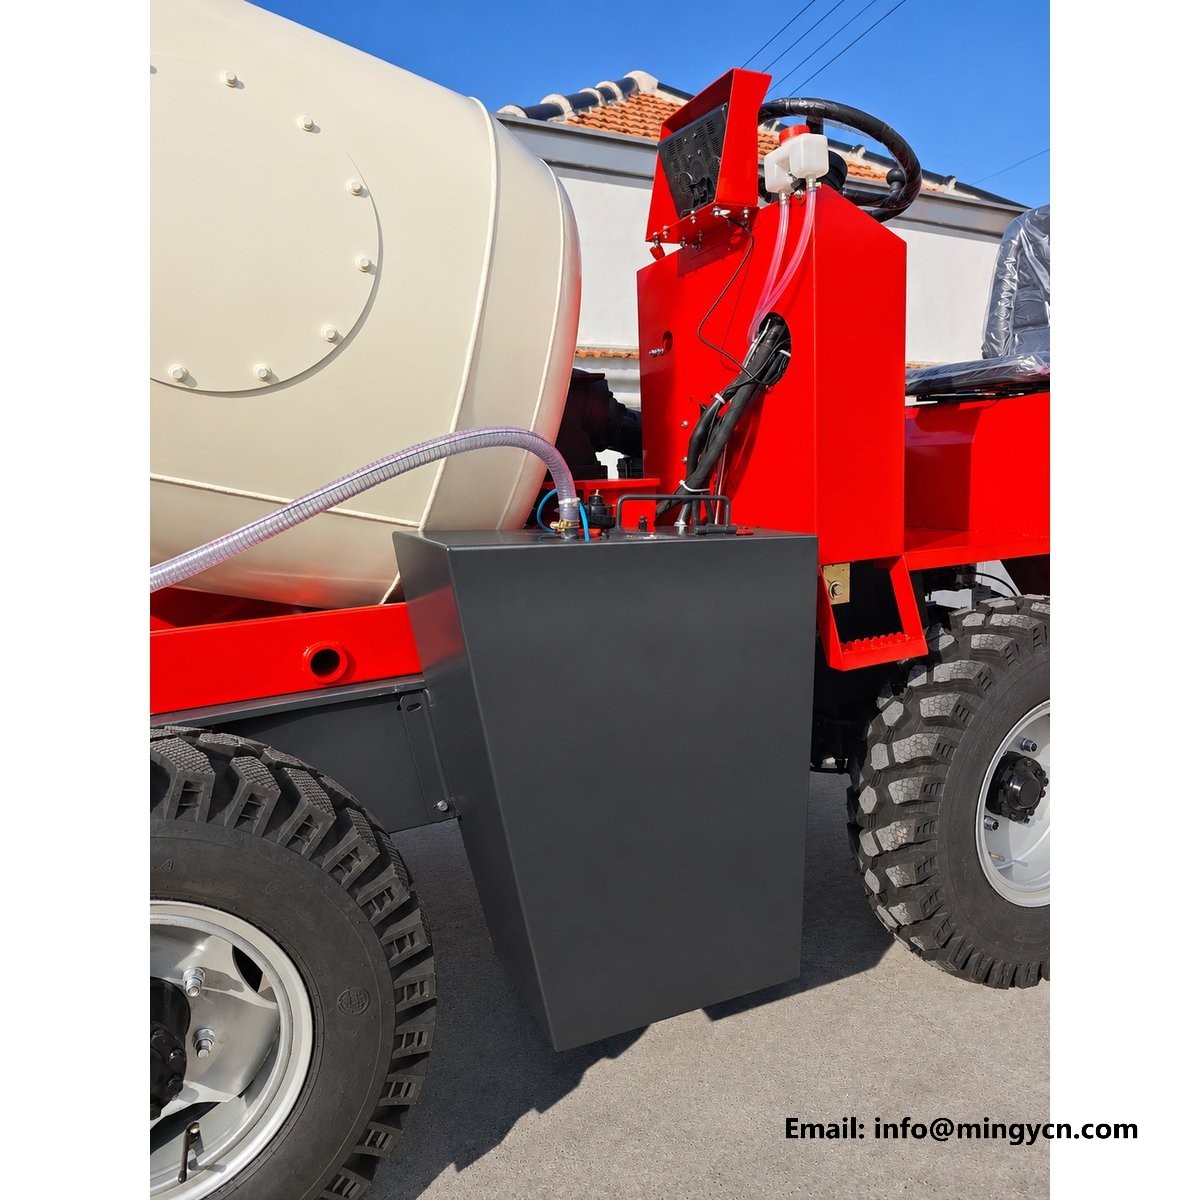
water tank level sight drain and breather 1.5m3 mixer
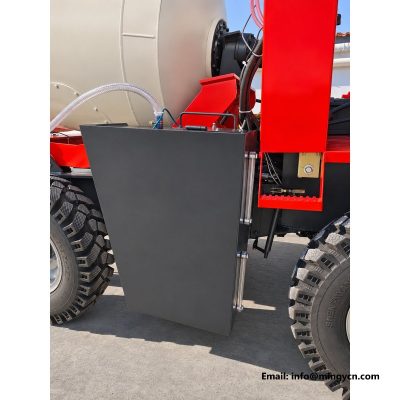
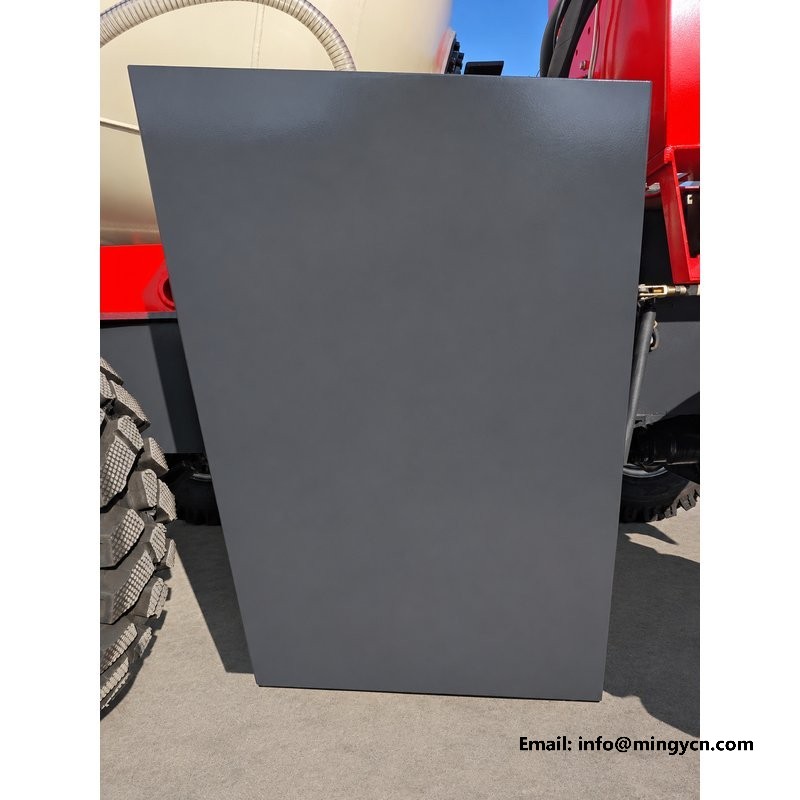
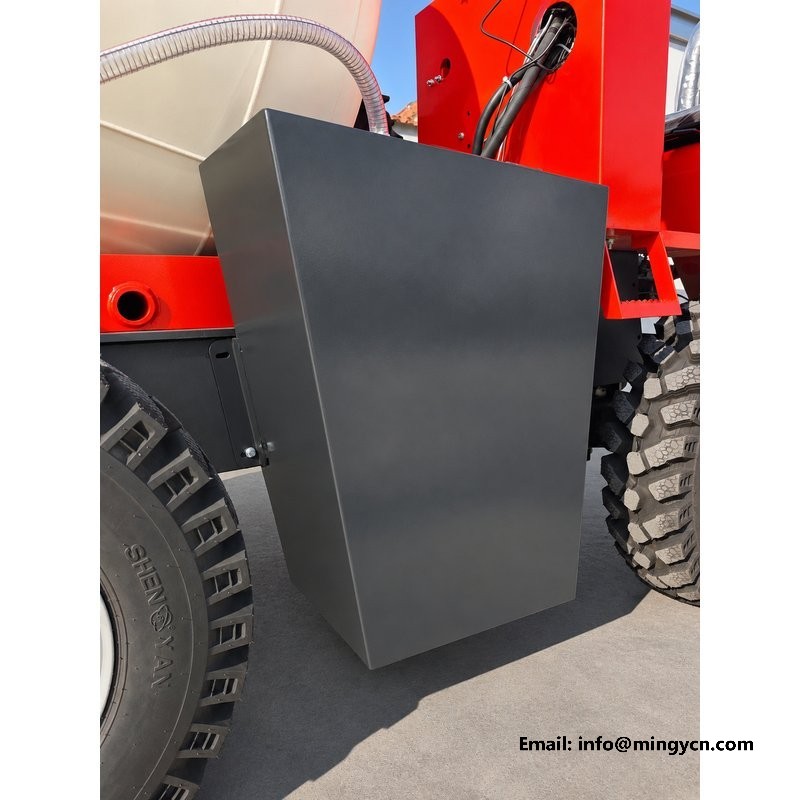
A self loading mixer carries its own water, and the fittings that let the operator see, drain and vent that water decide whether the tank is useful or merely present. This page looks at the level sight on the 1.5 m3 machine, the drain point at the bottom of the tank, the breather at the top and the inspection cover that gives access for cleaning. It covers how to read the column while batching, why a tube clouds or stops responding, how to empty the system before frost, and what a poor seal at the cover costs over a season. All of it is judged from photographs of the tank mounted between the rear tyres.
| Specification | 1.5 m³ self loading mixer |
|---|---|
| Operating weight | 1,900 kg |
| Overall dimensions (L x W x H) | 3,500 x 1,600 x 2,200 mm |
| Minimum ground clearance | 204 mm |
The sight tube is a clear column fixed to the flat panel on the side of the tank, joined to the tank at its upper and lower ends so that the water inside stands at the same height as the water in the vessel. Nothing in it moves: no float, no sender, no wiring to corrode. To read it, stand square to the panel, bring your eye level with the column instead of looking down at it, and take the flat top of the water rather than the curved line where it climbs the wall. The printed scale beside the tube is a reference, not a dose meter, so read the trend across a batch as much as the position at any one moment. Do it with the machine stopped and reasonably level, because a machine parked across a slope tilts the tank and the column with it.
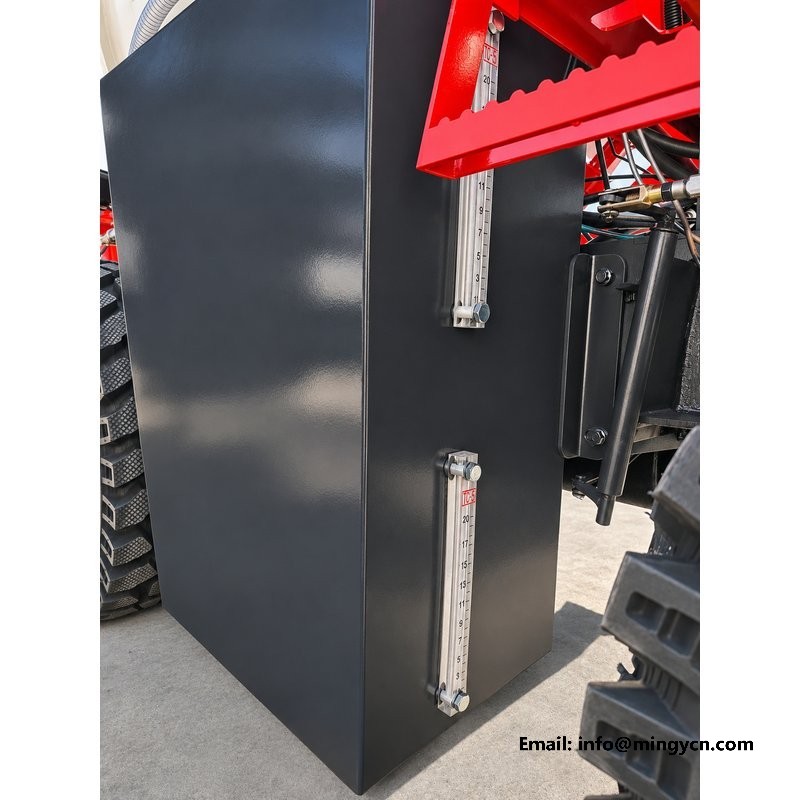
Water is the ingredient most easily overdone, and the sight tube is the only honest feedback the operator gets while the drum is turning. Watch the column during the first part of a batch: it should fall in step with the volume being added, then hold while the drum mixes. A column that drops with the feed valve shut is telling you about a leak, usually at a lower fitting or at the drain, and the wet patch underneath will confirm it. A column that drops faster than the batch requires usually means the valve is passing or the operator is adding by eye. Either way the correction is the same: stop, note the level, add in small increments, and let the drum turn between them. Recording the level at the end of each batch builds a picture of real consumption.
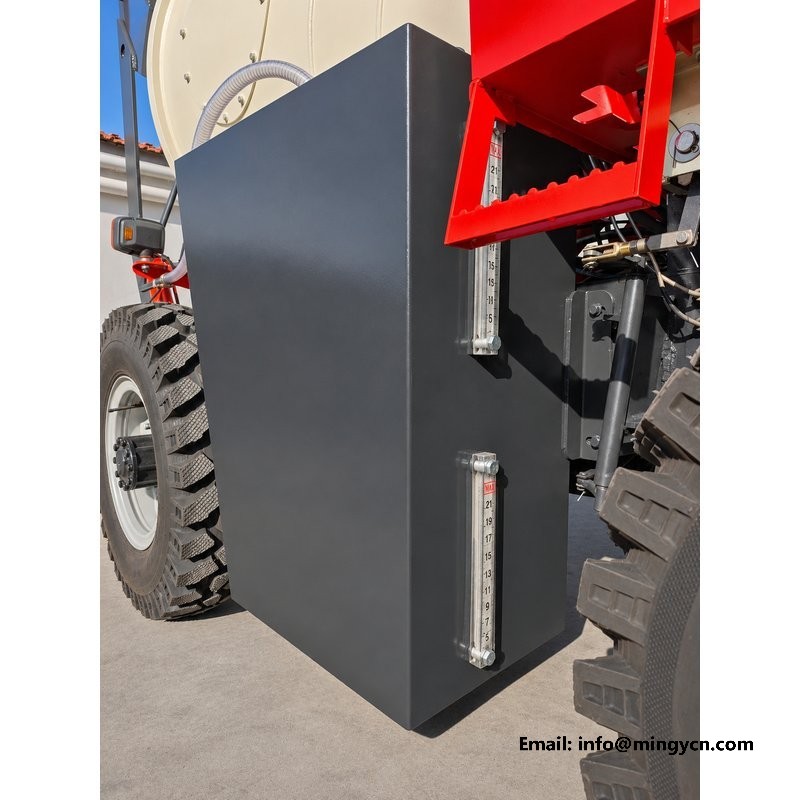
A tube that has gone yellow is not a tube that has failed. Clear plastic discolours under sunlight, and on a machine parked outdoors all season the change is normal rather than a fault. Cloudiness is different: it usually comes from scale left by hard water, from fine cement dust that has entered through an open breather, or from algae in water that has stood for weeks. Both conditions dim the column and make the meniscus hard to find. A reading that stays high after the tank has been drawn down, or low after a refill, points to a blocked connection rather than dirty plastic. The lower fitting is the usual culprit, because sediment settles there; the upper one blocks less often but produces the opposite error, trapping air above the column.
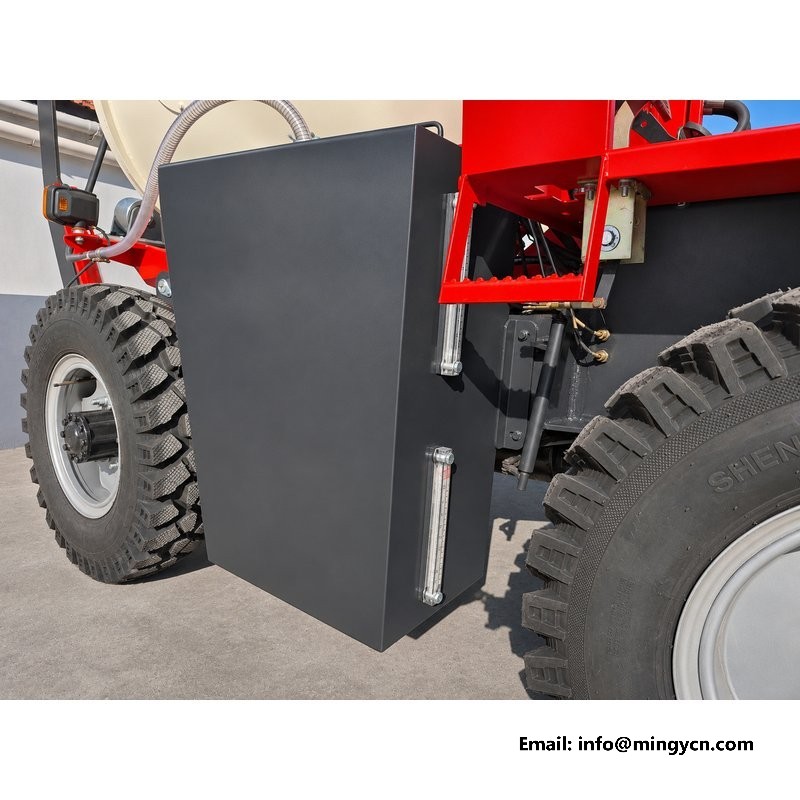
Work out which end is blocked before you loosen anything. If the reading falls when the tank is filled but will not rise again, the lower connection is restricted; if the column sits low and creeps up slowly, air is trapped at the top. Where the tank has small isolating valves at the gauge, close them first and the tube can be removed with water still in the tank. Without isolators, drain down below the lower fitting. Then take off the lower connection, flush the tube from the top with clean water, and clear the fitting with a soft wire or a brush, never with a screwdriver blade that will score the seat. Renew the sealing washer, refit, open slowly and watch for a weep. Refill and compare the column with a known quantity before trusting it again.
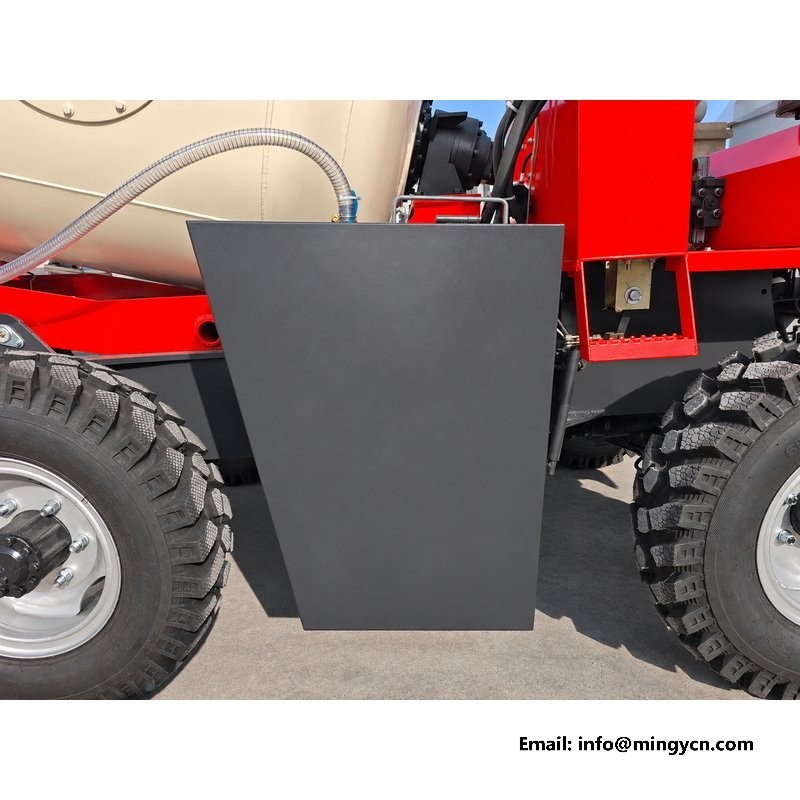
The drain is at the lowest point of the tank, which on this machine means low in the frame between the rear tyres, close to the ground but still above the 204 mm of clearance the chassis provides. That position is deliberate: water has to leave from the bottom, because a drain set higher leaves a sump of old water that turns stagnant and smells. Reach it from the side rather than from underneath. Open the valve slowly and stand clear of the outlet, since the first flow carries the sediment that has collected since the last emptying. If the flow stops early, the outlet is bridged by grit or scale; close the valve, rod the port gently, and try again. Use the drain for emptying, not for measuring batches; the feed valve at the tank outlet is the control for that.
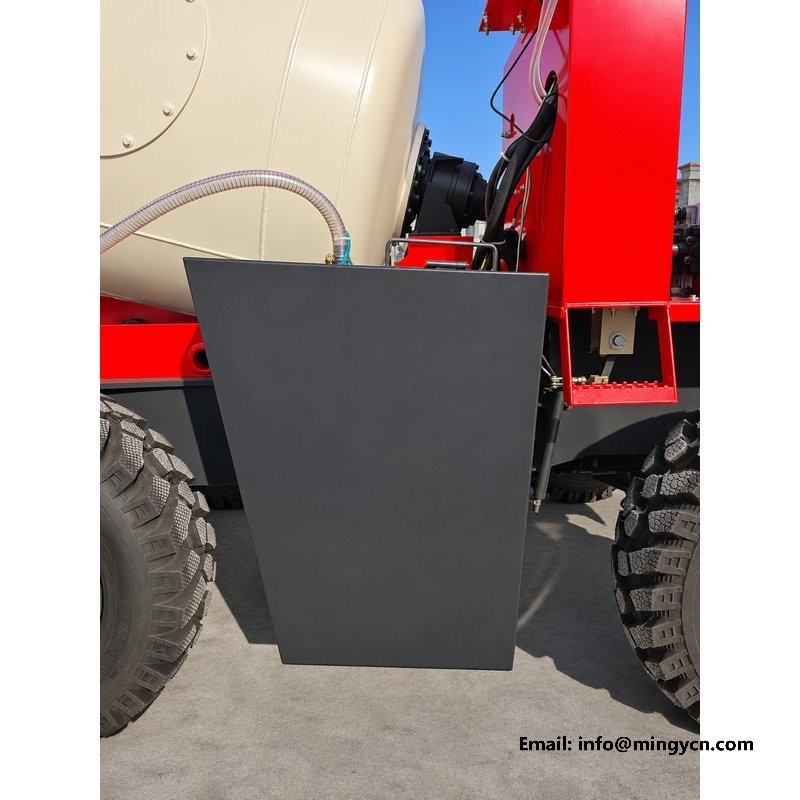
Water left in a steel tank over a hard frost does two things: it expands, and it expands where it is least able to escape. The tube, the drain body and any elbow below the outlet are the vulnerable places, because they hold a small volume with no room to give. Empty the tank with the machine on level ground, then lower the nose slightly if the drain is not at the true low corner, so the last of the water runs towards it. Open the inspection cover or the breather as well, otherwise air cannot get in behind the water and the flow will stop halfway. Once the flow ceases, open the drain fully and leave it open for the winter. A trace of water in the tube is enough to split it, so pull the lower end free and let it hang dry.
A tank is a vessel with one opening for water and, without a vent, no opening for air. Fill it fast and the air inside has to leave through the same neck the water is entering, which produces the gulping, spitting behaviour that operators blame on a slow supply. The opposite happens as water is drawn out: a partial vacuum forms, the tank panels drum inward, and the flow to the drum stutters even though the level is fine. The breather is a small fitting at the high point of the shell, usually screened or capped so that dust and insects stay out while air passes freely. Check it at every fill. Paint, mud or a mud wasp's nest will seal it, and the symptom will look like a pump problem rather than a vent problem.
Any time the system has been open, air gets in, and air in a level gauge is read as water that is not there. After a drain, a tube replacement or a long spell empty, fill the tank slowly and stop when the column begins to move. Let it settle for a minute, then crack the upper fitting until water shows, and tighten it again. That single action bleeds the pocket that would otherwise hold the reading down for days. The same applies to a feed line to the drum: if the first discharge sputters, the line is airlocked, and running it briefly with the outlet open will usually clear it. Do not assume a low reading after a refill means a leak until the gauge has been bled and the level has had time to equalise.
The cover on top of the tank is there for cleaning and inspection, and its gasket is the only thing between the water and the paint on the outside of the shell. A gasket works by being compressed, not by being crushed, so the sealing face matters as much as the rubber. Before the cover goes back on, wipe the flange dry and check it with a fingertip for grit, rust scale and old sealant; a single grain under the gasket gives water a path out. Tighten the fasteners in stages around the cover rather than run one down hard, and stop when the gasket just begins to swell. A cover that has been levered off with a screwdriver will be bowed, and no gasket will seal a bowed flange. Replace the gasket when it has hardened or taken a permanent set.
A tube splits where it is held, not in the middle. The clamp compresses the plastic, sunlight hardens it, and the combination produces a crack that starts as a weep and ends as a steady drip down the tank panel. Replacement is straightforward if the tank can be isolated: drain below the fitting, release the clamps, and cut the new tube squarely so both ends seat flat against their washers. Warm the end slightly if the fit is tight, but never use a flame near a tank that has held fuel or solvent. Fit the clamps so they grip evenly, and leave the tube with a gentle bow rather than a straight, taut run, because vibration will work a taut tube loose. Route it clear of the exhaust and any moving linkage, then fill and check.
The check takes a few minutes and catches nearly everything that goes wrong with the water side of the machine. Start at the gauge: is the tube clear, is the column free to move, and does the reading match what you expect from the last fill? Then look at both ends of the tube for a weep and at the clamps for slack. Move to the drain: closed, cap in place, no drip beneath the machine. Look up at the breather and confirm the passage is open. Open the cover briefly and smell the water; stagnant water has a distinct smell and should be drained rather than dosed into a batch. Finally, fill and watch the outlet area for a full minute before starting work. Note anything found in the machine log so the next operator knows what was seen.
Three complaints come back from owners of machines like this, and none of them is usually the fault the caller suspects. The first is a gauge that reads wrongly, which is nearly always air or a blocked lower fitting, and is fixed by bleeding rather than by replacing the tube. The second is a weep at the tank, which is usually a hardened washer or an over-tightened clamp, not a cracked shell. The third is a split tube, which follows ice or ultraviolet ageing rather than pressure. At handover, ask for the tank to be filled and left standing while you inspect the machine, then look at the tube ends and under the drain. A new machine with a yellow tube has been standing in the yard, and that tells you something about stock rotation.
Only with care. A replacement needs to resist sunlight, keep its shape under a slight vacuum and stay clear enough to read. Soft PVC garden hose kinks, sucks flat and clouds within a season, which produces exactly the false readings the gauge exists to prevent. Match the original tube's material and wall stiffness, cut it square, and reuse the original washers and clamps. If the correct tube is not available locally, order a spare length with the machine rather than improvising on site.
Almost always because the lower connection is blocked, so the column is trapped with old water and has nothing to do with the level in the tank. Open the drain and watch the tube: if the column does not fall, the port at the bottom of the gauge is restricted. Clear it with a soft wire, flush the tube and refit it with a new washer. If the column falls but the tank still holds water, the drain itself is blocked and needs the same treatment.
Empty, and open. A full tank is a large mass of water that freezes from the top down, and the ice will find the tube, the drain body and any low elbow. Drain with the machine level, open the cover or breather so air can follow the water out, and leave the drain open. Empty does not mean dry, so pull the lower end of the sight tube free as well. Condensation will form over winter, but a little water in the bottom of an open tank does no harm.
For the current specification, build options and a formal quotation for your market, contact MINGYI Machinery. E-mail: sales@mingycn.com | LINE (ID): mingyicn
1.5m3 Self Loading Mixer Water Tank: Filler, Capacity and Mounting · Water Tank Fabrication on the 1.5m3 Mixer: Welds and Baffles · Top-Fill Water Tank on the 1.5m3 Self Loading Concrete Mixer