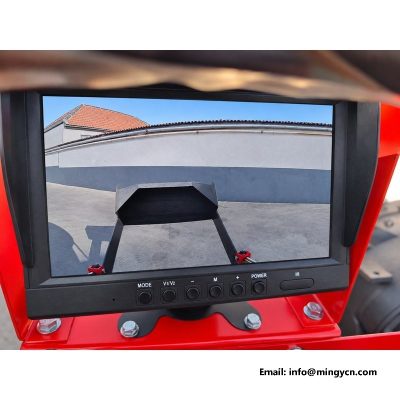
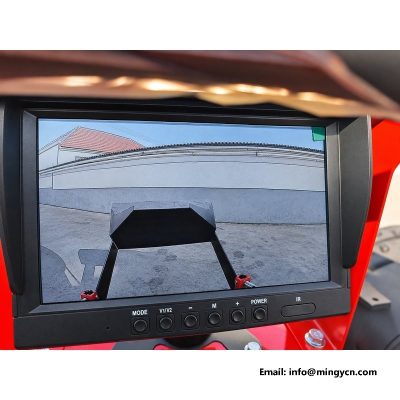
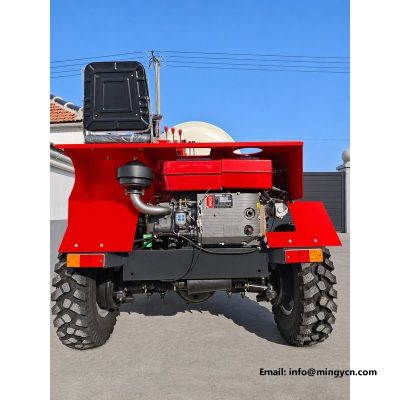
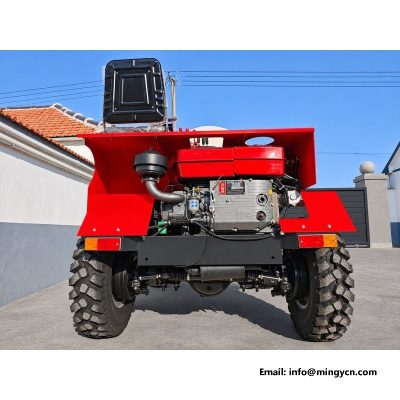
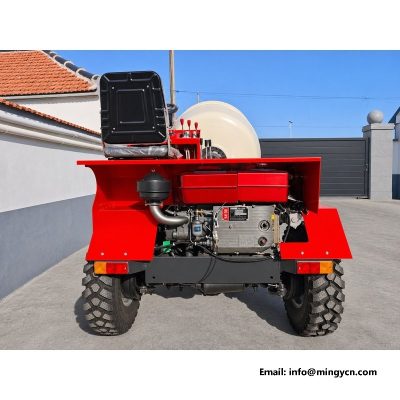
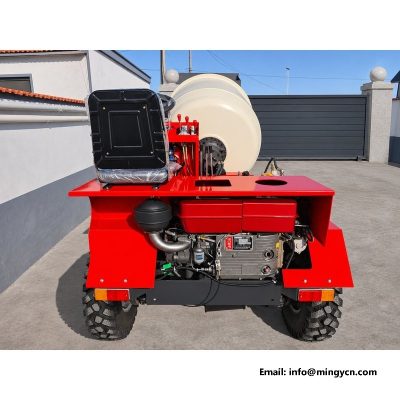
reversing camera display at the operator station 1.5m3 mixer
The reversing camera on this mixer is only half a system; the other half is the display and the way the operator uses it. This page deals with the screen itself: where it sits in the red hood on the console, how it falls into the operator's line of sight, what the buttons and menu change, how brightness and contrast behave through a working day, and how to read distance from a flat image when there is no depth to help. It also follows the signal path from lens to panel, the power feed and fuse, and the faults that appear as tearing, lost signal or a colour cast.
| Specification | 1.5 m³ self loading mixer |
|---|---|
| Overall dimensions (L x W x H) | 3,500 x 1,600 x 2,200 mm |
| Steering angle | 28 degrees |
| Maximum travel speed | 24 km/h |
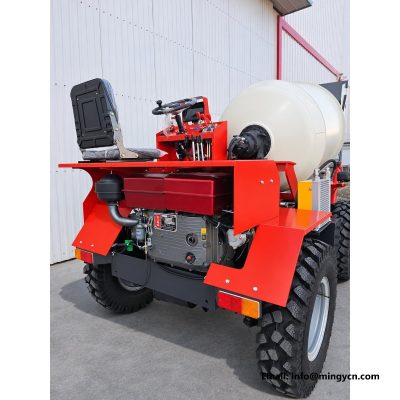
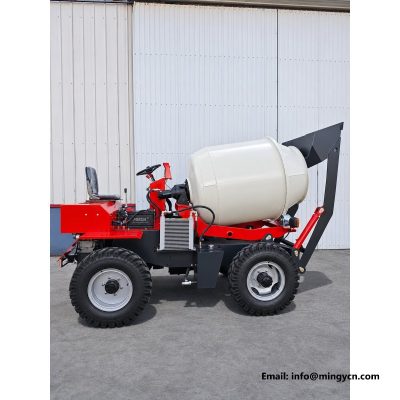
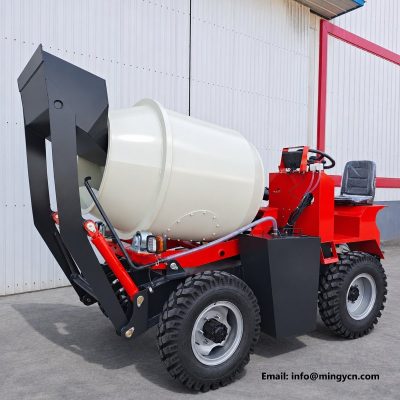
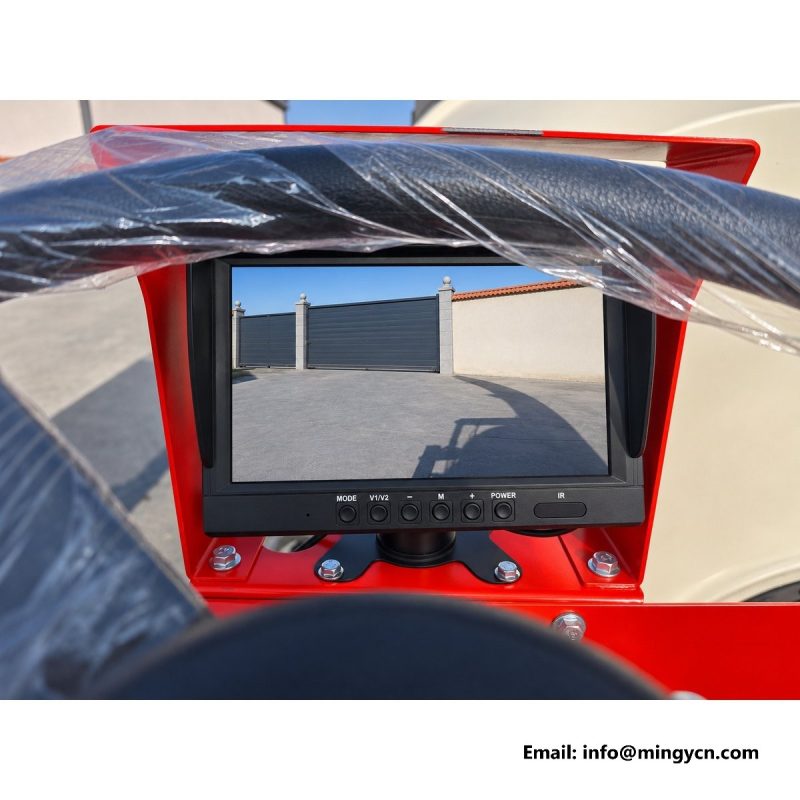
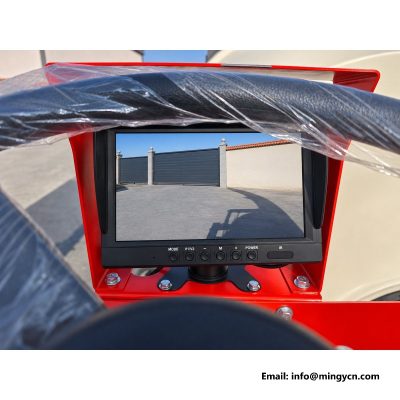
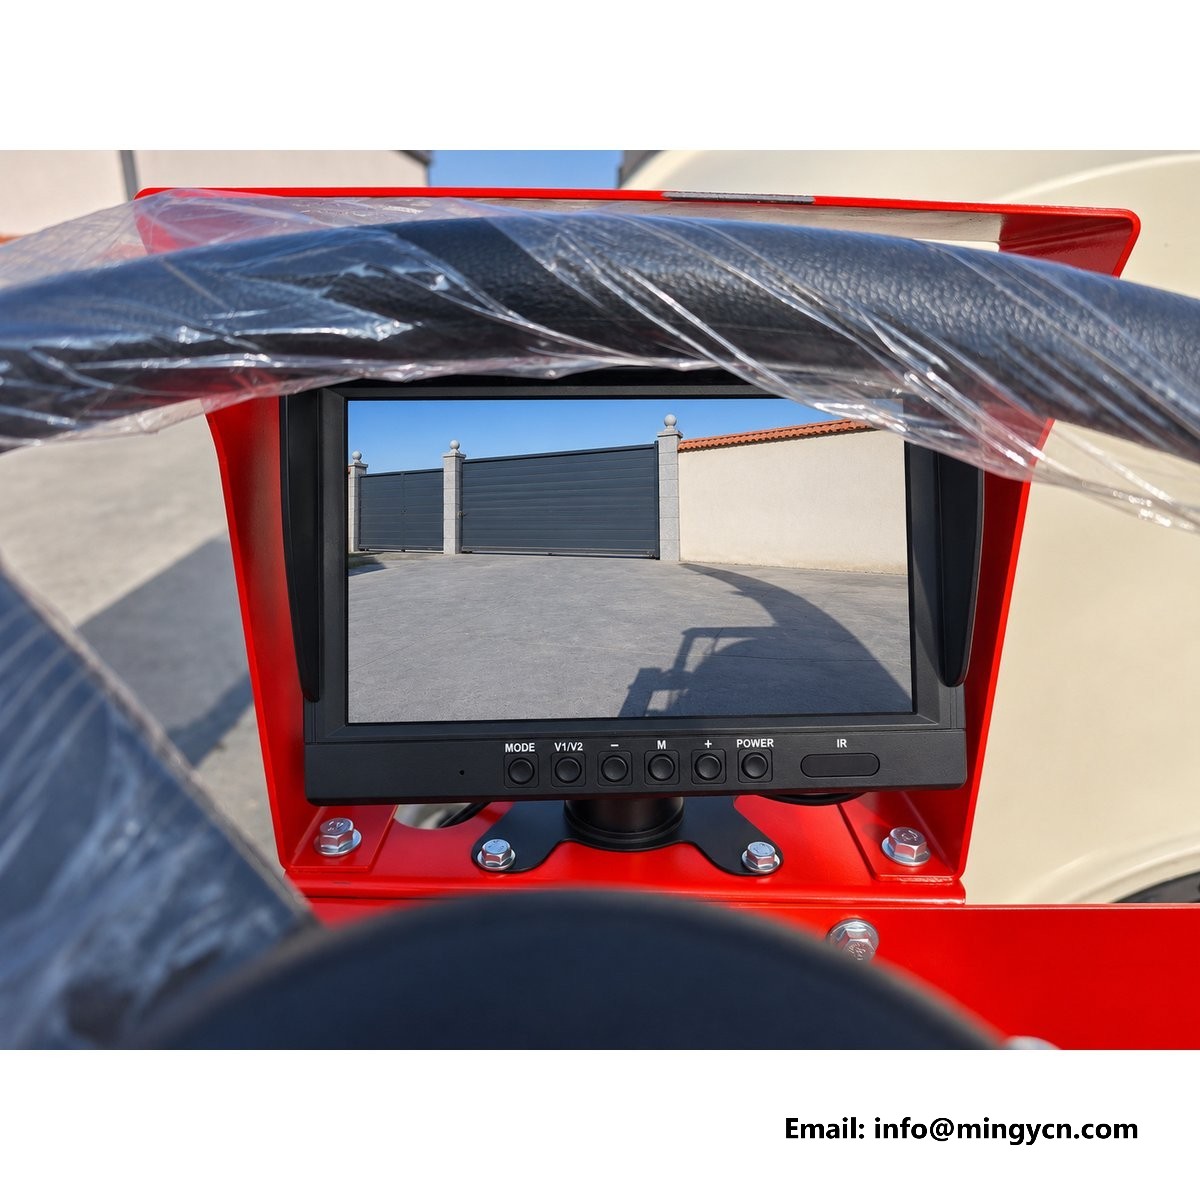
The display is set into a red steel hood bolted to the console, directly behind the steering wheel and slightly below the operator's eye level when seated. The hood wraps the top and both sides of the panel, leaving the face open. That arrangement does three jobs at once: it puts the image within the natural downward glance of a seated driver, it shades the panel from overhead sun, and it protects the screen from the knocks that a cab interior takes during loading. Because the screen sits behind the wheel rather than beside it, the operator sees the rim and the spokes in the lower part of the view, which is a useful reminder of where the hands are. The whole assembly is bolted, not clipped, so it can be removed for service without dismantling the console.
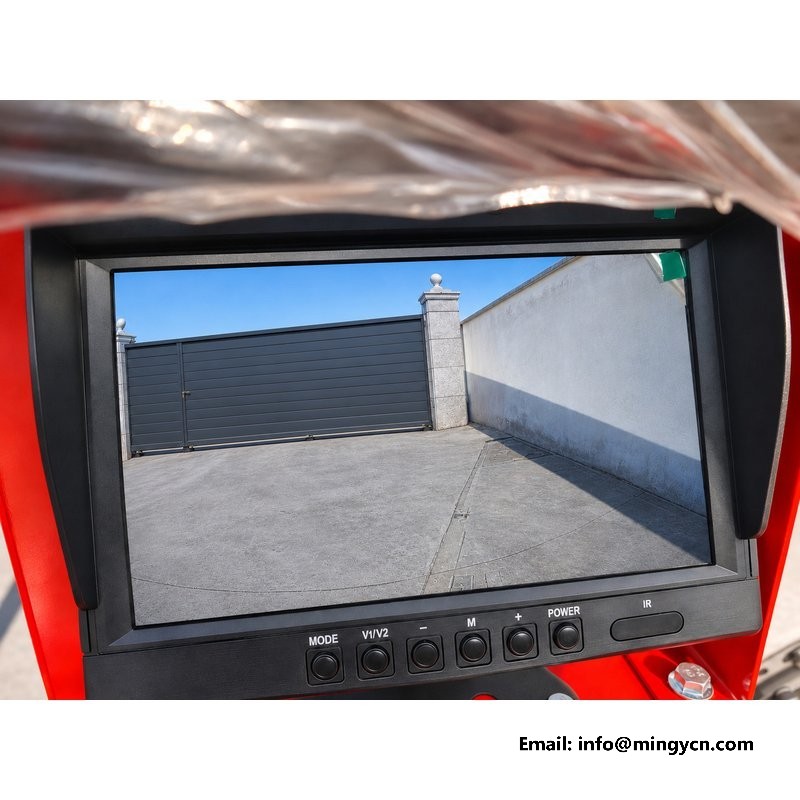
Backing a loaded mixer is a sequence of short corrections rather than one long manoeuvre, and the screen only pays for itself if a glance costs almost nothing. Position matters more than picture quality here. A screen mounted low and to one side forces the operator to turn the head and refocus, and the pause that follows is long enough for the rear wheels to reach something solid. Set in the console behind the wheel, the display falls into the same downward look used for the instruments, so the eye travels a short distance and returns quickly. Train the habit of a glance, a correction, then a look forward again, rather than watching the image continuously. A driver who stares at the screen has stopped driving the machine and is merely steering a picture.
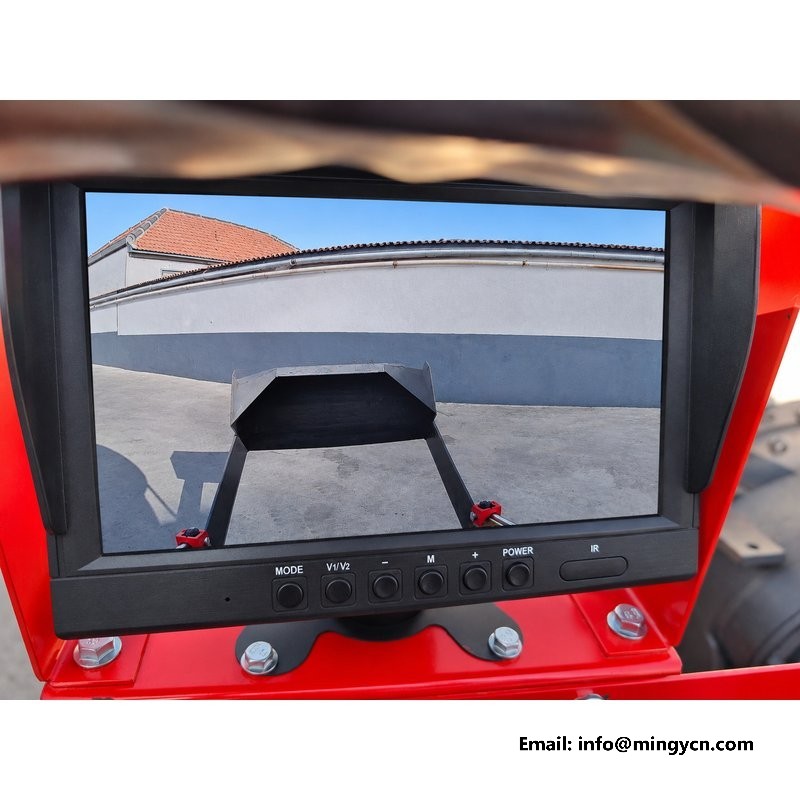
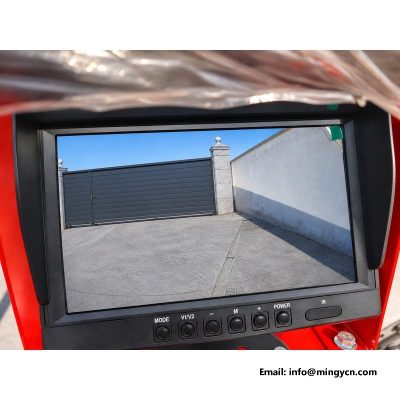
The button row looks more complicated than it is, and the labels tell most of the story. Power switches the panel; M opens and steps through the menu; the plus and minus keys change whichever value is showing; V1/V2 selects between video inputs where a second camera is fitted; MODE cycles the display mode; and IR controls the camera's infrared illuminators for work after dark. In the menu the operator will find brightness, contrast, colour and the mirror function that flips the image for rear viewing. Set these once, on a level surface with a known object behind the machine, and then leave them alone. The most common display fault on site is not a failed panel but a setting that someone has changed while trying to make the picture look better.
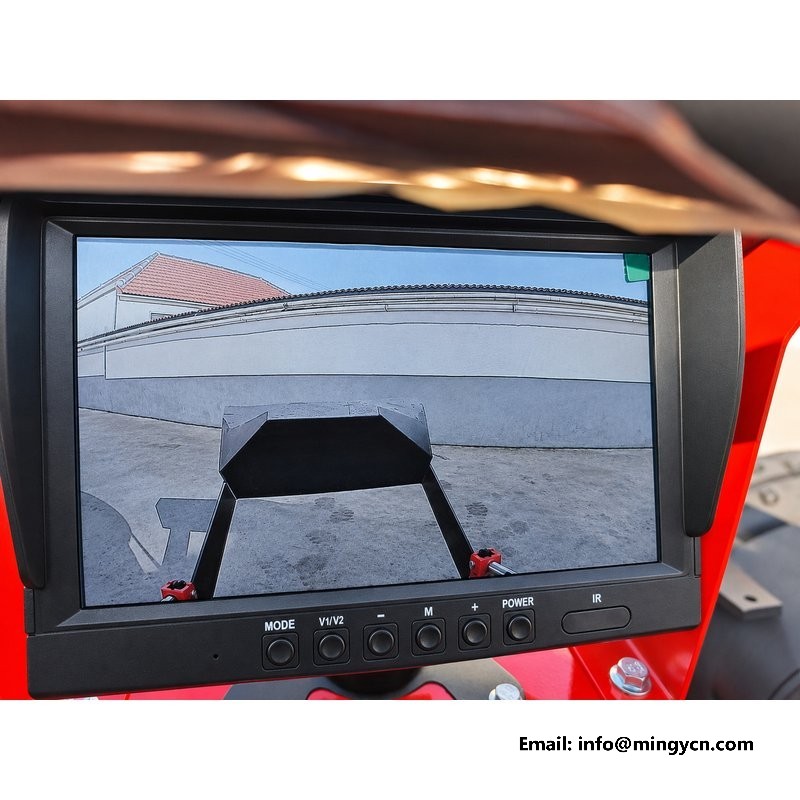
A panel that is comfortable at noon is glaring at dusk, and one that suits dusk is invisible at midday. That is not a fault in the display; it is the range of light a machine works in. Set brightness against something you can check rather than by feel: put a known object behind the machine, a wheel or a post, and raise the setting until the shadow under it separates from the ground, then stop. Too bright and the image washes into a white haze that hides texture; too dim and the dark areas of the yard become a single black shape. On a machine that starts before sunrise and finishes after it, expect to adjust twice a day. It takes seconds and it is the difference between seeing a kerb edge and guessing at it.
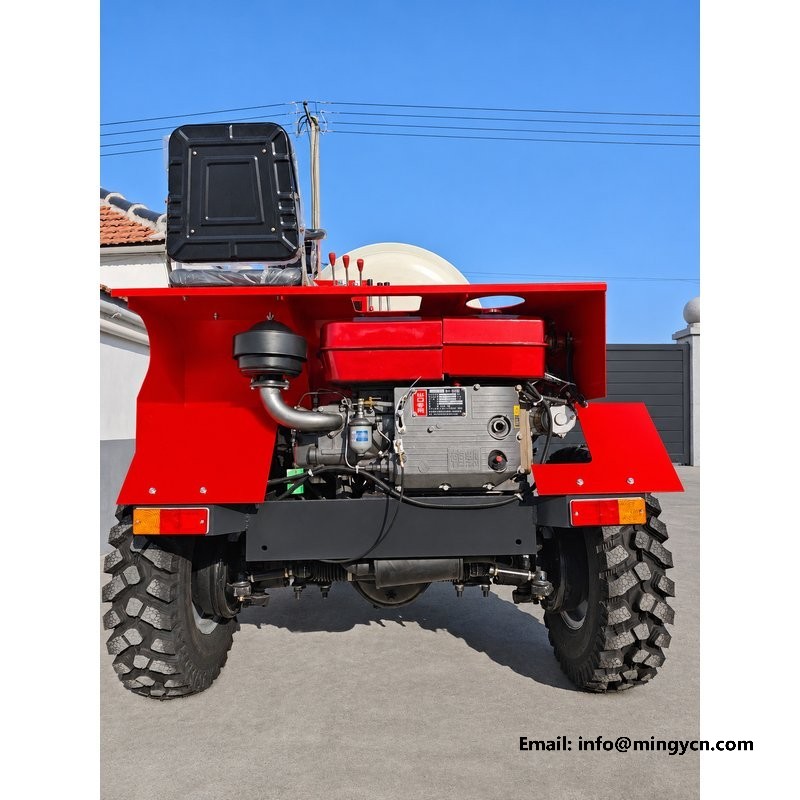
Contrast is what lets the eye find an edge: the line where gravel meets concrete, the lip of a drain, the side of a stacked pallet. Turn it too high and those edges become a hard black outline while the mid-tones disappear, so a person in a dark jacket vanishes into a shadow. Turn it too low and everything turns grey and flat. Adjust contrast after brightness, using a scene with both sunlit ground and shade in it, and stop at the point where the boundary between them is clear without becoming a hard line. Colour should stay close to neutral. Over-saturated colour makes a high-visibility vest scream on the screen but turns dry soil and wet soil into the same brown, which is exactly the distinction a driver needs at the edge of a pour.
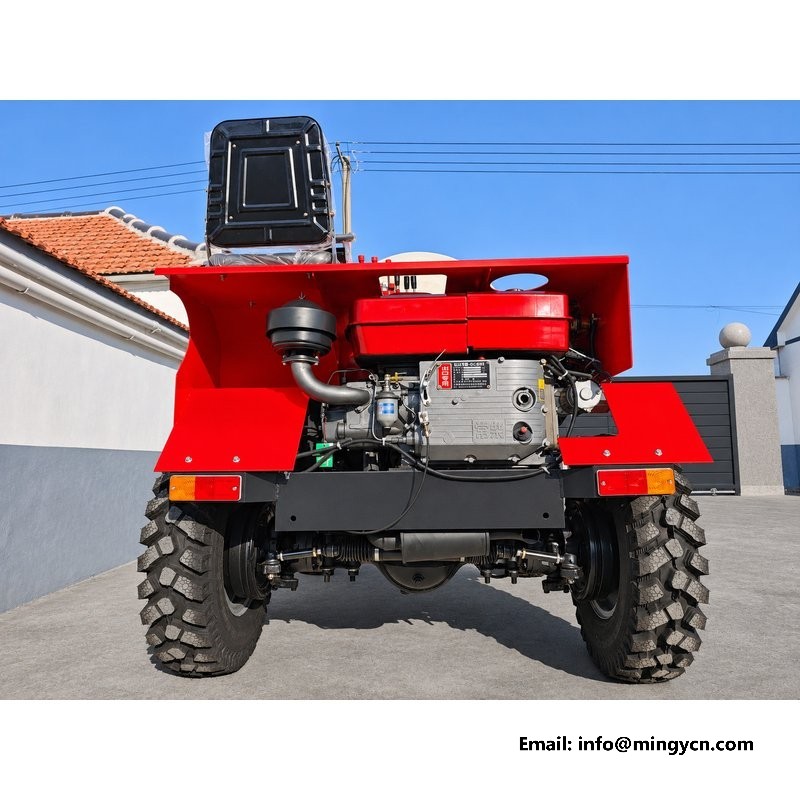
Glass and plastic screens reflect, and no amount of adjustment removes a reflection of the operator's own shirt. The hood deals with the common case by shading the top and sides, which is enough when the sun is high or behind the machine. Low sun in front of the machine is the difficult condition, because the light comes in under the hood and lands on the panel. In that situation, reposition the machine before reversing rather than fight the screen, or use a hand to shade the top edge for the few seconds the manoeuvre takes. Polarised sunglasses can black out a liquid-crystal panel at certain angles, which surprises drivers who wear them. If the image disappears when the head tilts, the glasses are the cause, not the camera. Dust on the inner faces of the hood scatters light onto the panel, so wipe them whenever the screen itself is cleaned.
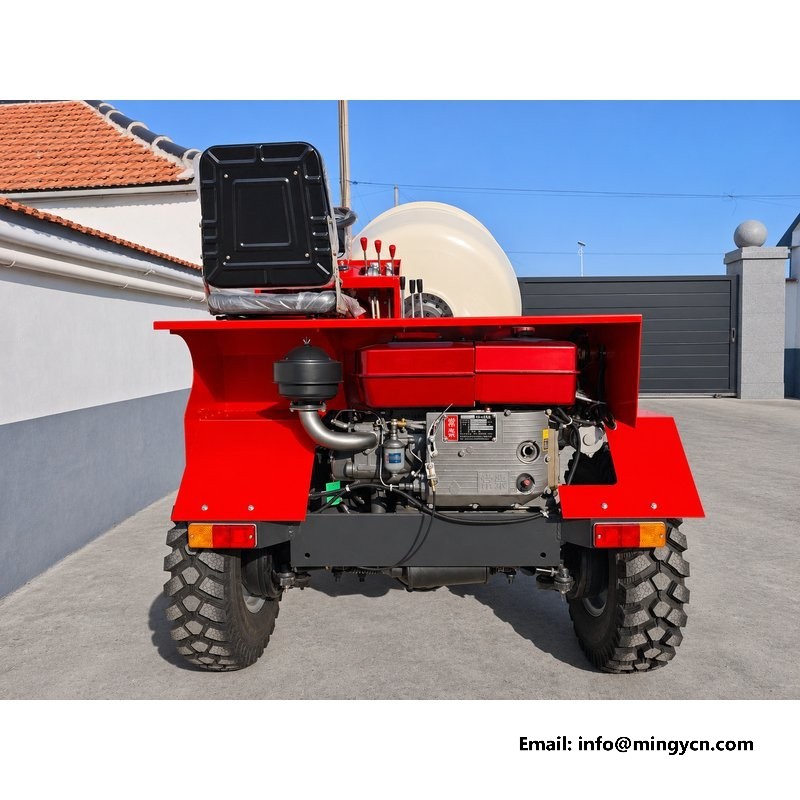
A screen gives no stereo vision, so distance has to be learned rather than seen. The image is wide, which makes objects appear further away than they are, and the camera looks down at an angle, which puts the ground close behind the machine at the bottom of the frame. Learn two references and use them constantly: where the rear tyres sit in the frame, and where the ground line crosses the bottom edge. Then practise. Put a marker on flat ground, reverse towards it at walking pace, and stop when it reaches a chosen point in the image; get out and look at the real gap. Repeat it a few times on the first day and the picture stops being abstract. After that, trust the near edge of the image more than the middle, because that is where the error is smallest.
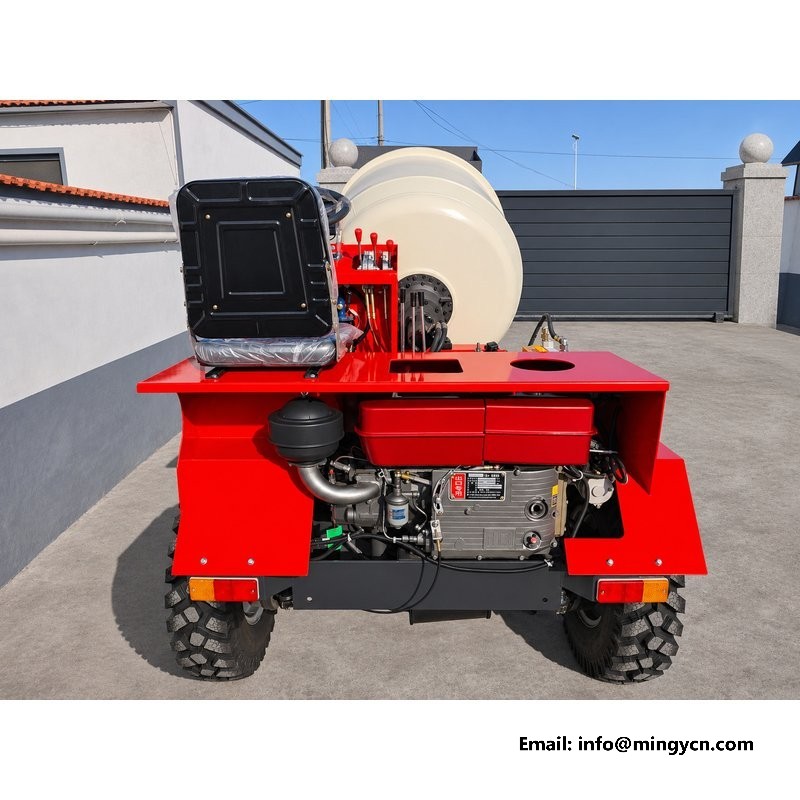
The screen does not replace the mirrors, and it should not be used as if it did. Mirrors show the sides of the machine at true scale and in real depth, which is what you need to judge whether a wheel will clear a wall. The camera shows the centre rear blind area that no mirror covers, which is where a bollard, a child or a stack of blocks disappears. Work in a fixed order: both mirrors, then the screen, then, where the station allows it, a direct look over the shoulder before the wheels move. If the screen and a mirror disagree about where an object is, believe the mirror for width and use the screen only for the last part of the approach. Before the first reverse of any shift, walk the ground behind the machine.
When the picture is poor, the fault is more often in a connector than in either end of the system. The path runs from the camera at the rear, along the chassis, into the console and up to the panel, and every joint on that route is a place where water and vibration do their work. Start at the screen end: check that the video plug is fully seated and that the locking ring, where fitted, is done up. Then repeat at the camera. Look for green corrosion in the pins, which follows washdown, and for a cable that has been rubbing on a frame edge or lying against a hot surface. A picture that changes when the harness is gently moved has found its own fault for you. Keep the cable secured at its original clips, because a harness left hanging free will rub through against the frame within a season.
The display takes its feed from the machine harness and is protected by a fuse, usually in a holder near the console or in the main block. Knowing how it behaves when switched on saves diagnosis time: the panel should light as the key is turned, show its input for a moment, and settle on the camera image without anyone pressing a button. If it needs a press on the power key every time, that is how it is wired, not a fault. A fuse that blows once is a fuse; a fuse that blows twice is a chafed feed looking for a place to short. Replace it with the same rating, never a larger one, and find the rub before the next one goes in. A multimeter across the empty holder will show whether the feed is alive and whether the earth return is sound, which narrows the search to one leg of the circuit.
Three symptoms account for most display complaints, and each points elsewhere. A picture that rolls, tears or breaks into bands is usually a signal or earth problem: a loose video plug, a corroded ground, or a feed that is picking up interference from the alternator. A screen that shows its menu but no image, or a blue panel with a message, has lost the camera feed and should be checked at the camera's power connection first. A picture with a strong magenta or green cast is the camera beginning to fail, or a video standard mismatch where a replacement has been fitted. Swap the camera to the second input, where one is available, and the fault will follow the guilty part. If nothing changes when the inputs are swapped, the display itself is suspect, and that is the last item to test, not the first.
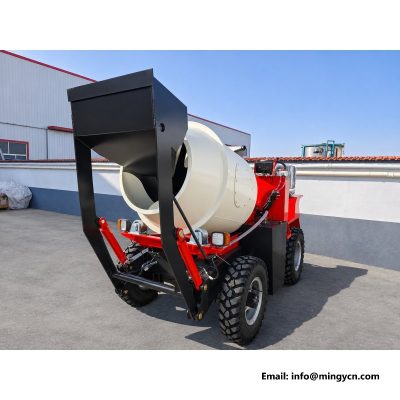
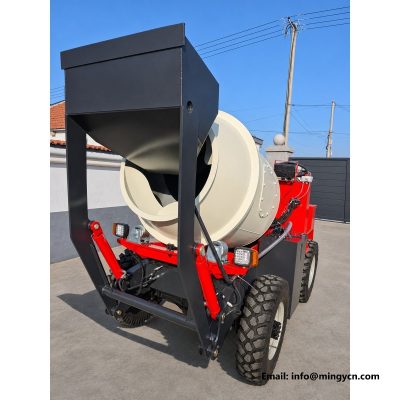
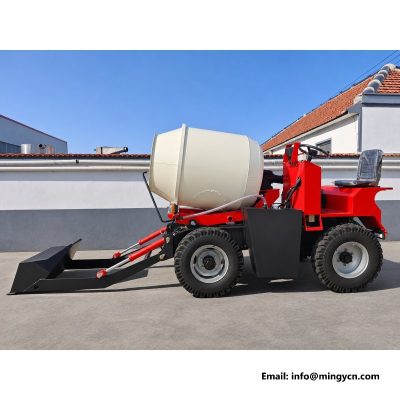
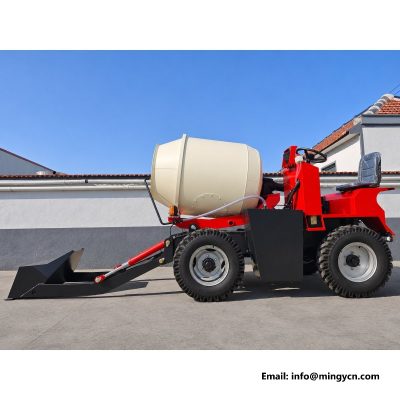
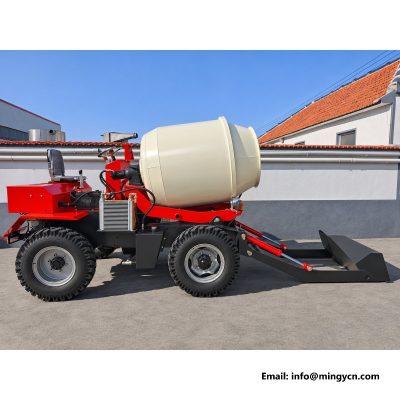
One man loads the hopper, turns the drum, drives to the pour and reverses into position, often several times in a morning. Nothing about the machine's dimensions makes that easy: it is 3,500 mm long and 1,600 mm wide, and the drum and shovel occupy the view in both directions. The screen is what allows the last few metres of a reverse to be judged without a second person walking behind. Its value is not in the size of the picture or the number of features in the menu; it is in whether the image is steady at idle, readable in sunlight and placed where a glance finds it. A screen that meets those three conditions removes a man from the job. One that does not is a decoration that the operator will stop using within a week.
Yes. It is fed from the switched side of the harness, so it comes on with the key and draws very little. Leaving it running through a shift is normal practice, and the panel is built for continuous use. The exception is long storage: switch it off to keep the panel out of direct sun and to avoid draining a battery that is already weak. If the picture dims every time the engine cranks, the battery or its connections are worth checking before blaming the screen.
That is a brightness and reflection problem rather than a fault. Raise the setting until shadow detail appears, and check that the red hood is shading the panel rather than standing above it with a gap. Low sun entering under the hood is the worst case; turning the machine a few degrees often solves it. Polarised sunglasses can also black out the panel at some angles. If the image is faint even in shade, suspect the supply voltage or a failing backlight.
For a rear camera, yes. A mirrored image matches what a mirror shows, so an object on the left of the screen is on the left of the machine. The menu has a mirror function, and it may have been changed by accident. Check it with a known object: stand behind the machine on one side and confirm the image puts you on the same side. If the image is inverted top to bottom instead, the camera itself has been mounted upside down.
For the current specification, build options and a formal quotation for your market, contact MINGYI Machinery. E-mail: sales@mingycn.com | LINE (ID): mingyicn
Reversing Camera and Monitor on the 1.5m3 Self Loading Mixer · 1.5 m3 Self Loading Concrete Mixer: Full Specification and Walkaround · Roll Bar and Operator Guard on the 1.5m3 Self Loading Mixer