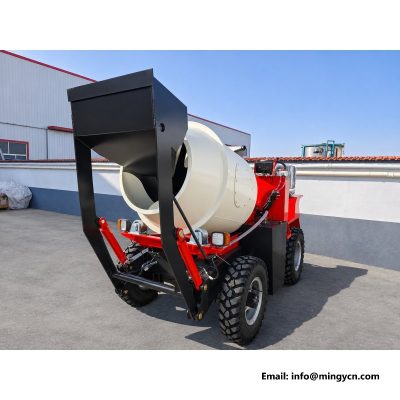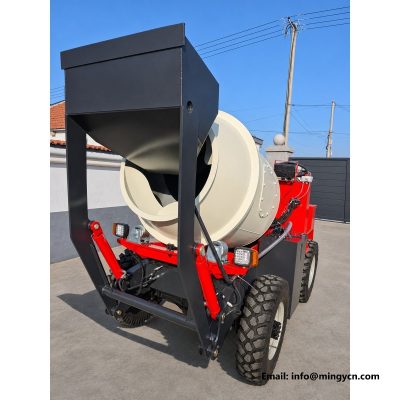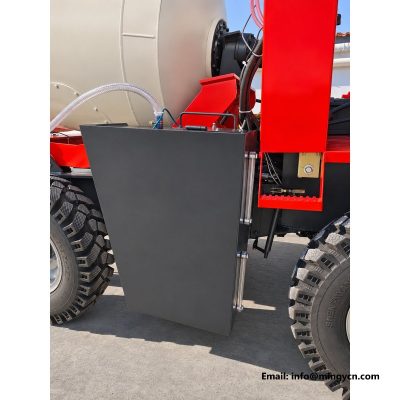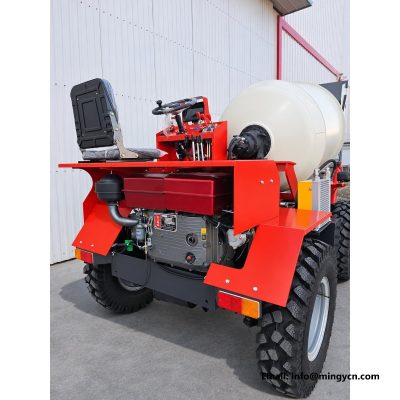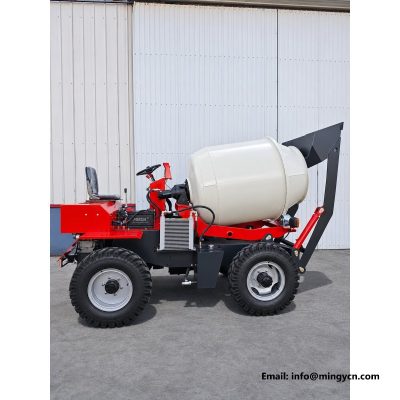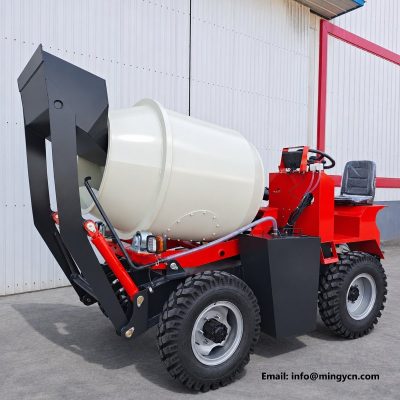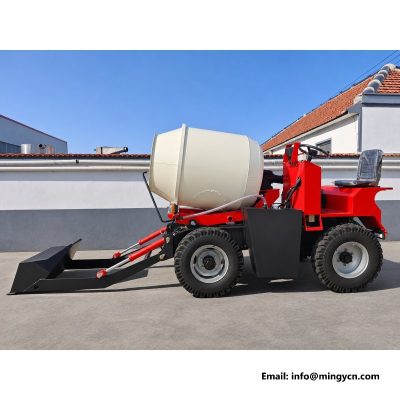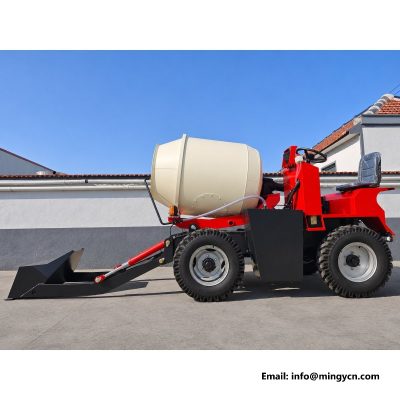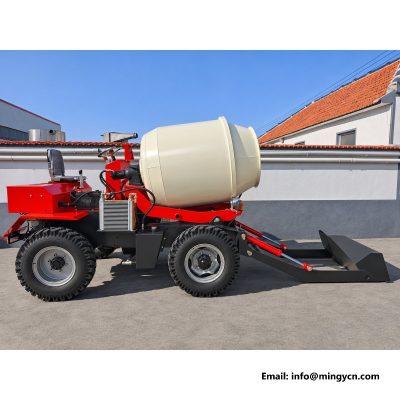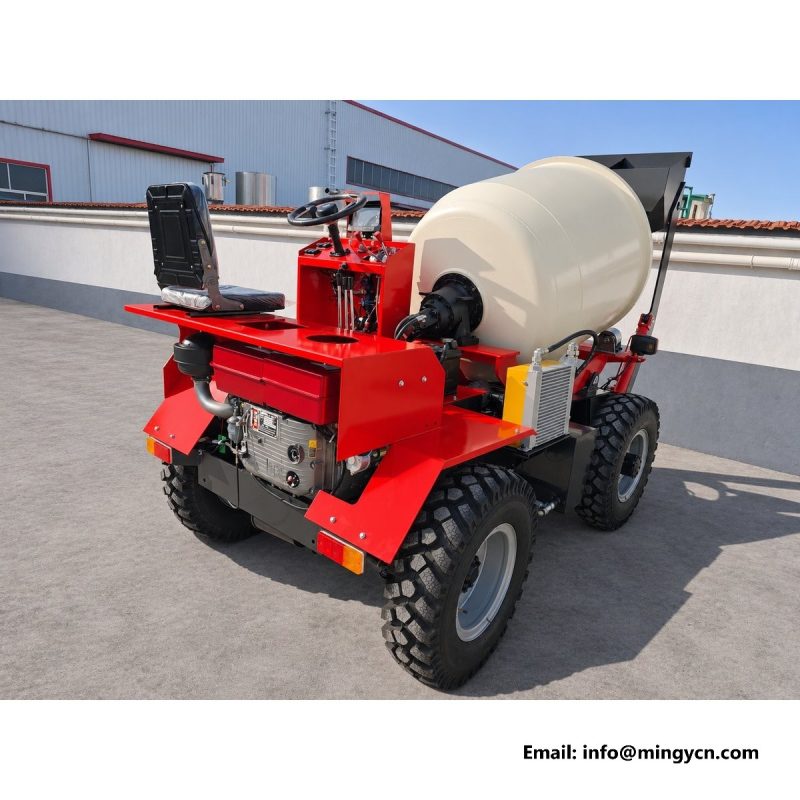
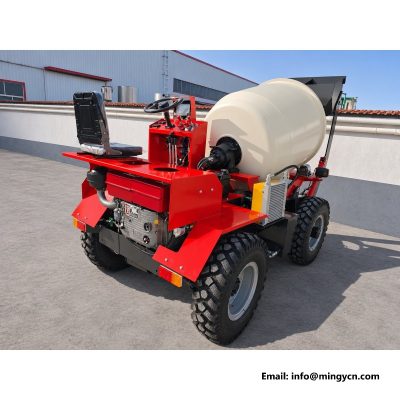
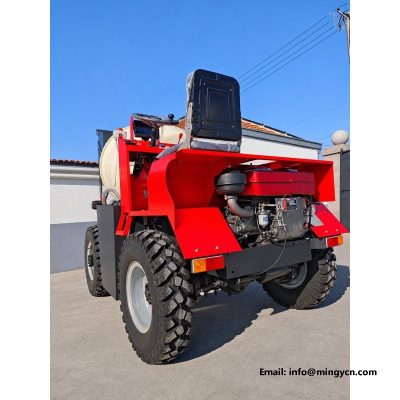
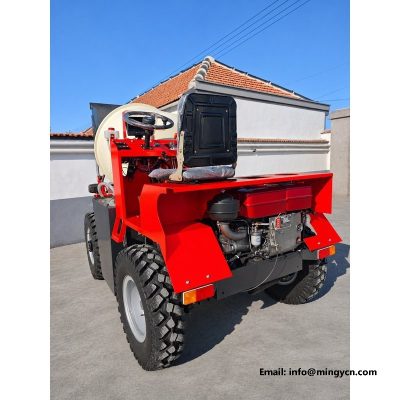
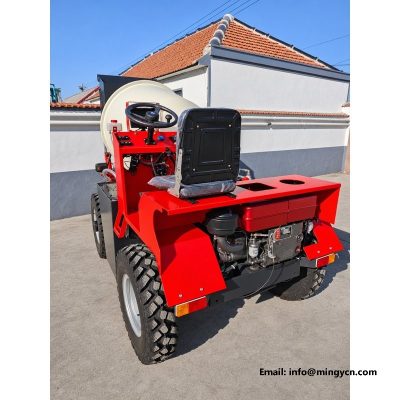
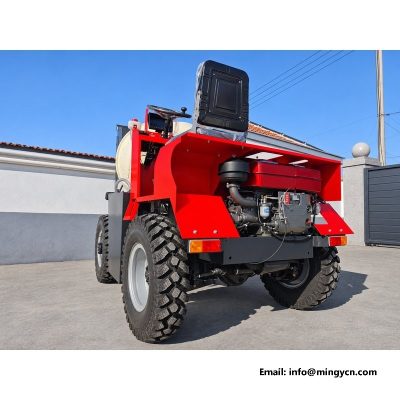
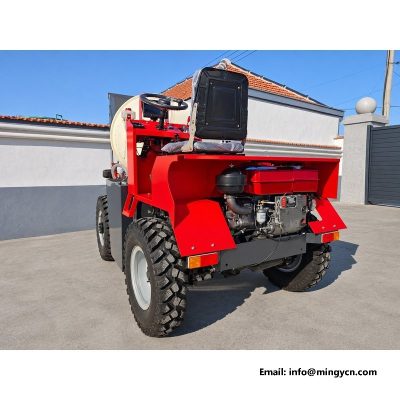
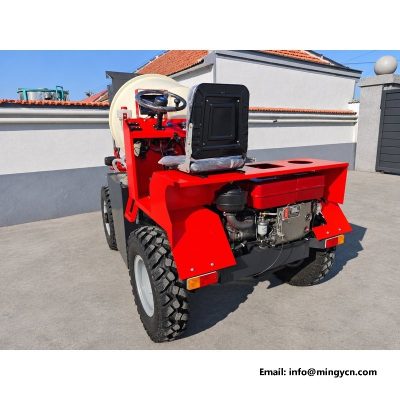
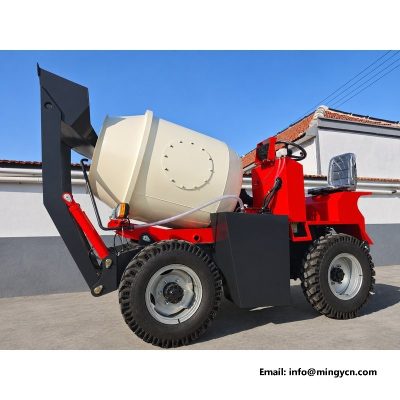
right side in the yard: paint, decals and panel gaps
A side view in flat daylight is unforgiving, which is why these eight frames were shot that way. The machine stands against a plain wall on level ground, and the whole right flank is in frame: paint from the front cross member to the tail, decals, panel joints, weld lines and every fastener left on show. Nothing is staged to flatter the finish. The notes below read the images the way a buyer would at handover, moving from the overall tone of the paint to the alignment of a single decal, and asking at each step what the detail will look like after a few seasons of site work.
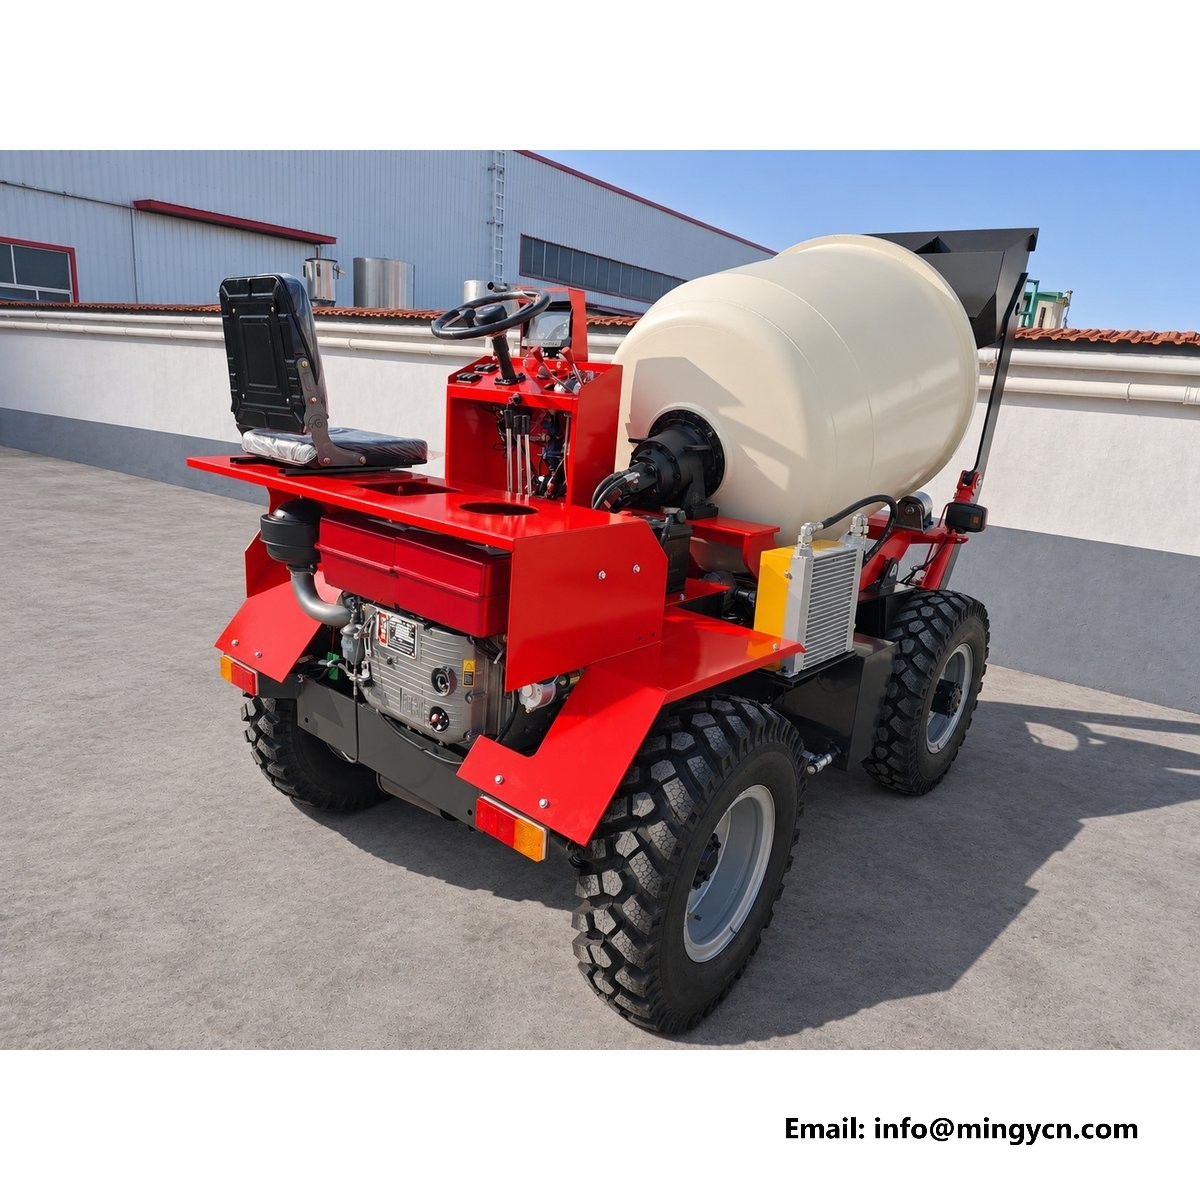
| Specification | 1.5 m³ self loading mixer |
|---|---|
| Operating weight | 1,900 kg |
| Overall dimensions (L x W x H) | 3,500 x 1,600 x 2,200 mm |
| Front tyres | 750-16 |
A side view taken outdoors against a plain wall is the most demanding photograph a machine can be given. There is no studio light to flatter the panels, no dark background to hide an uneven finish, and no angle to disguise a gap. These frames are shot that way on purpose. What the camera records is the whole right flank in one frame: the paint from the front cross member to the tail, the decals, the panel joints, the welds that cross the side plates, and every fastener left on show. A buyer can learn more from this single view than from a page of close-ups, because paint and assembly quality are judged by consistency across a large area, not by how well one small section photographs.
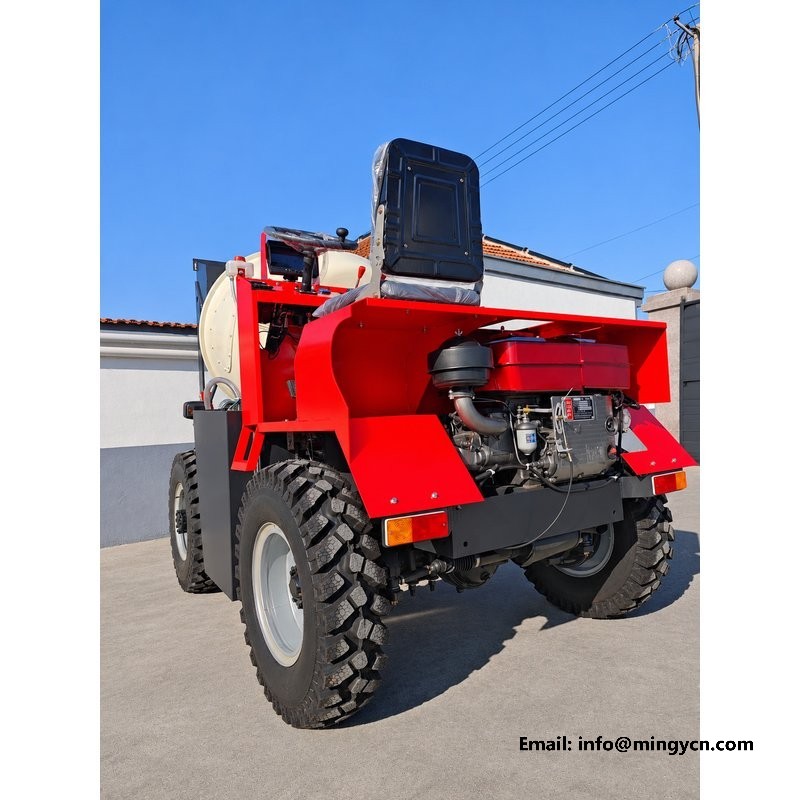
Colour uniformity is easy to check in a side frame if you know where to look. Run your eye along the top edge of the frame rail and then down the side plate: the tone should stay constant, with no lighter patch where a panel was repaired or a weld was dressed. On a machine painted properly, the coverage over welds and corners is the same as on the flat sheet, because the painter reached those areas rather than spraying past them. Look at the transition between the chassis colour and any second colour. A hard edge should be a hard edge; a soft, drifted edge means masking was rushed. Look at the underside of the frame in the shadow line, where thin coverage shows first.
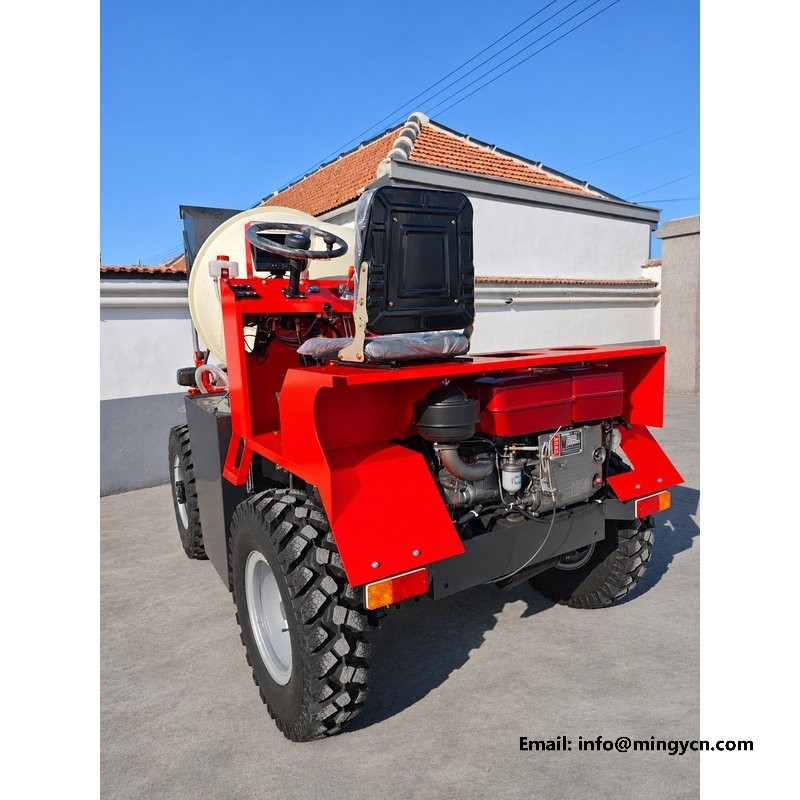
Decals are the smallest thing on a machine and among the most revealing. In these frames the markings sit along the frame rail and on the drum, and their alignment can be judged against the panel edges and the horizontal lines of the chassis. A decal applied straight, at a consistent height on both sides, tells you the machine was finished by people who were paying attention. Look at the edges. A decal trapped over a weld or stretched around a corner will lift at that point within a season, and once water gets under the edge it peels from the inside out. Look also at what the markings say. Capacity and safety warnings should be legible from the ground.
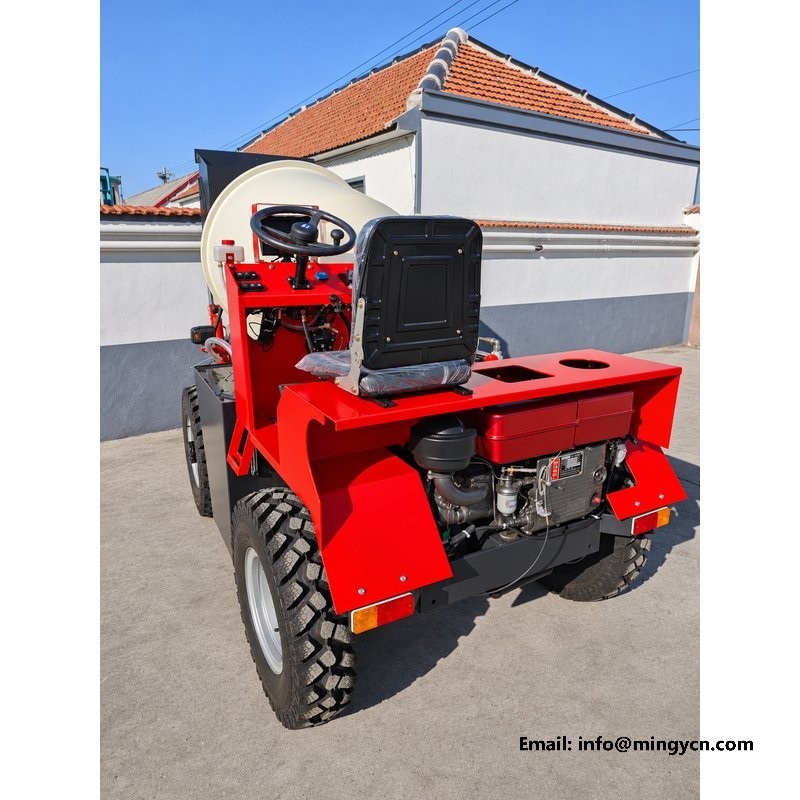
Panel gaps on an industrial machine are not the panel gaps of a car, and they should not be judged as such. What matters is consistency. In the side frames, look at the joints between the frame side plate, the drum guard and the engine enclosure. A gap that runs parallel down its whole length means the parts were located against a common datum; a gap that closes at one end and opens at the other means something is out of square or the panel is distorted. Both are visible in a straight-on photograph. Look also at how the panels are fixed. Bolted panels with slotted holes can be adjusted and removed; welded panels cannot. On a mixer that needs the drum guard off for service, that choice matters.
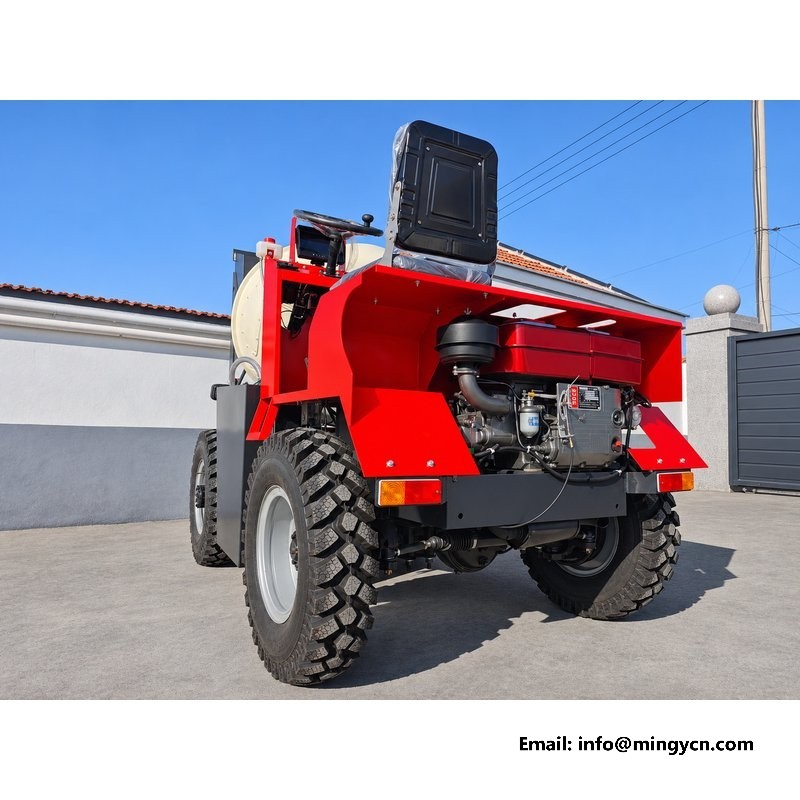
Paint hides welds, but it does not hide their shape. In a side frame the weld runs show as slight ridges along the joints, and their regularity is readable even through the finish. Look for a consistent bead width along a run and a smooth transition into the parent metal at each end. A weld that stops short of a corner leaves a notch, and a notch is where a crack begins. Look at the corners of the side plates, where a horizontal run meets a vertical one. That intersection should be continuous, not two beads that nearly meet. Look also at how the paint sits over the bead. A sharp bead edge with thin coating fails first, and rust traces the weld line.
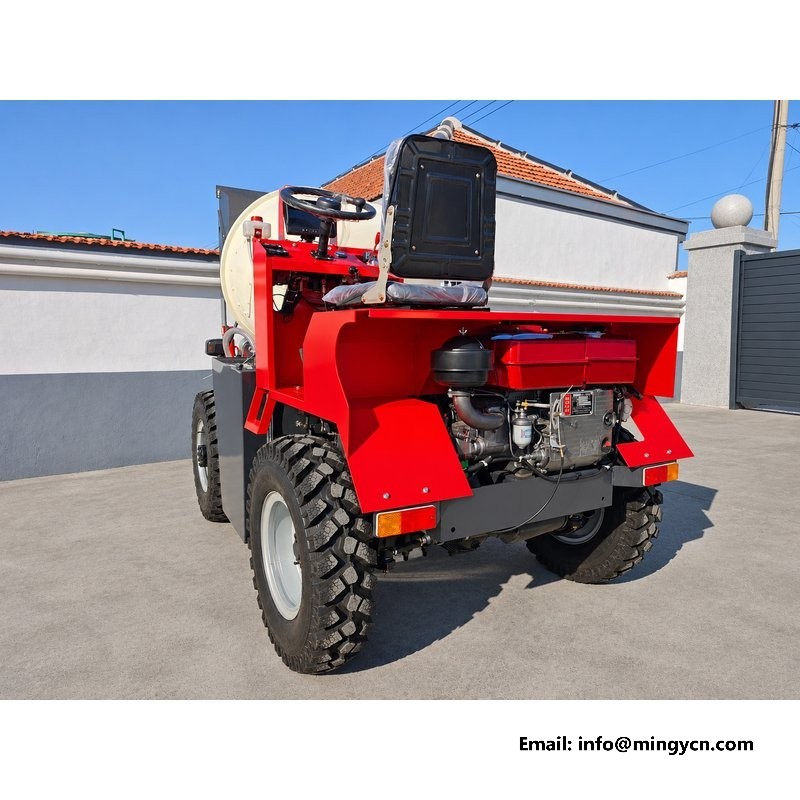
Every bolt head on the side of a machine is a small decision about corrosion. In these frames the fasteners along the frame and the drum guard are visible, and what matters is whether they are plated, painted over, or left bare. A painted-over bolt cannot be undone without damaging the coating around it, and a bare bolt rusts at the head and the thread. Look for washers under the heads and for a consistent amount of thread showing past each nut. A joint assembled with the right fastener for its hole has a washer, a nut fully engaged and a short length of thread proud; a joint built from whatever was in the bin looks uneven. Check the lowest bolts first, where water sits.
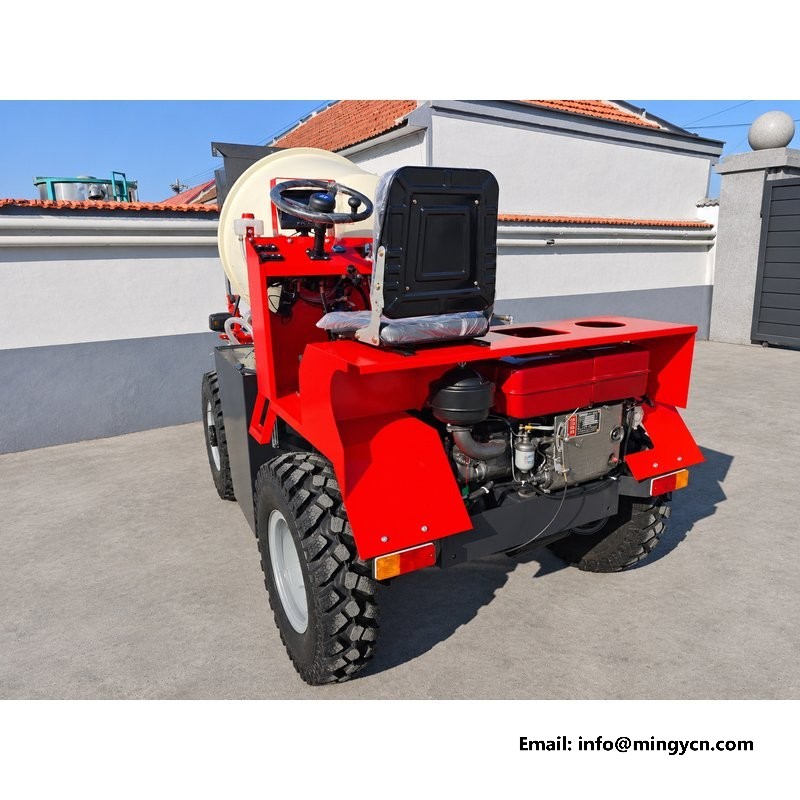
The tyres are 750-16 front and rear, and the side frames show them in profile against the body. That profile tells you the machine's stance: how far the tyres sit outside the frame, how much of the tread is visible below the rail, and whether the rims are dished inward or outward. Look at the sidewall lettering and the condition of the rubber at the shoulder. A tyre proud of the bodywork protects the paint in a tight yard but catches on gates; a tyre tucked inside the line keeps the machine narrow and puts the frame at risk instead. Look also at the rim and the valve. A valve facing outward is easy to reach; one facing inward is protected but awkward.
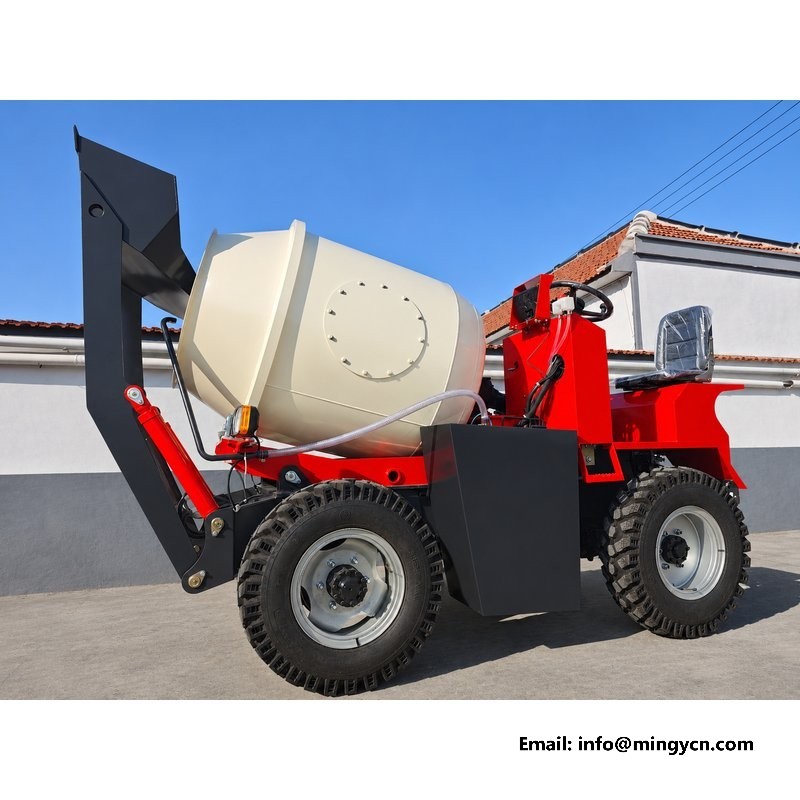
The overall dimensions of this machine are 3,500 mm long, 1,600 mm wide and 2,200 mm high, and a side photograph is the best way to see what those figures mean in practice. The length includes the bucket at rest and the rear frame; the height includes the drum and the exhaust. In the frames, look at how much of the height is drum and how much is chassis. A machine with a high drum and a low frame loads and discharges easily but is less stable; a machine with a low drum sits better on a slope. Look at the wheelbase relative to the overall length, and at how far the rear overhang extends past the rear axle. A long overhang swings wide in a turn.
There is very little glass on a self loading mixer, and what there is tends to be the first thing to fail. In these side frames the lamp lenses and any plastic covers are visible, and their condition at delivery is a fair guide to the quality of the fittings. Look at how the lenses sit in their housings. A lens that stands proud on a thin gasket will fill with water; one that sits flush in a recessed housing sheds it. Look at the colour of the plastic. Parts stored outdoors before assembly show a chalky surface that will not polish back. Check the mounting of anything plastic that faces the drum, because radiant heat from a steel shell is unkind to cheap polymers.
If you are buying at a distance, ask for a set of photographs taken to a fixed pattern, and use this page as the pattern. Both sides, square on, in daylight, at the same distance, with the machine on level ground and the bucket lowered. Then the front, the rear and one frame from each corner. A supplier who can produce that set consistently is a supplier with a process, and a process is part of what you are buying. When the images arrive, compare them with these. Look for the same things in the same order: paint tone, decal alignment, panel gaps, weld lines, fastener condition, tyre stance. Any difference between the two sides is the first question to ask.
Look for an even tone along the rail and around the welds, with no lighter patches where a repair was dressed. Check the shadow line under the frame, where thin coverage shows first, and the edge between colours, which should be hard rather than drifted. Uniformity across the whole flank matters more than the gloss level, because gloss is easy to achieve on a small panel.
Consistency matters more than tightness. A gap that runs parallel along its length means the panels were located against a common datum. One that closes at the end or varies in width suggests a distorted panel or an out-of-square frame, and it usually means the guard will be difficult to refit after service. Look at the gap above and below the same panel and compare them.
For the current specification, build options and a formal quotation for your market, contact MINGYI Machinery. E-mail: sales@mingycn.com | LINE (ID): mingyicn
1.5 m3 Self Loading Concrete Mixer: Full Specification and Walkaround · 750-16 Tyres and Isuzu Front Axle on the 1.5m3 Mixer · 1.5m3 Self Loading Mixer from Every Angle: A Yard Photo Reference